Porsche 1989 911 – Recovery
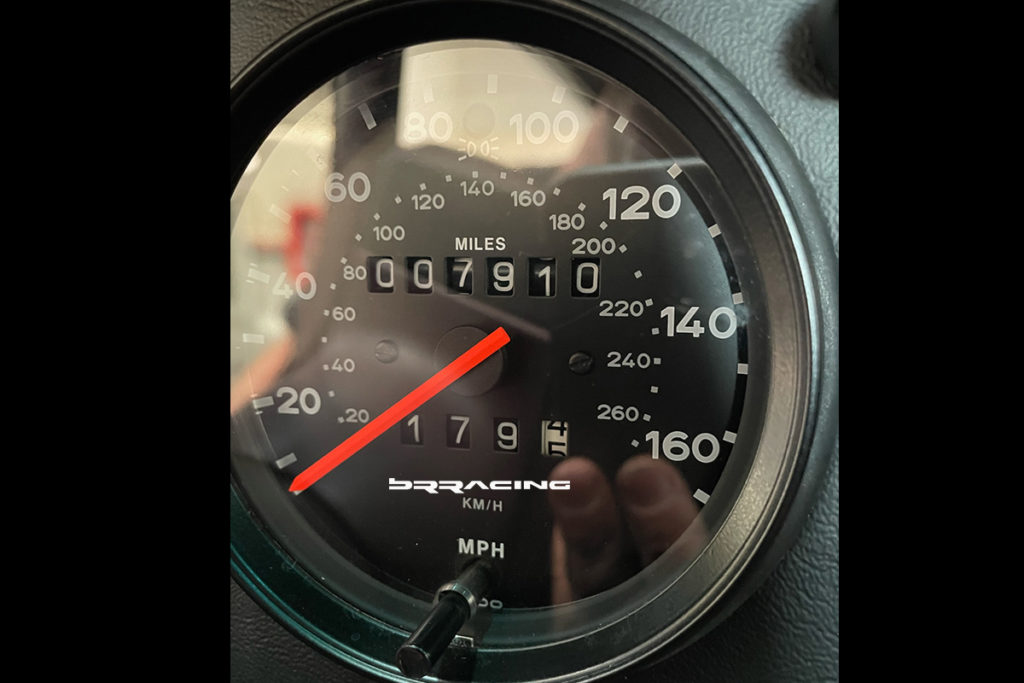
This was a very unusual project. It started this way….the customer gets a call, her grandfather had unfortuneately passed away. He knew how much our customer loved his older Porsche 911. In his will, he gifted the Porsche to her. What an amazing gift. And, so starts this journey. The car had been in Chicago, where her grandfather lived. She hadn’t seen him in a long time due to his declining health. She needed to work through the logistics of getting the car. She inquired to others to find out the state and usage of the car…and the story takes another interesting turn. The car had been stored, and not driven in nearly thirty years!! One of the first questions was, how many miles on the car?
Your reading that right…just 7,910 miles on this amazing 911. The excitement of getting a vintage Porsche with this low of mileage is what dreams and stories are made from. Next, does it run? Well…it had been stored for nearly 30 years, inside, but never run. Well then, time to get the car from Chicago and brought to California to have it investigated. BRracing was blessed with being the shop she selected to work with her on this journey.
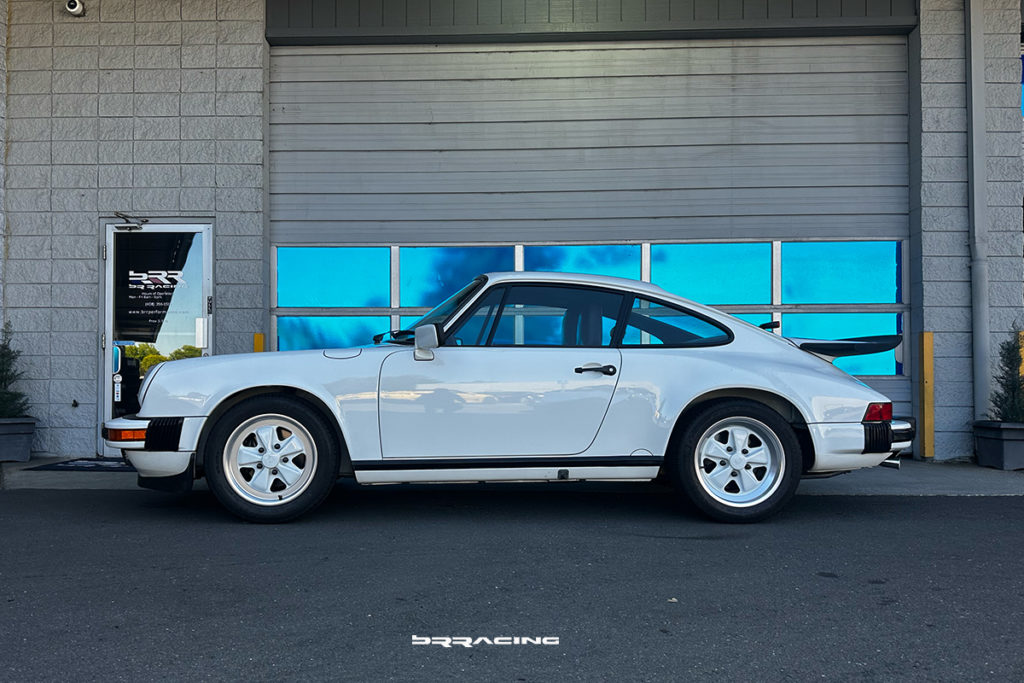
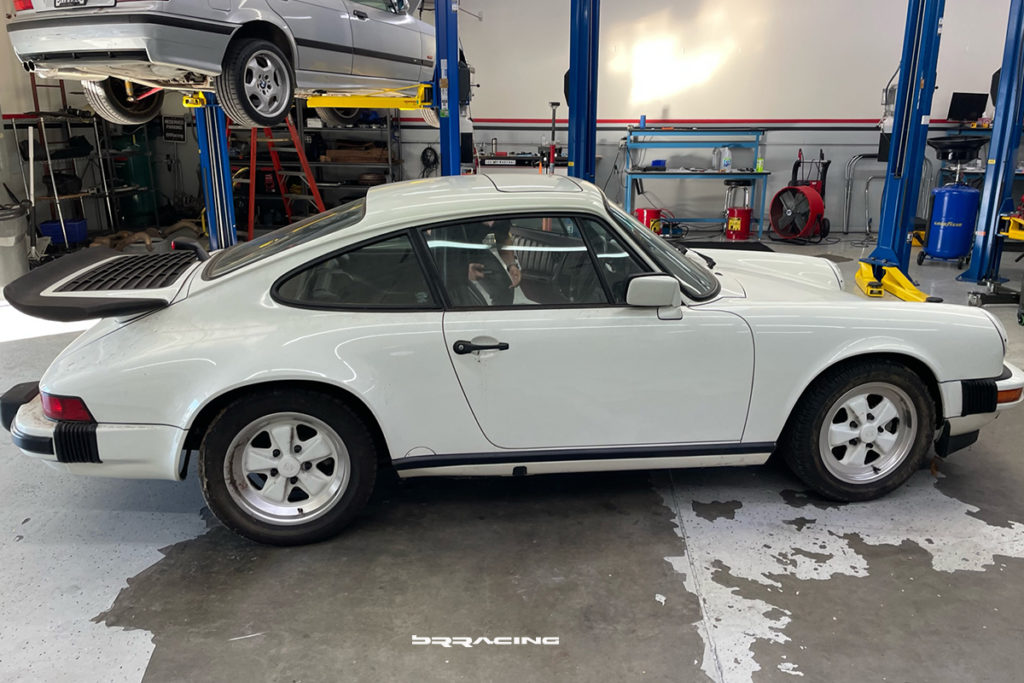
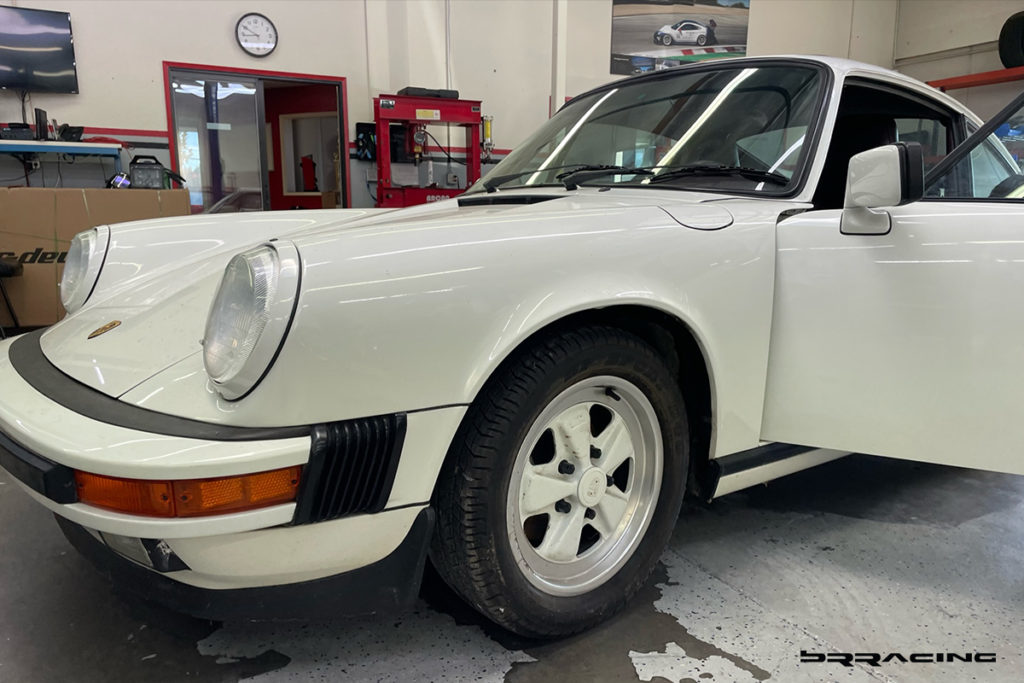
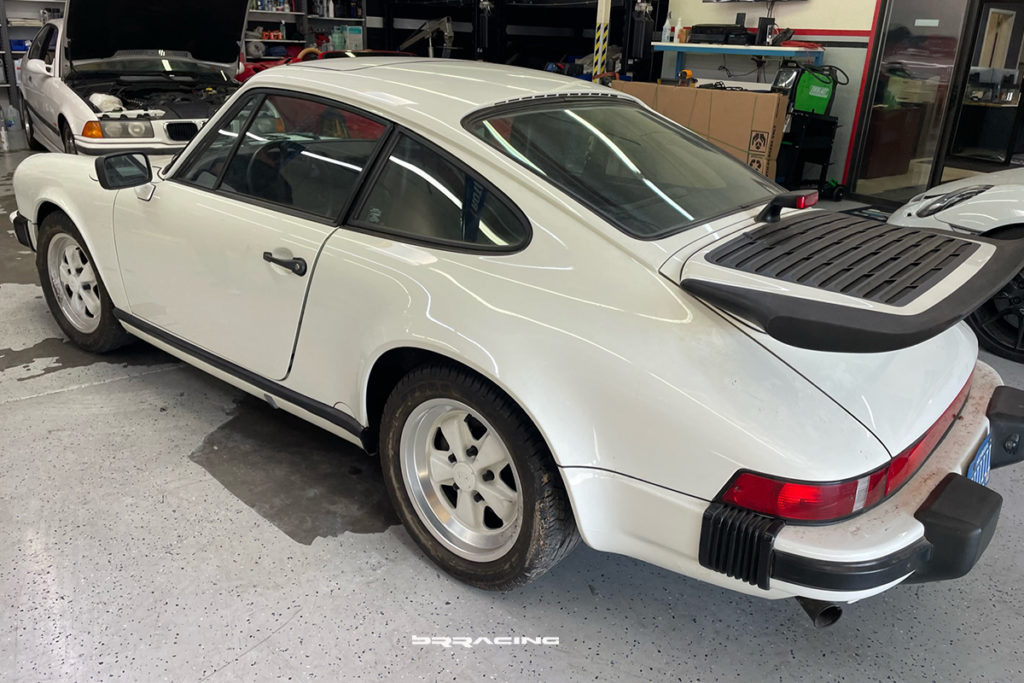
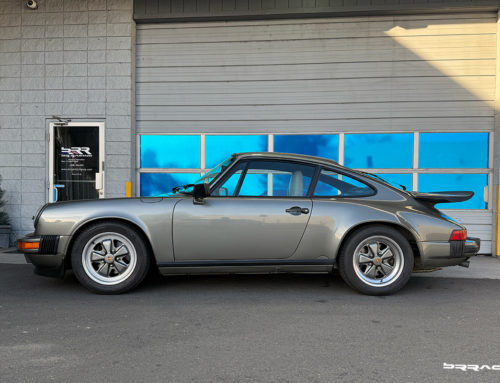
If this is not one of the most classic, older 911’s. Paint in excellent condition, and love the whale tail option. Wheels painted to match…just the tires that are too old and need to be replaced.
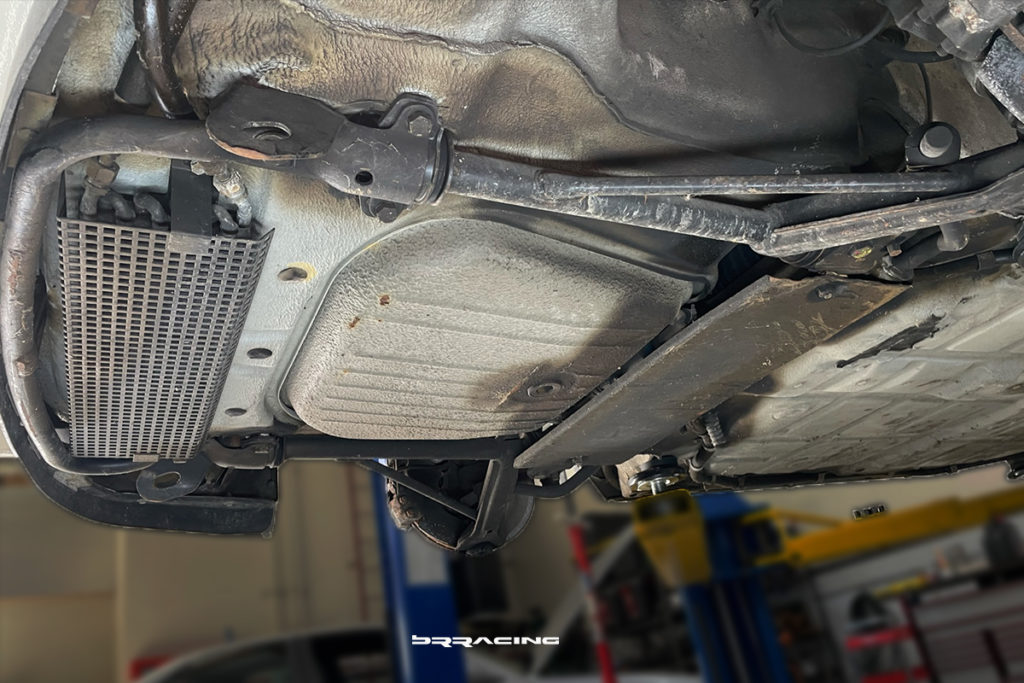
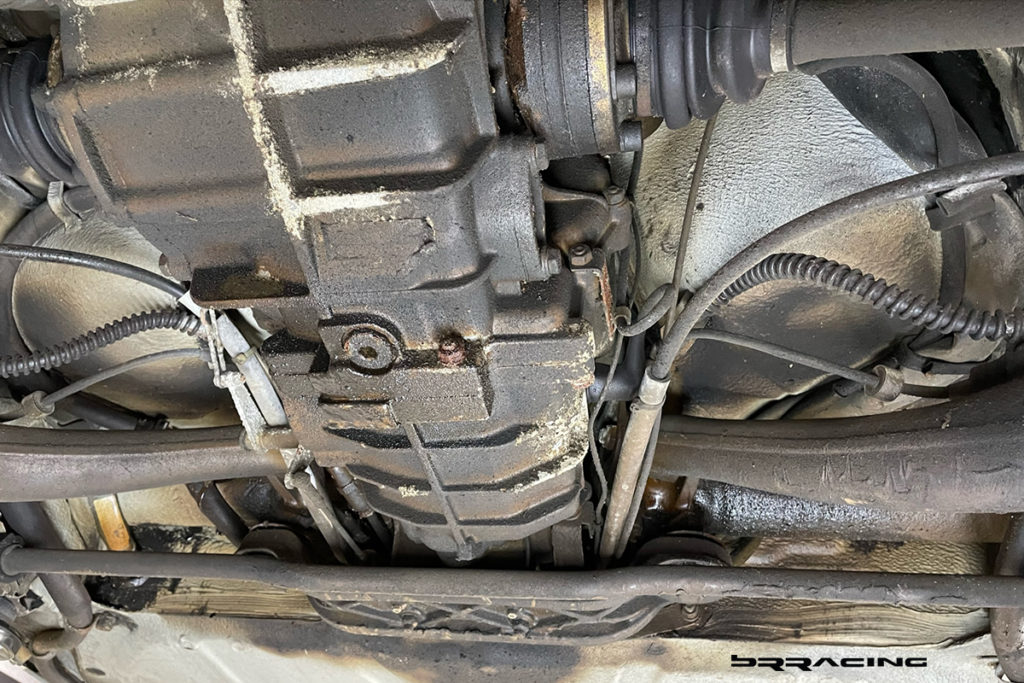
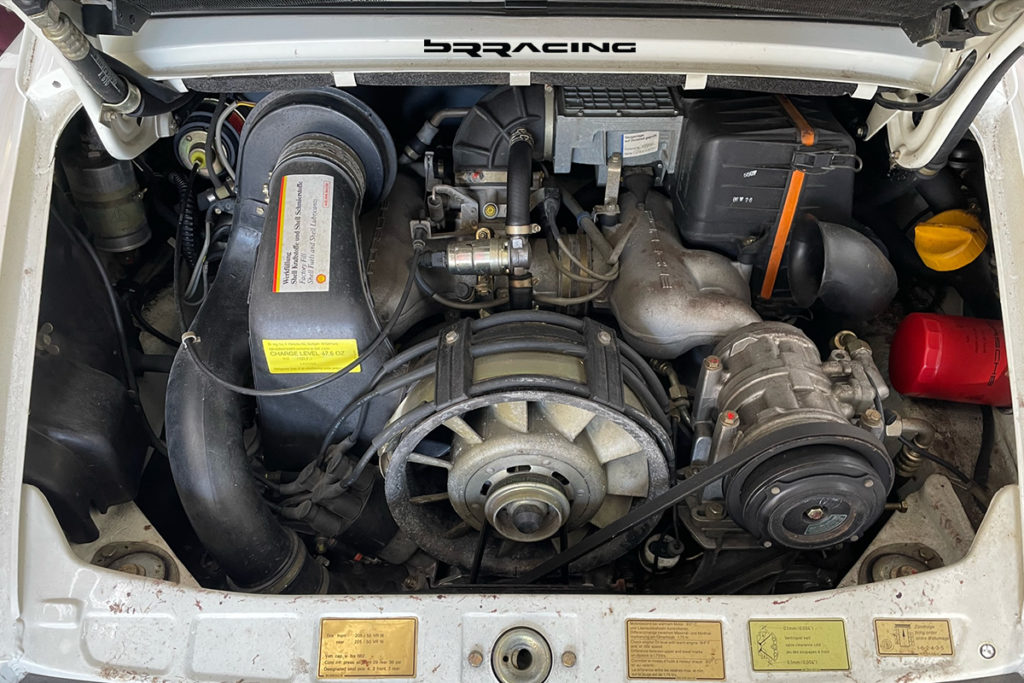
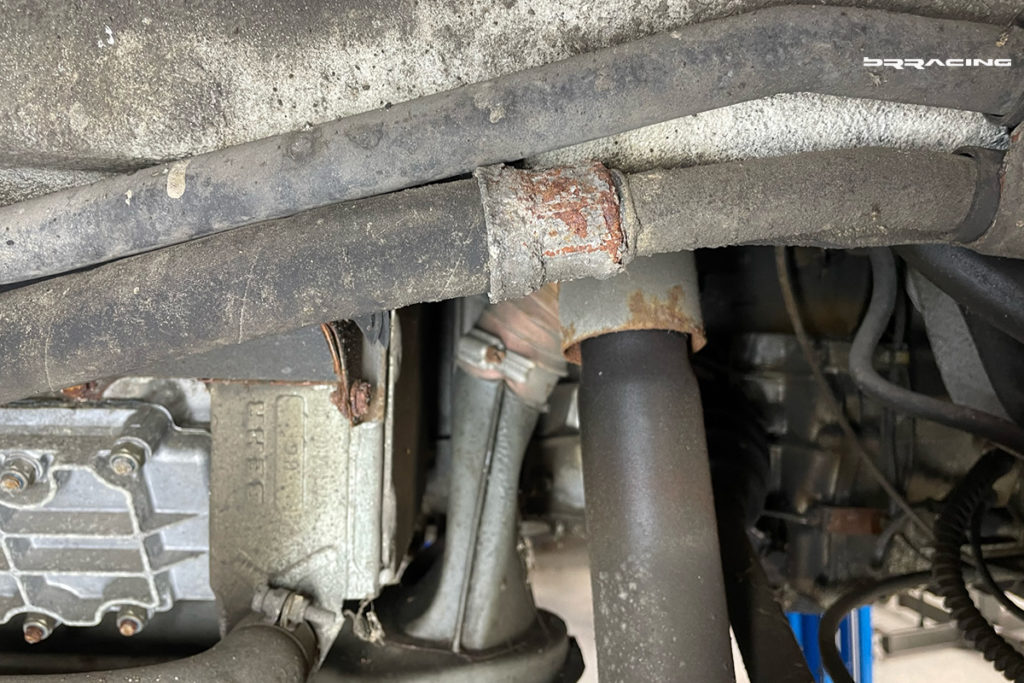
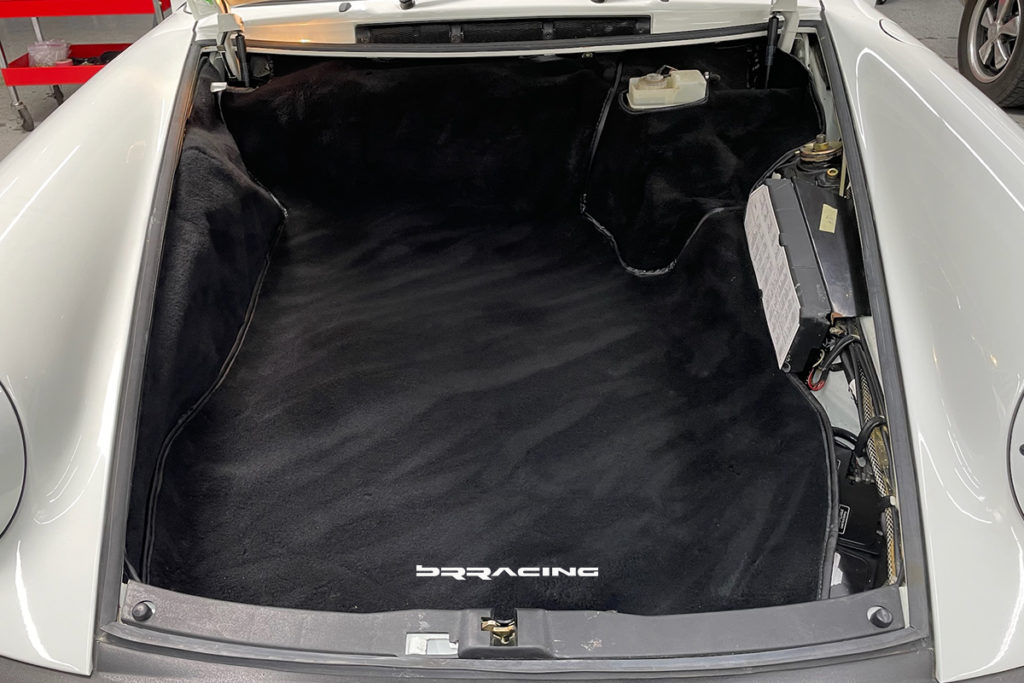
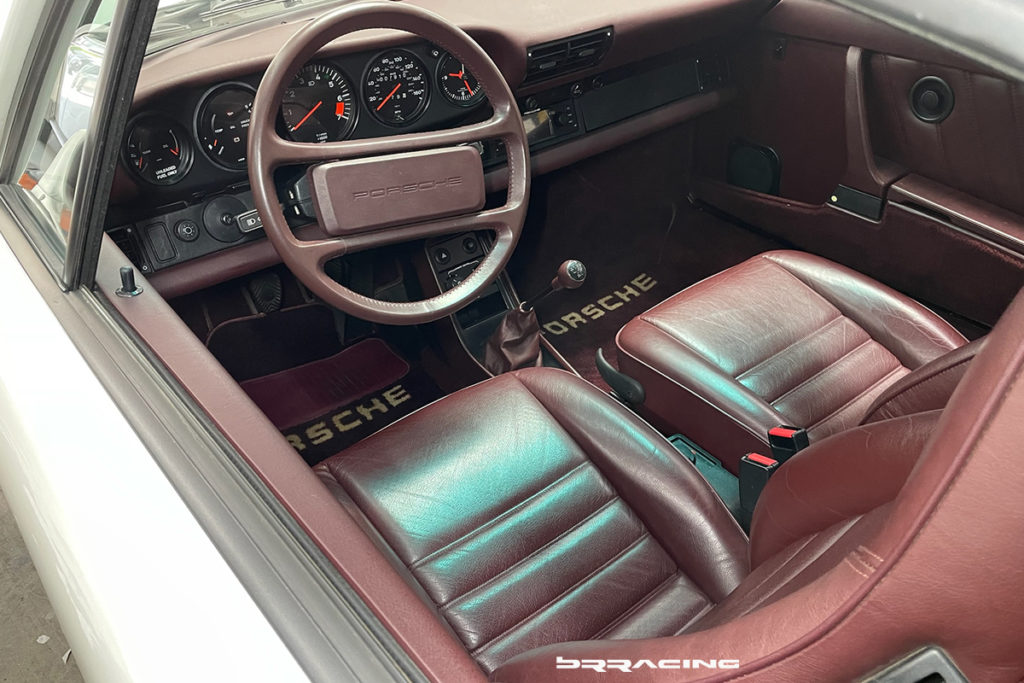
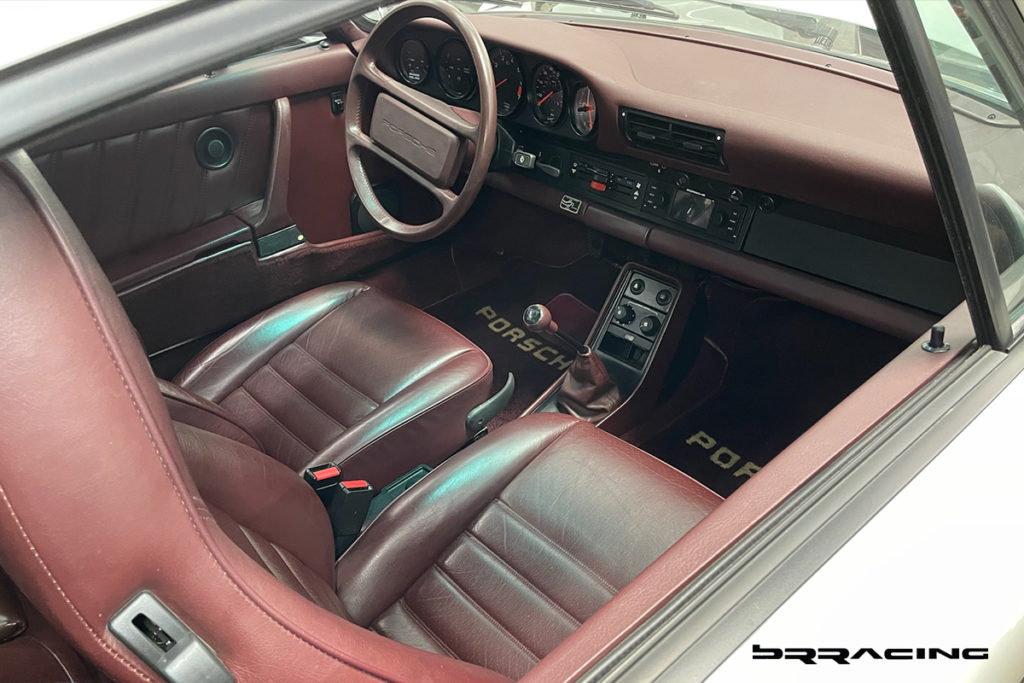
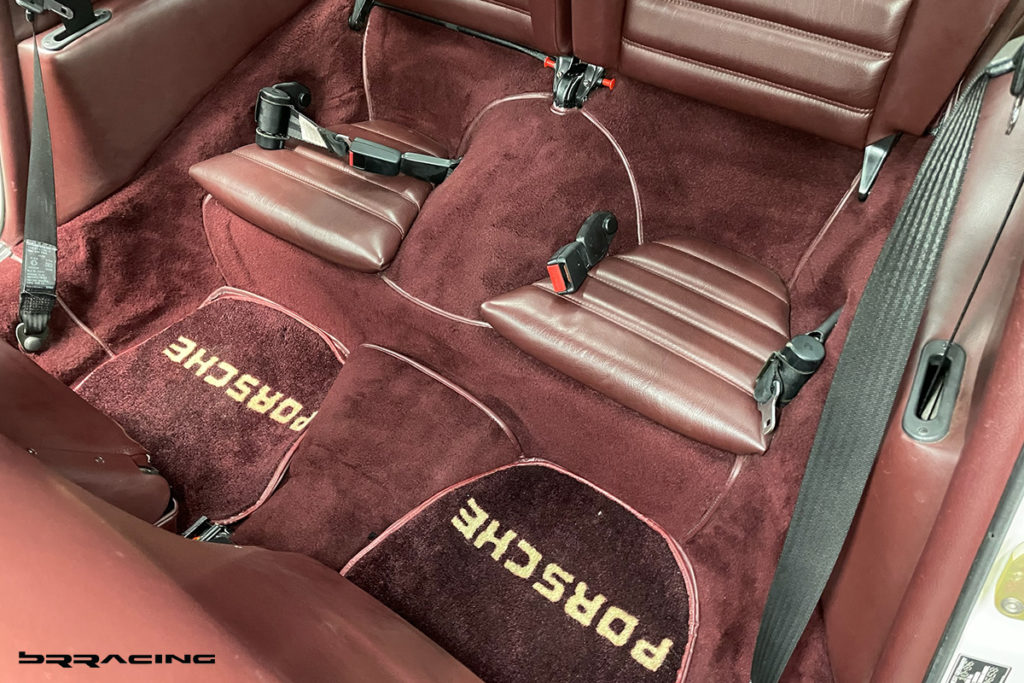
The quick review of the car showed it to be in stunning condition, inside and outside. The interior truly looked like it had only been off the dealers lot for a short time. As with any good “restortation” or “recovery” project, the most important step was the initial inspection and test of the engine / drivetrain. The battery was obviously very dead, so that was quickly replaced. The fuel was bad, so we drained all the fuel and put fresh gas into the tank. Next, we tested the operation of the fuel pump. All systems seem to say, “GO”!. We attempted to start the engine, and it came to life…but promptly filled the shop with smoke from the exhaust. The question was…was this just oil that had accumulated in the engine, or was this a sign of a more serious issue. Either way, we needed to dig a little deeper, and start the full inspection. Once on the lift, this is where the true colors of this project started to show their colors. We are so used to cars that have operated here in California, we forget what weather does to cars from years of sitting in the MidWest….and this car now started to show it’s true colors of sitting in salty, humid weather for years.
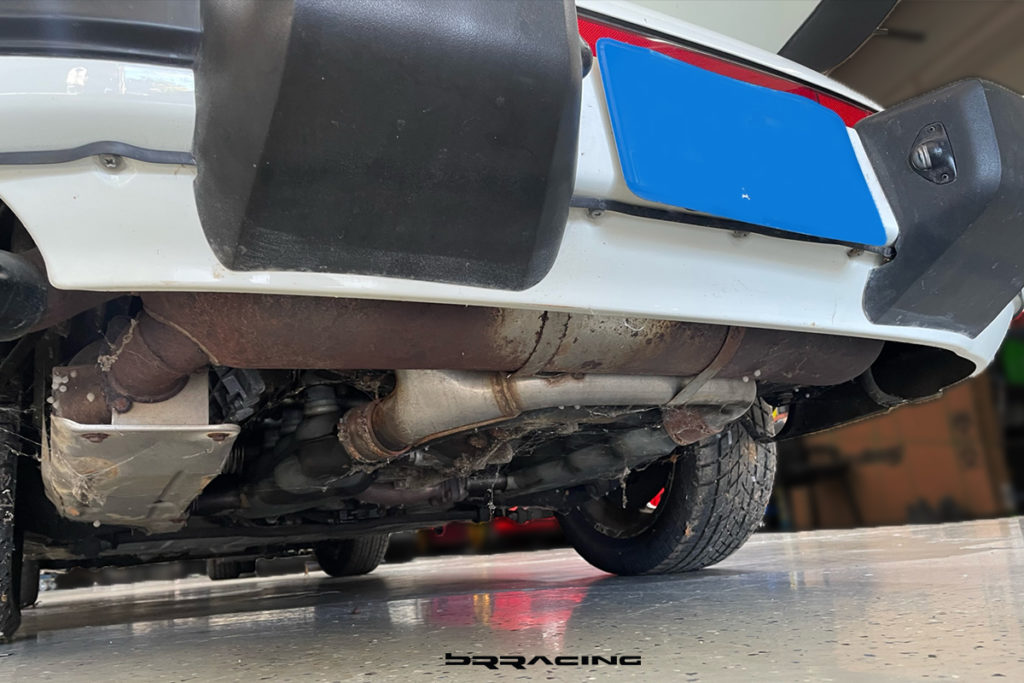
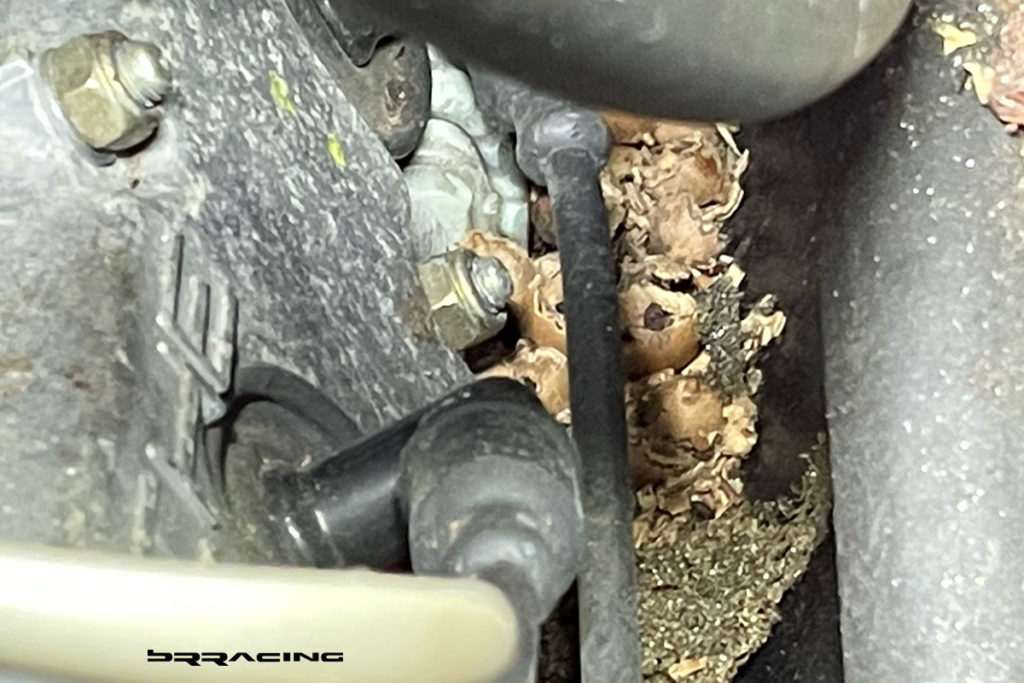
At first, nothing too serious…obviously lots of spiders have been hiding and living in the car for years. These pics also start to show the major concern…rust, corrosion. Looking a little deeper into the car now shows more items of intrigue.
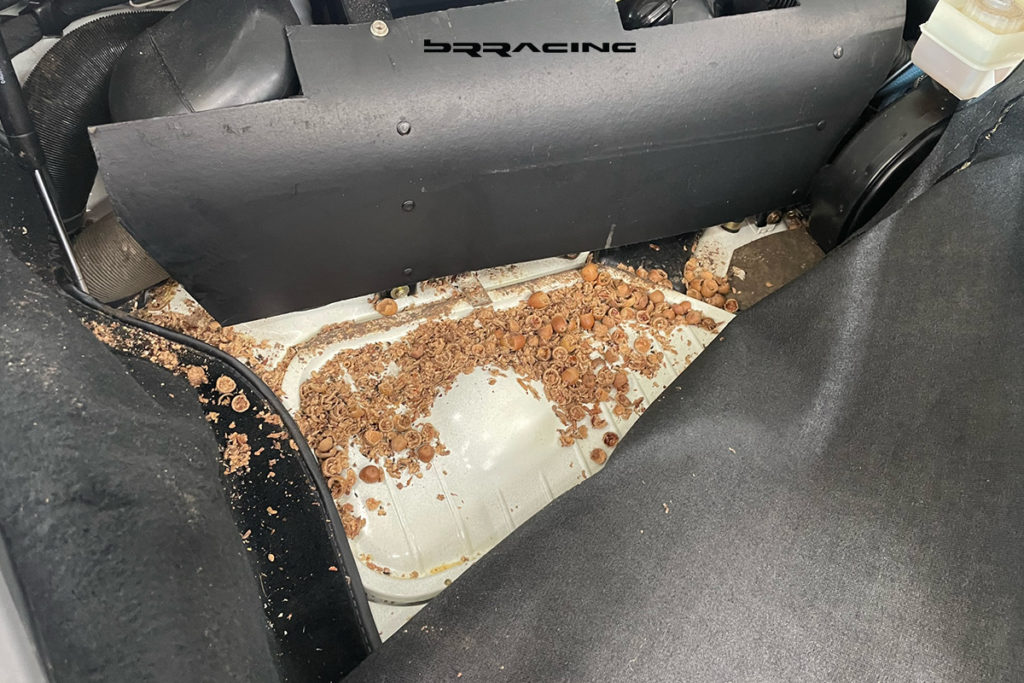
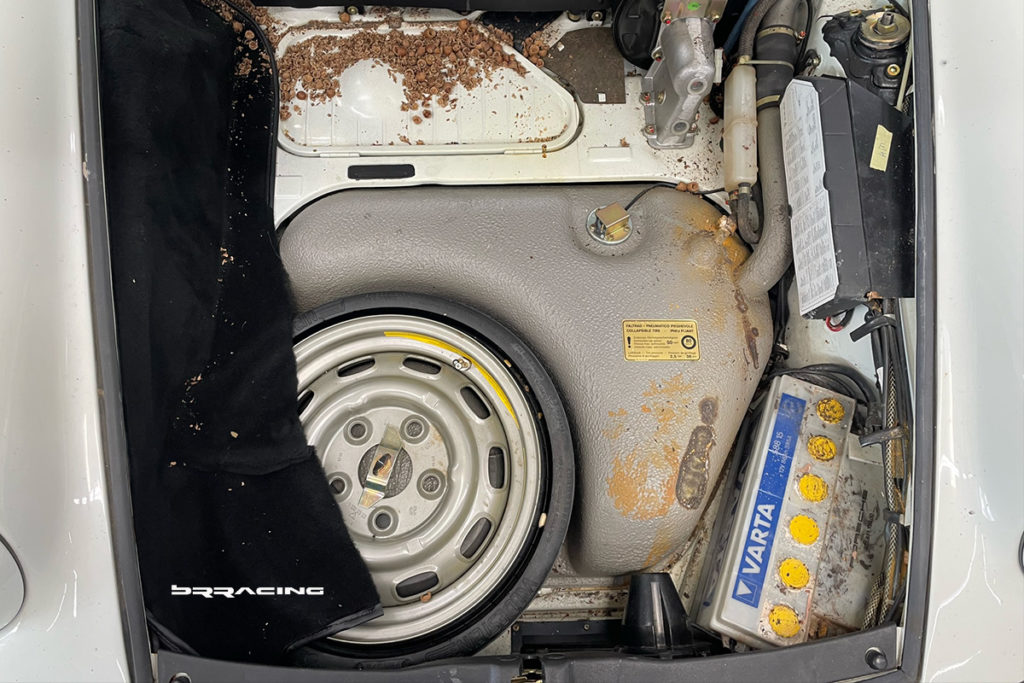
For who knows how long, rodents have been nesting in the car, both front and rear. Before we can go any deeper, we need to completely clean the car of all the nesting materials and remains. Good news, was that we did not find any wiring that had been eaten or attacked. But, the big issue is the corrosion…it is present everywhere, on any surface, on any part.
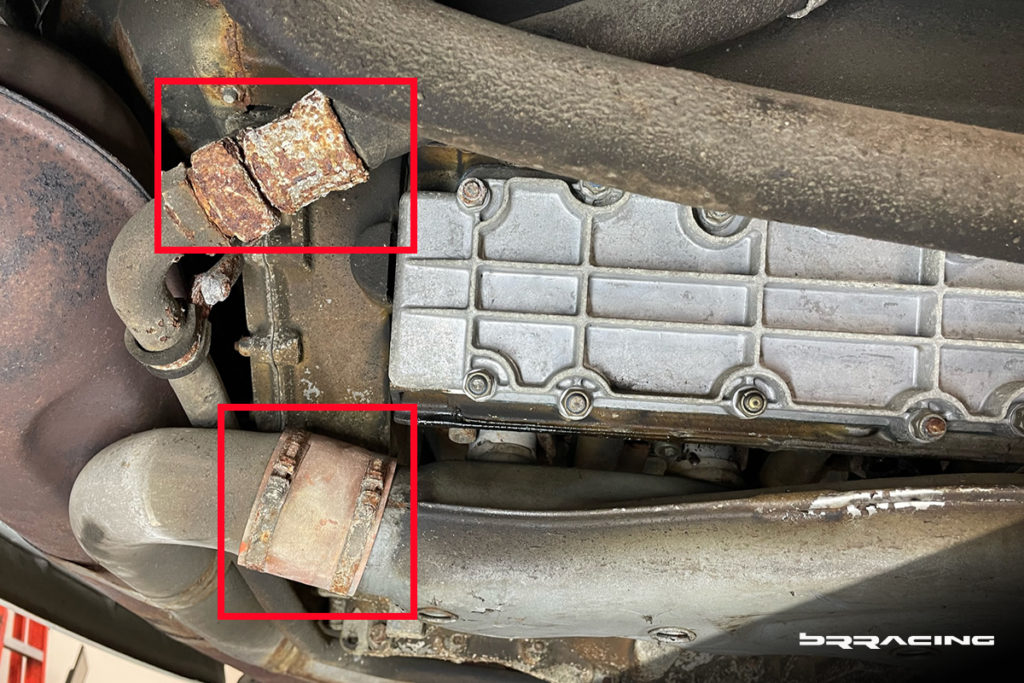
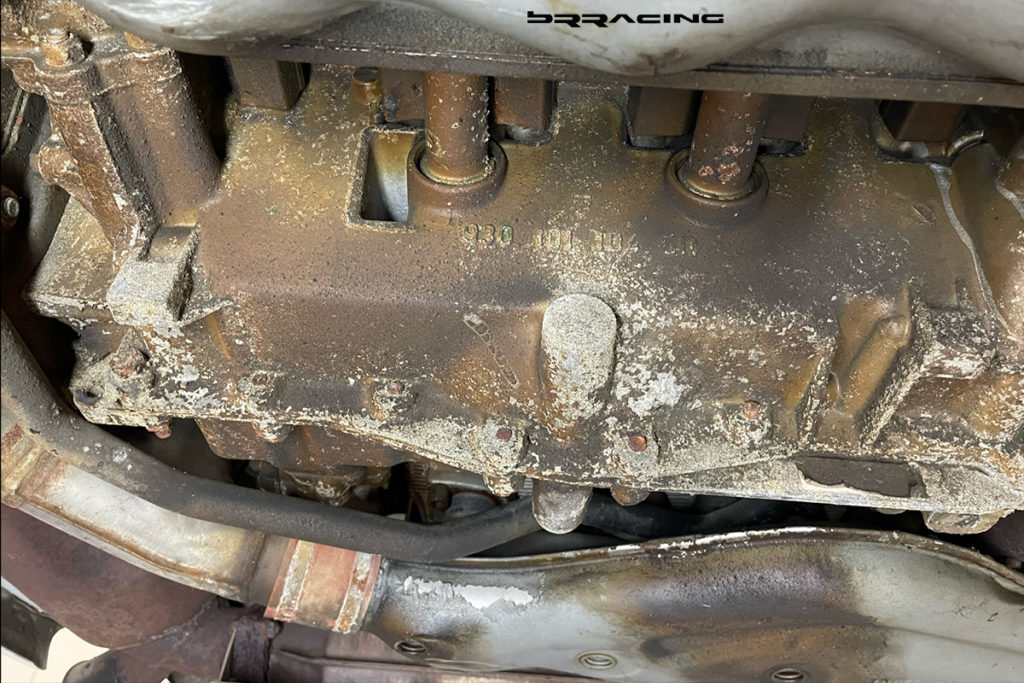
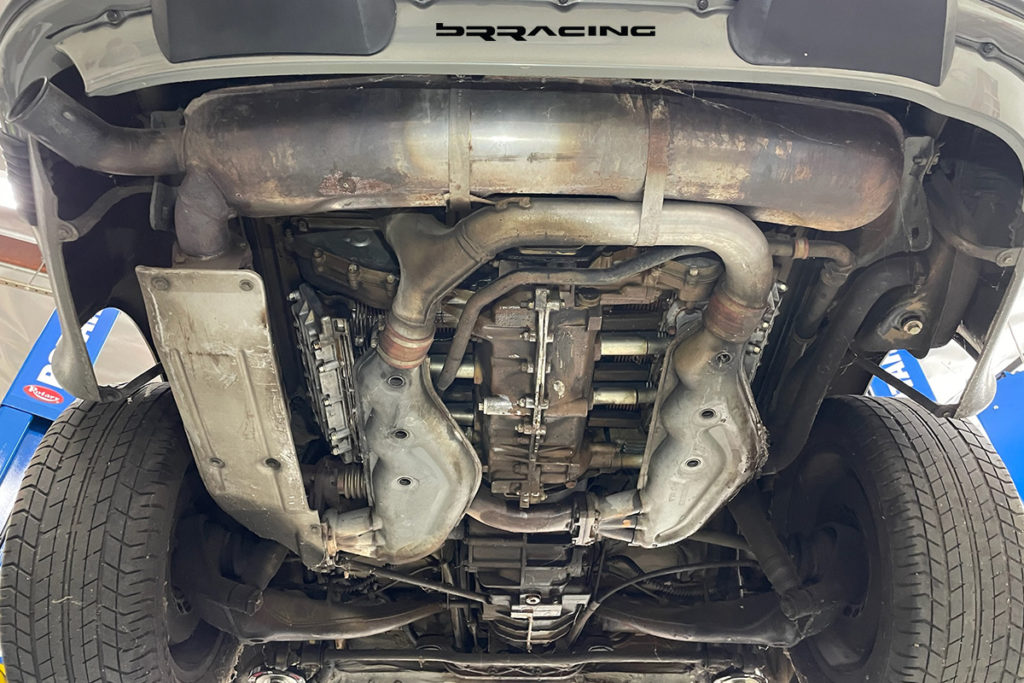
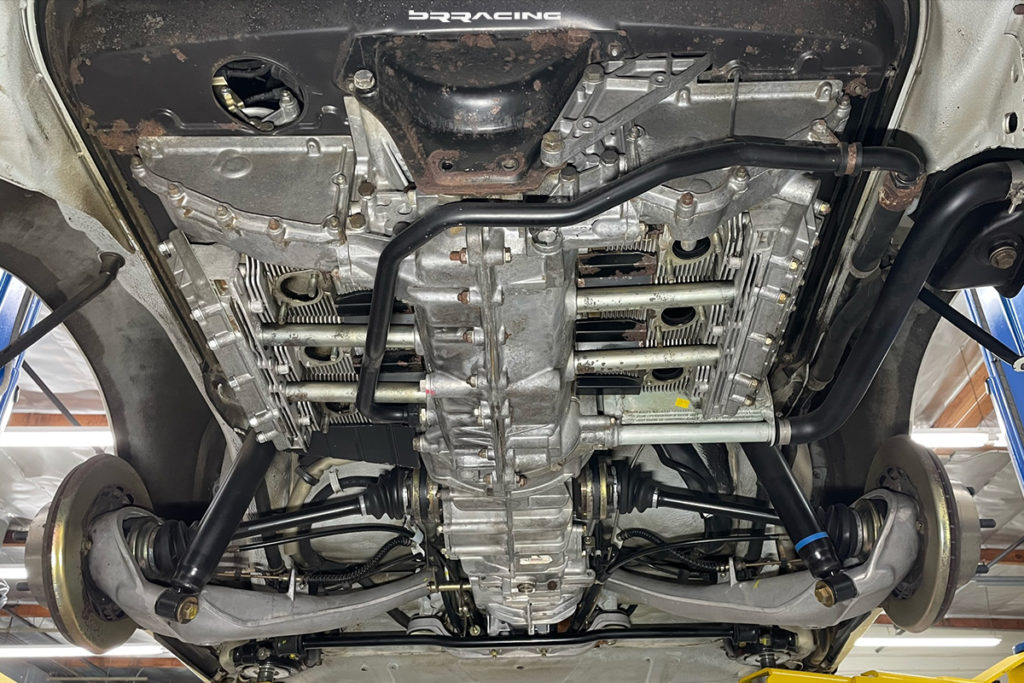
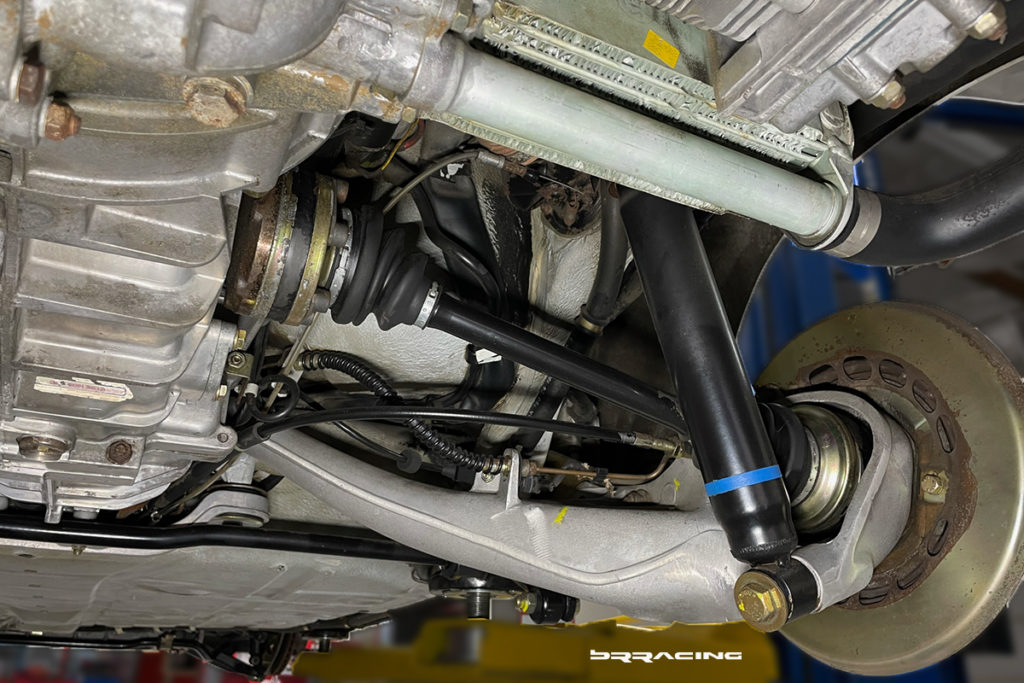
As can be seen in the image above, we have not only the corrosion from the weather, we have dirty everything. Engine, suspension, exhaust, oil lines. “DRY ICE” to the rescue. Before we drop the engine, we spray the complete underside of the car with the new “dry ice” procedure. It literally strips the grim, dirt, buildup from all parts, without being destructive. Almost hard to believe how “new” it makes parts look. It is truly amazing…as seen in the images below:
What a refresh…wow! But, you can still see remnants of the corrosion.
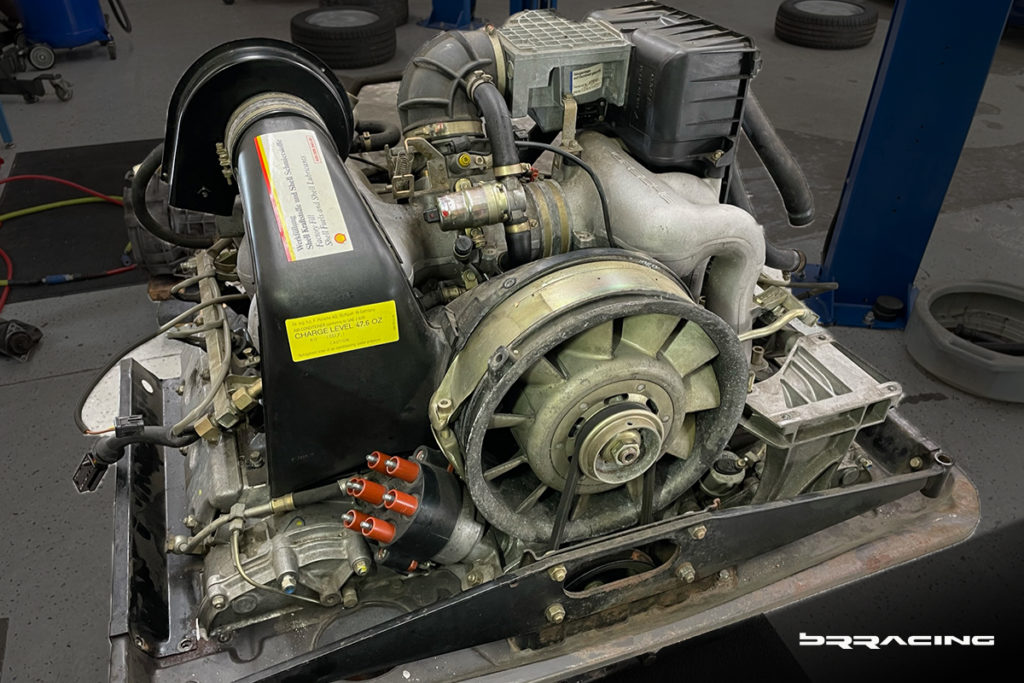
So, now we have two major items to deal with – the corrosion present nearly everywhere, and the smoking engine (thought to be valve stem seals that have shrunk and are therefore leaking into the cylinders). Time to get started, and drop the engine, remove all wheels / tires. Engine and transmission must come out first.
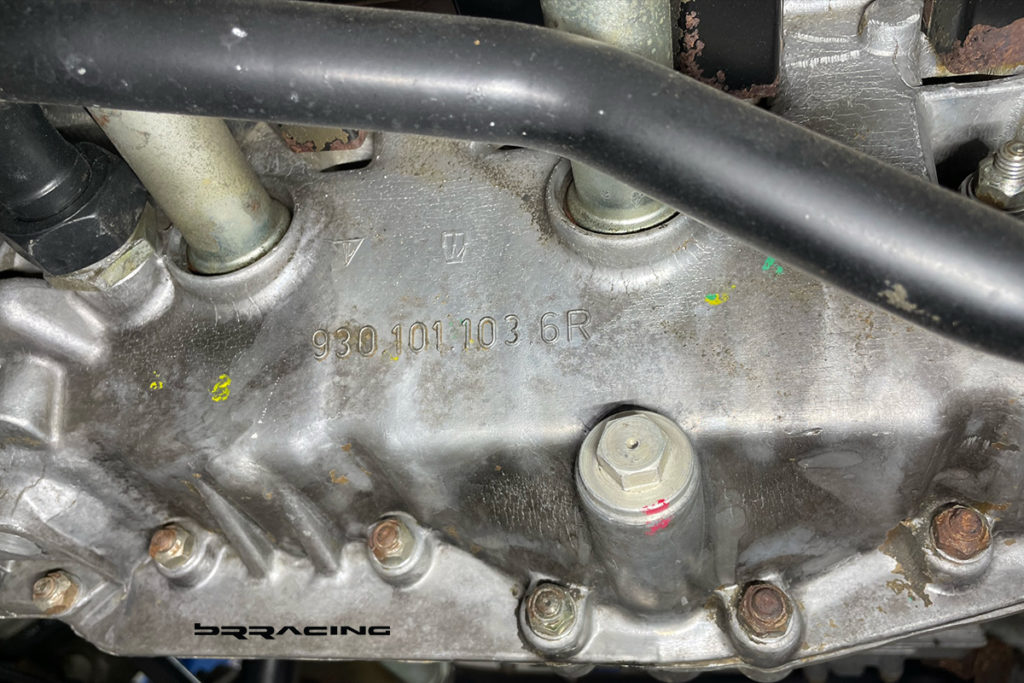
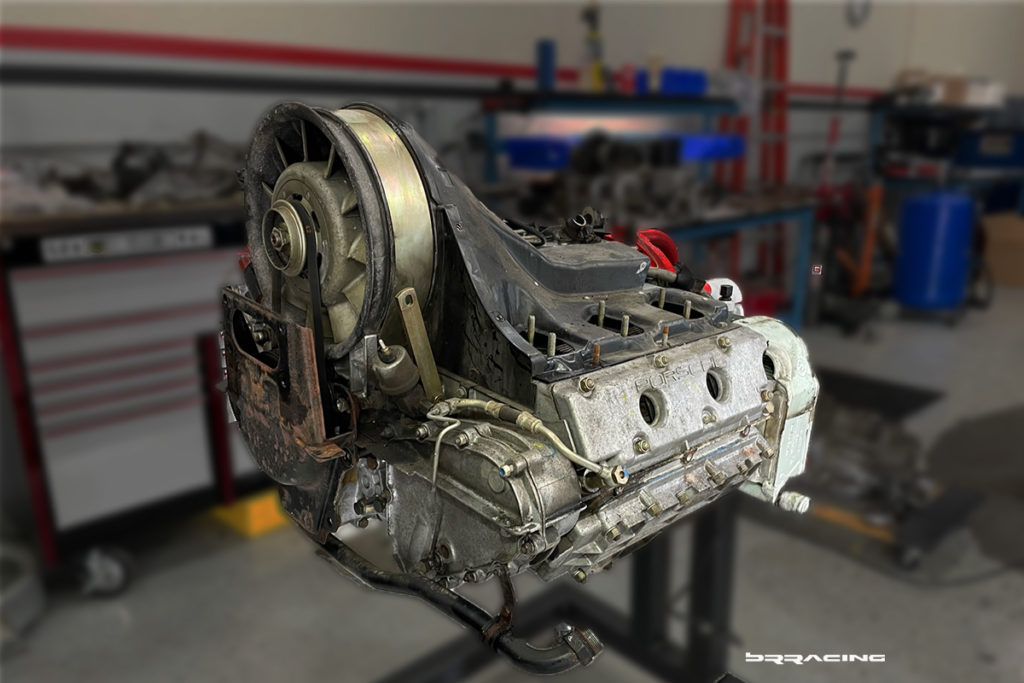
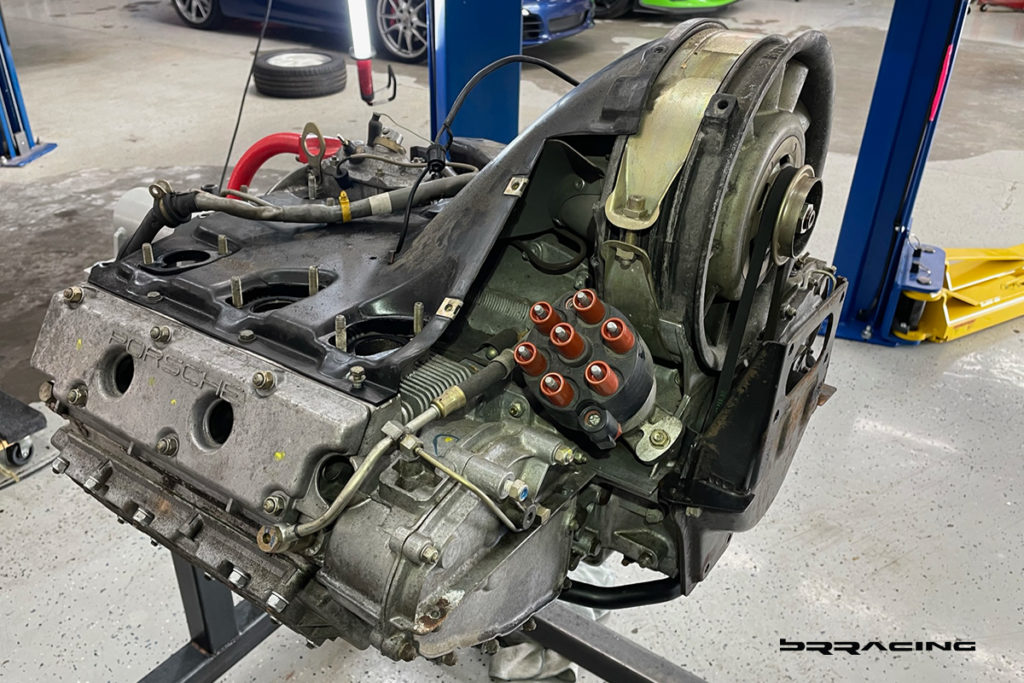
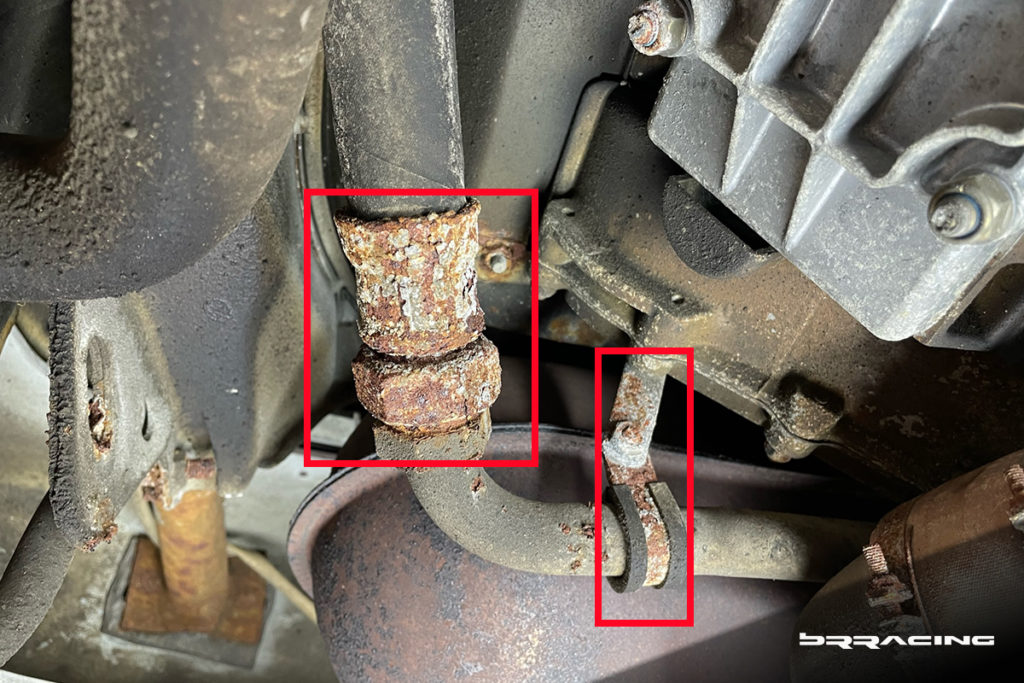
Corrosion can be seen on almost every surface. The good news is that there are now tools that allow us to restore elements back to near new condition instead of having to replace them. Let’s get at it, and tear this engine down so we know what the scope and work ahead of us is.
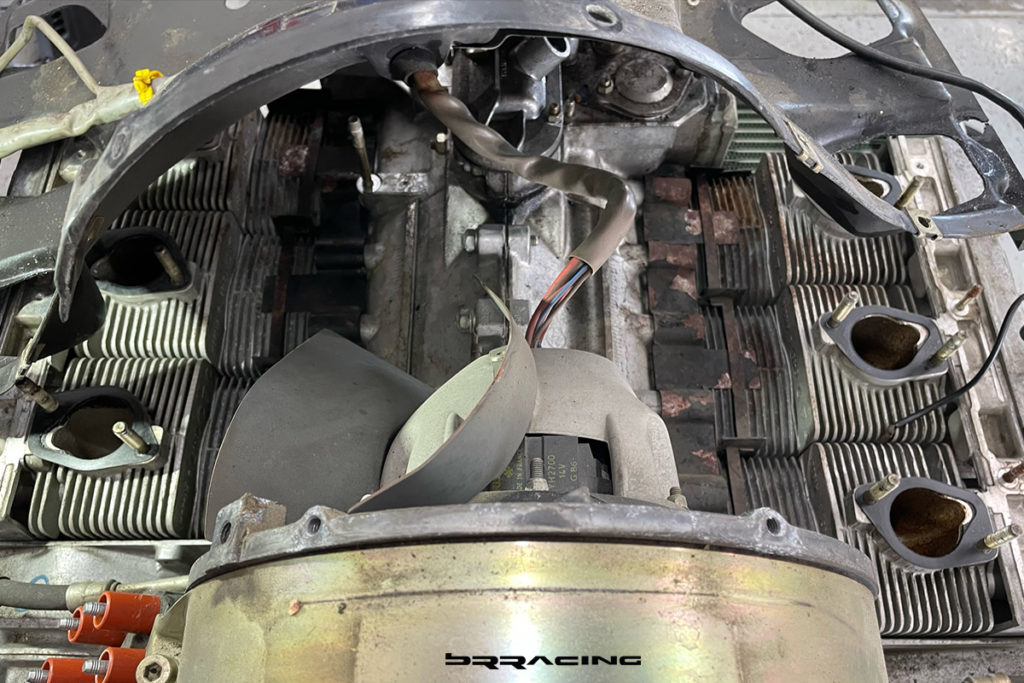
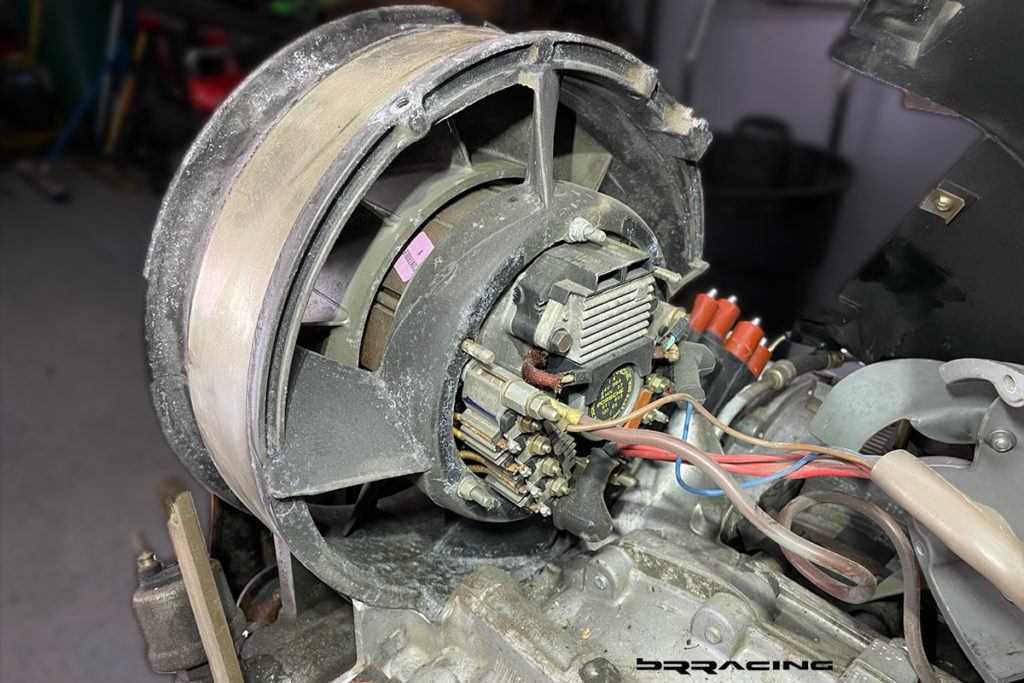
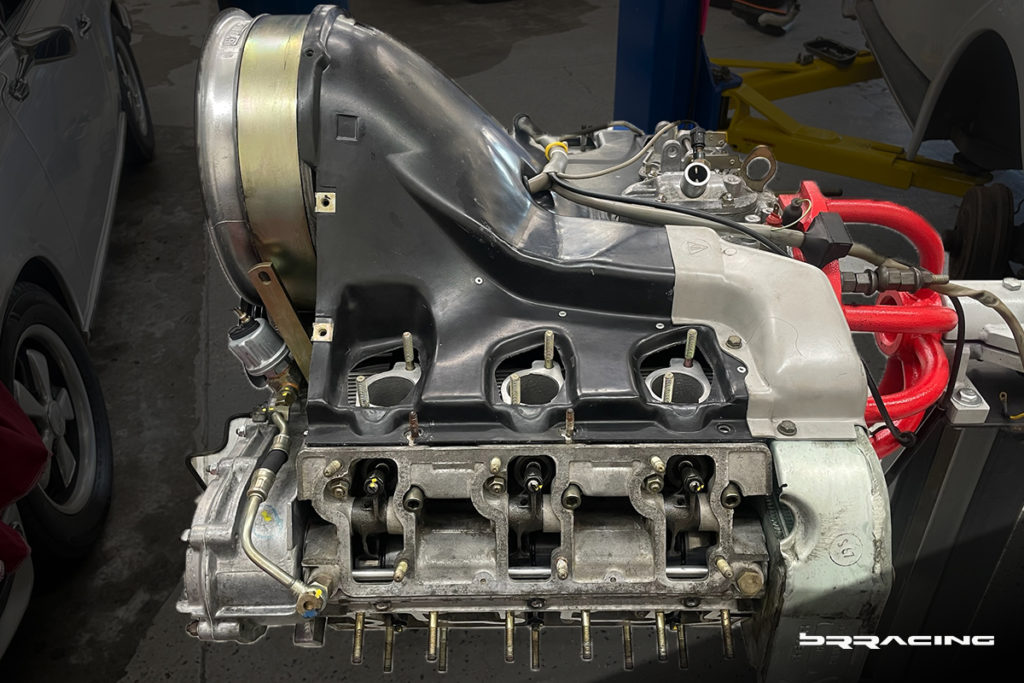
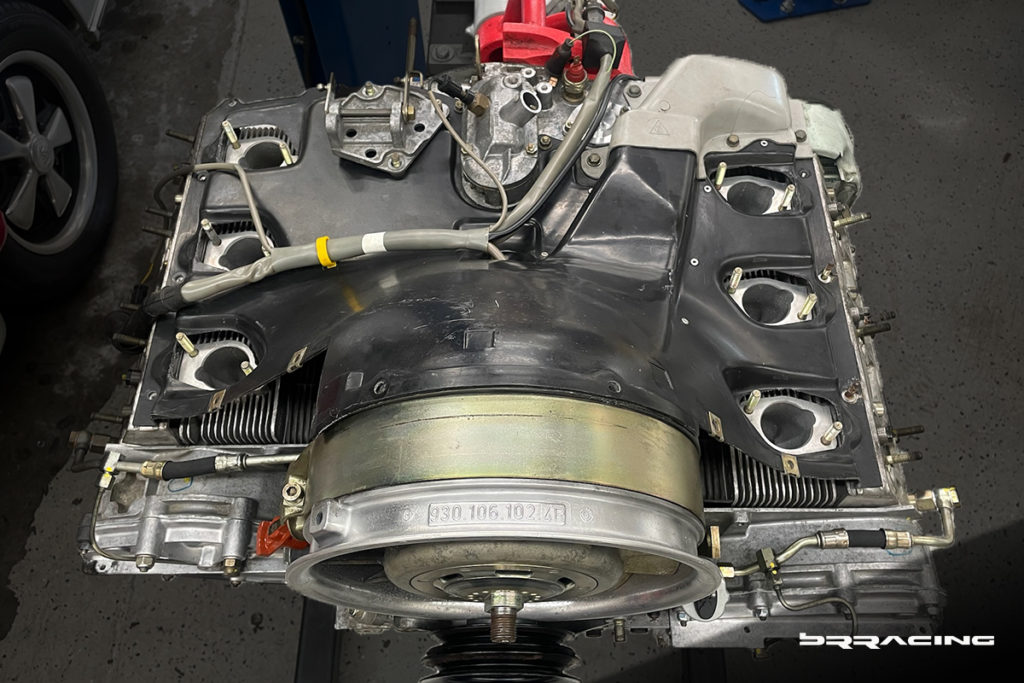
Removing the top air guide starts to show the true colors of what we are dealing with internally relative to the corrosion.
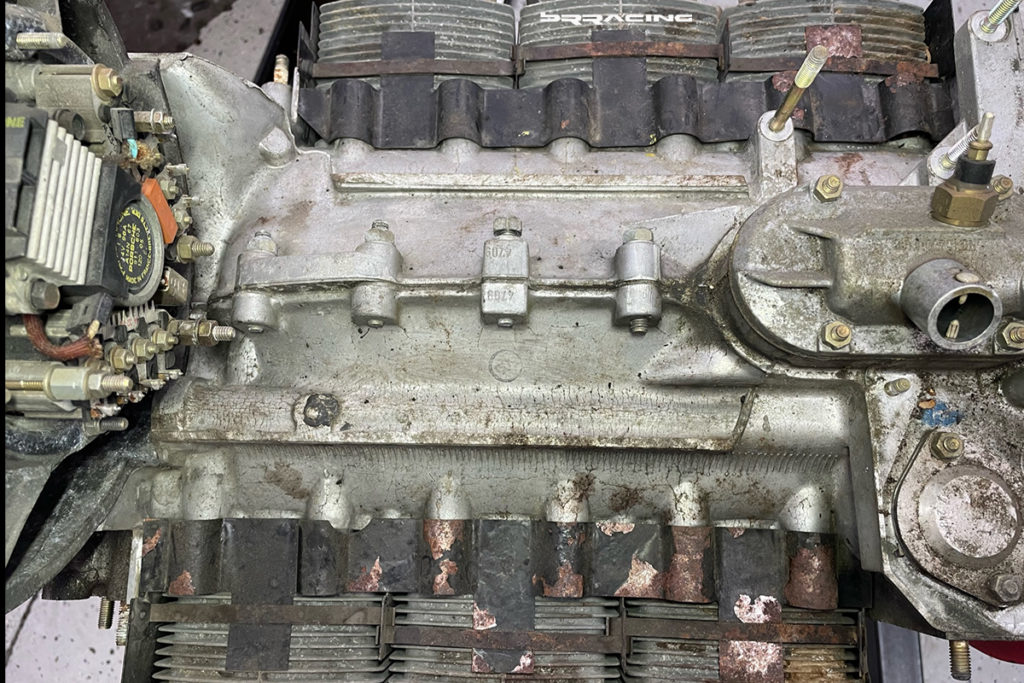
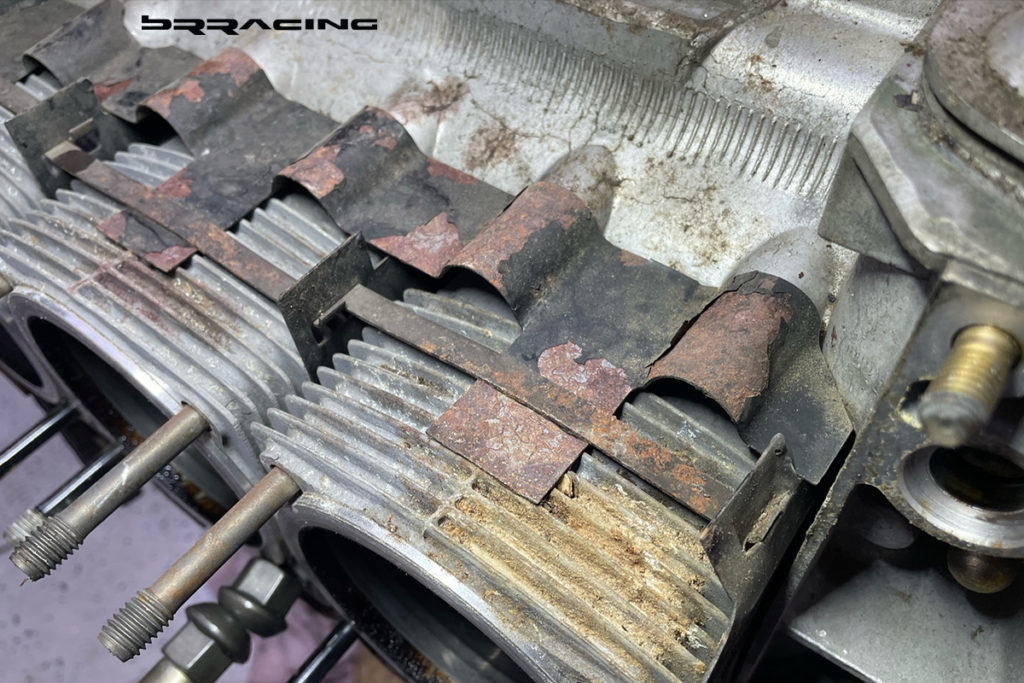
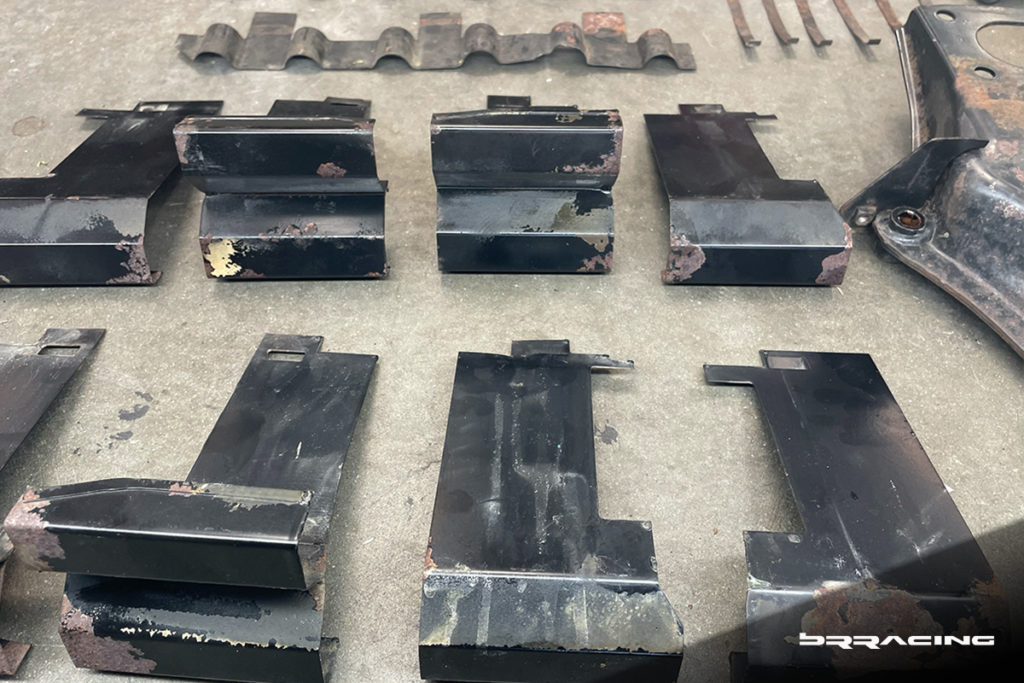
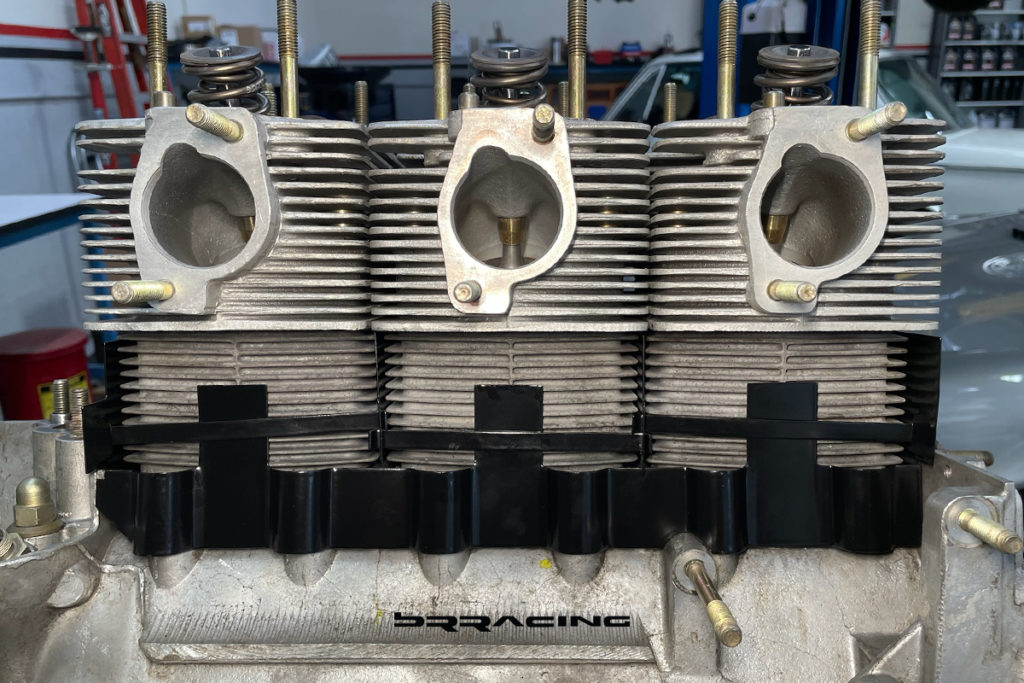
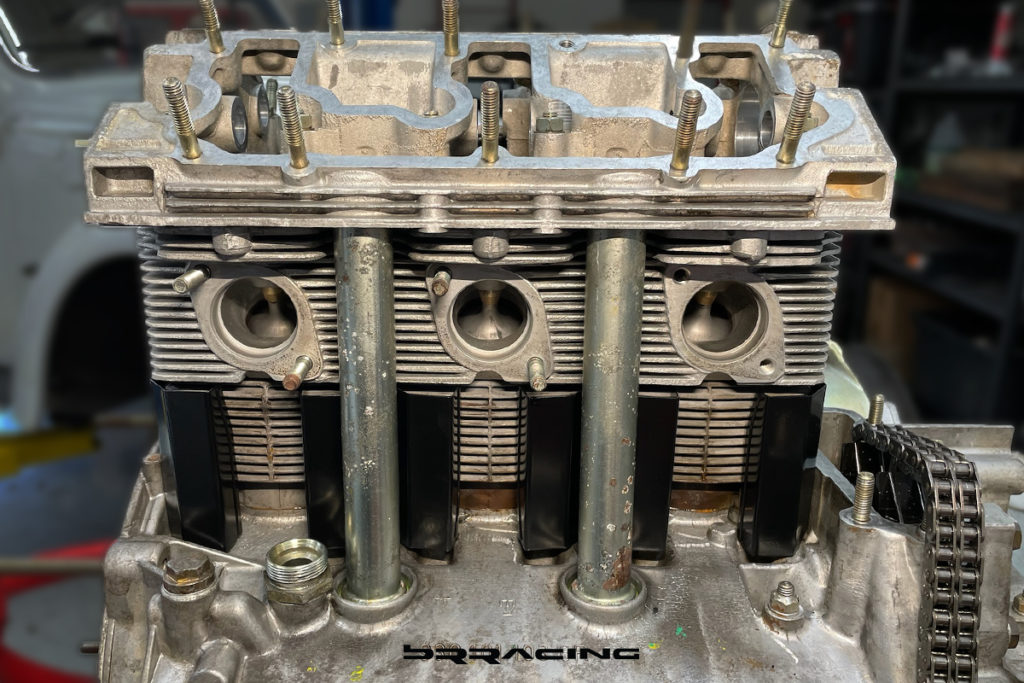
Now we are down to the base case, and the cylinders, and their surrounding heat guides. This is the worst of the corrosion.
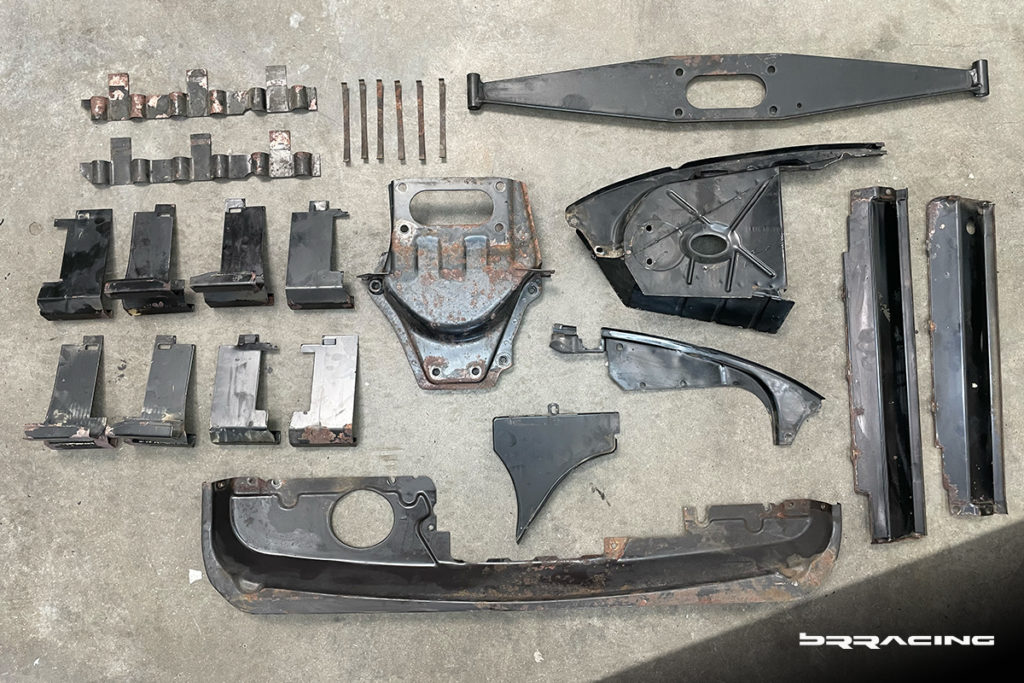
Time to remove all those pieces and see what options we have.
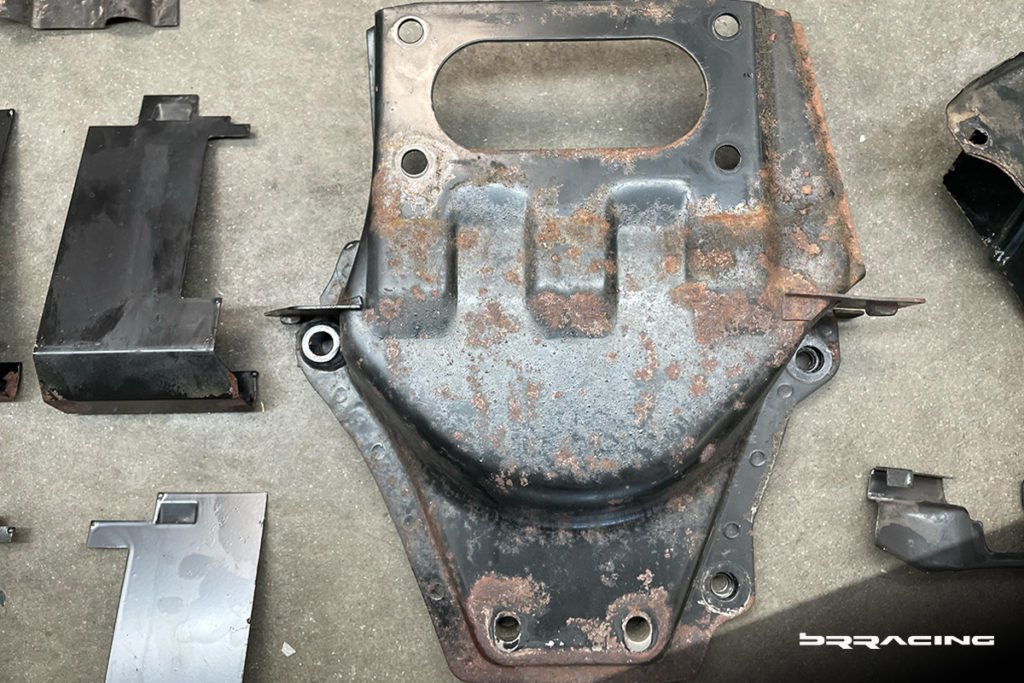
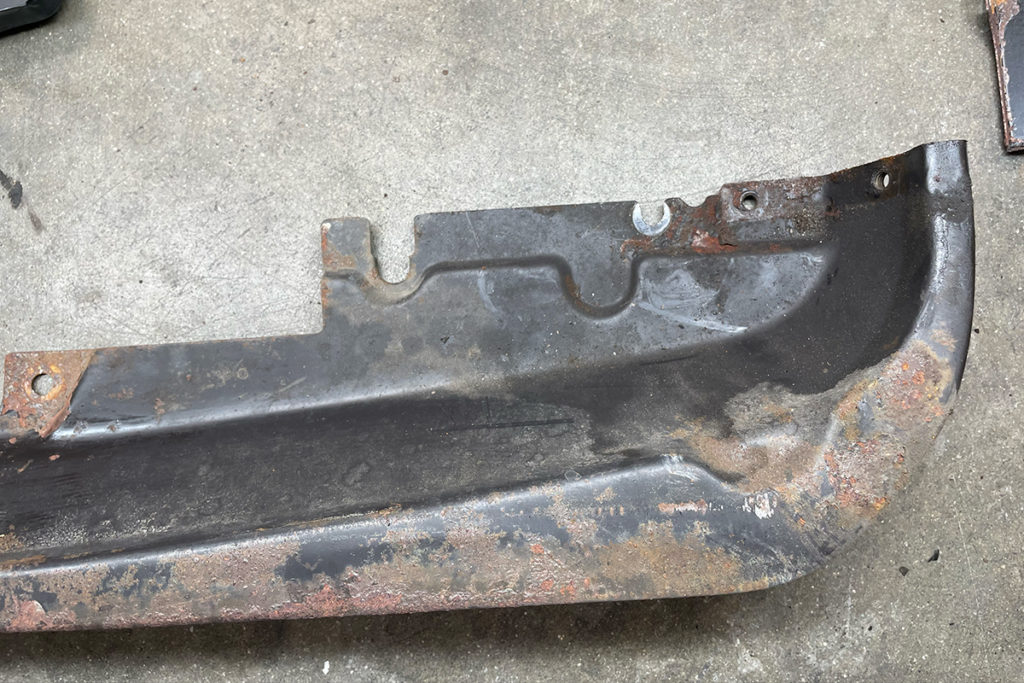
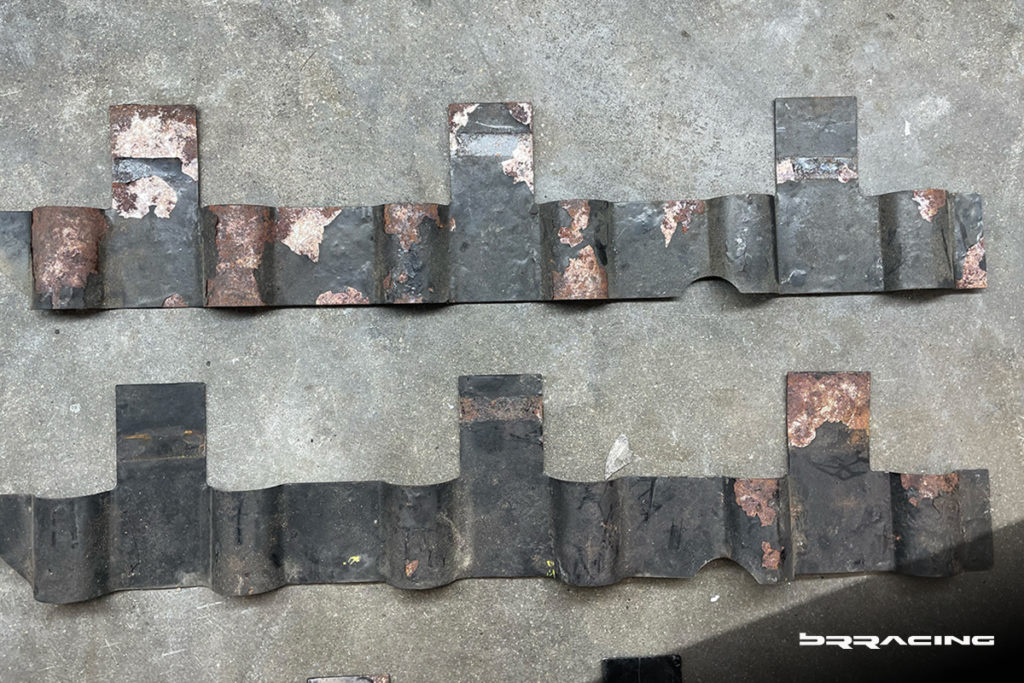
Not very pretty. Now the hard questions start. Can these be saved? Are they too far damaged? Is this just the surface paint, or is there destruction to the metal itself. Do we have to replace these? If we try to save them, will there be long term implications, will the corrosion return? Is the metal weakened too greatly? Now the real work starts.
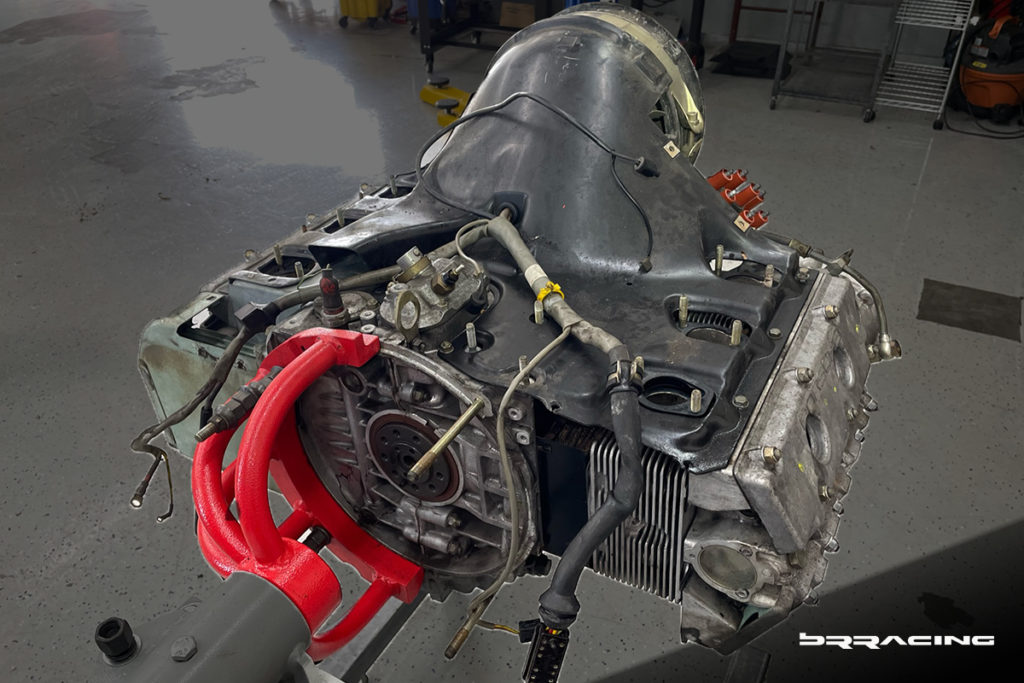
Let’s peal the engine down still more. We need to get the peripheral pieces all off, then we can next get to the cylinders and hardware (and will the cylinder studs have too much corrosion as well, and not come out, but snap off?
Before we can get the cylinders off, we need to remove all the timing elements, and the heads.
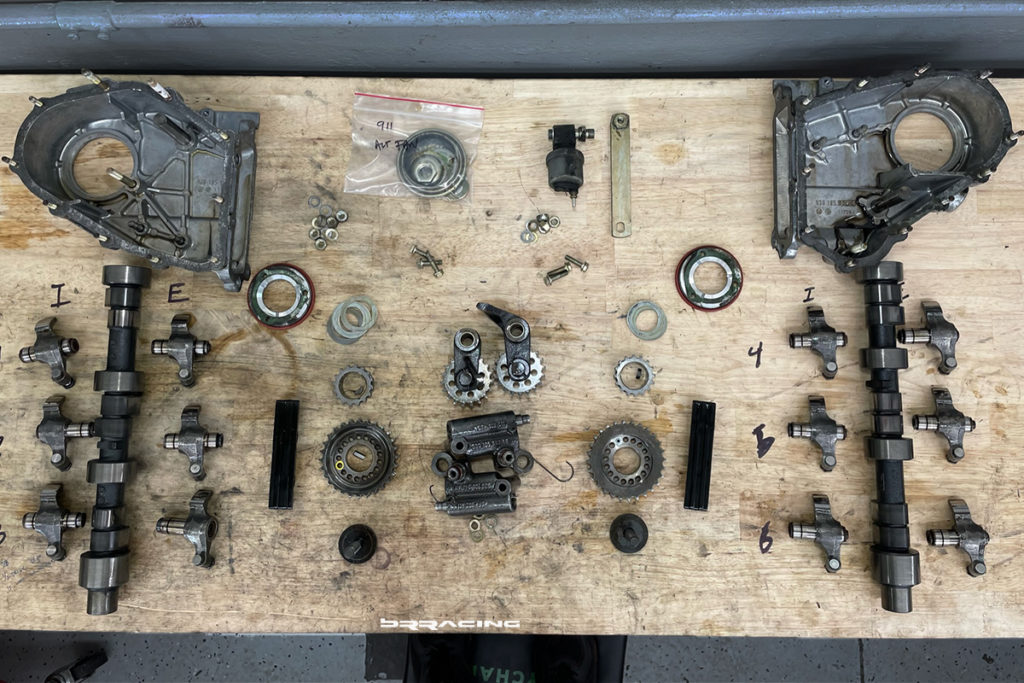
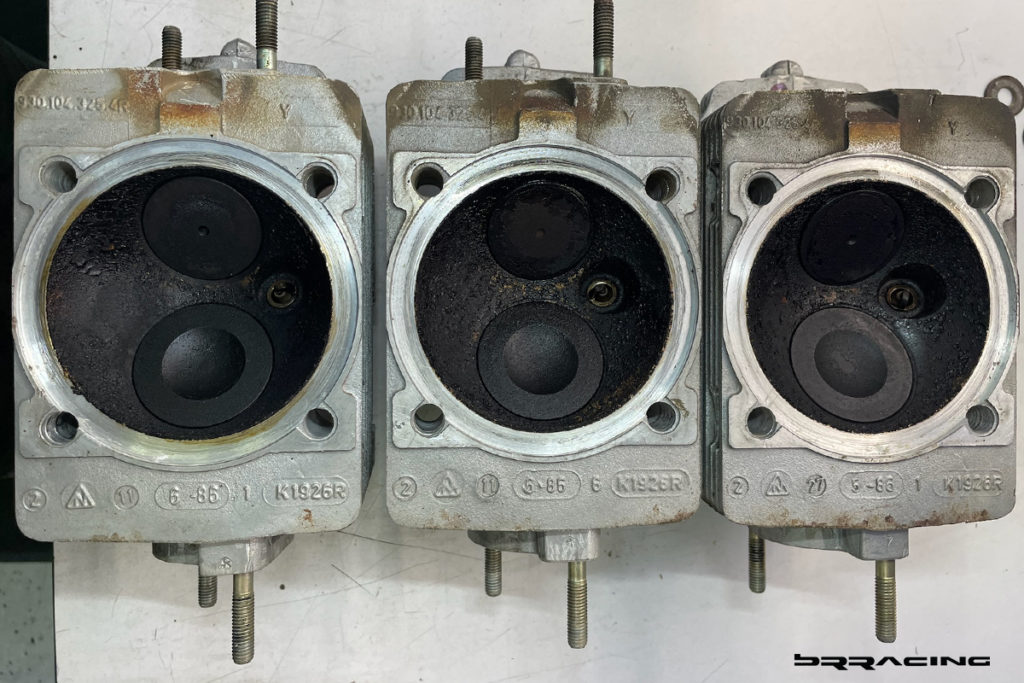
Once all the timing, chains, guides, camshafts, rocker arms, cam carriers have been removed, we can get the heads off. This will be the next big question…did we have something going on in the cylinders, or was it indeed the valve stem seals that had shrunk and allowed the oil into the cylinders? Critical question, as once we have the engine torn down this far, we can’t move forward till that issue is resolved. What do the heads tell us (on an oil school air cooled 911, the heads and cylinders are individual, one set per cylinder).
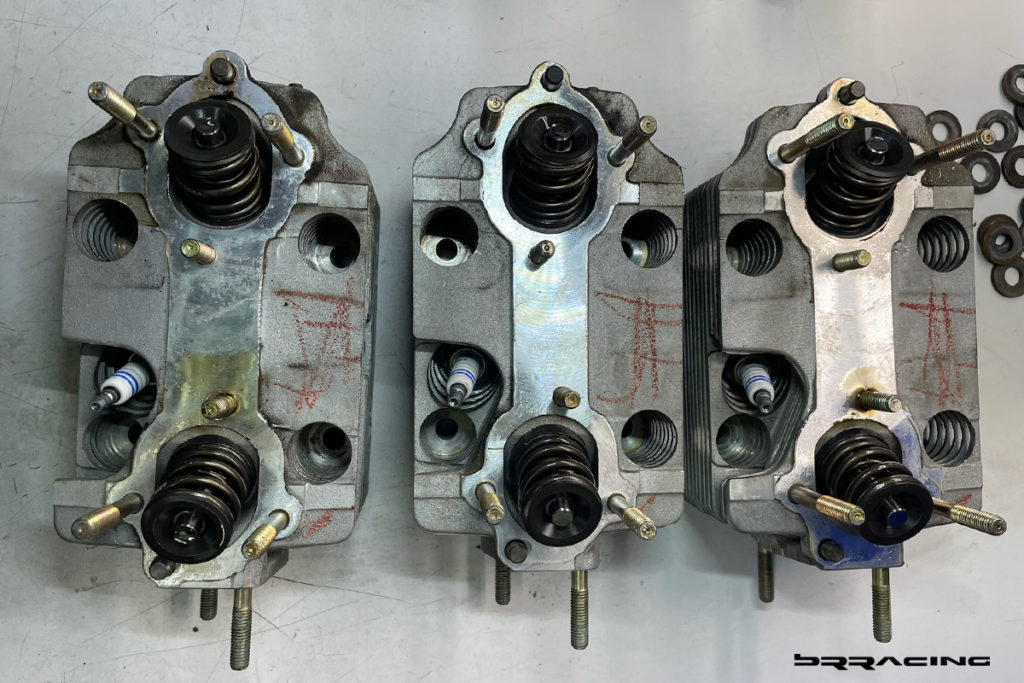
The heads themselves are in good condition (and one would expect so given the mileage). Let’s look a little deeper into the heads, at the valves.
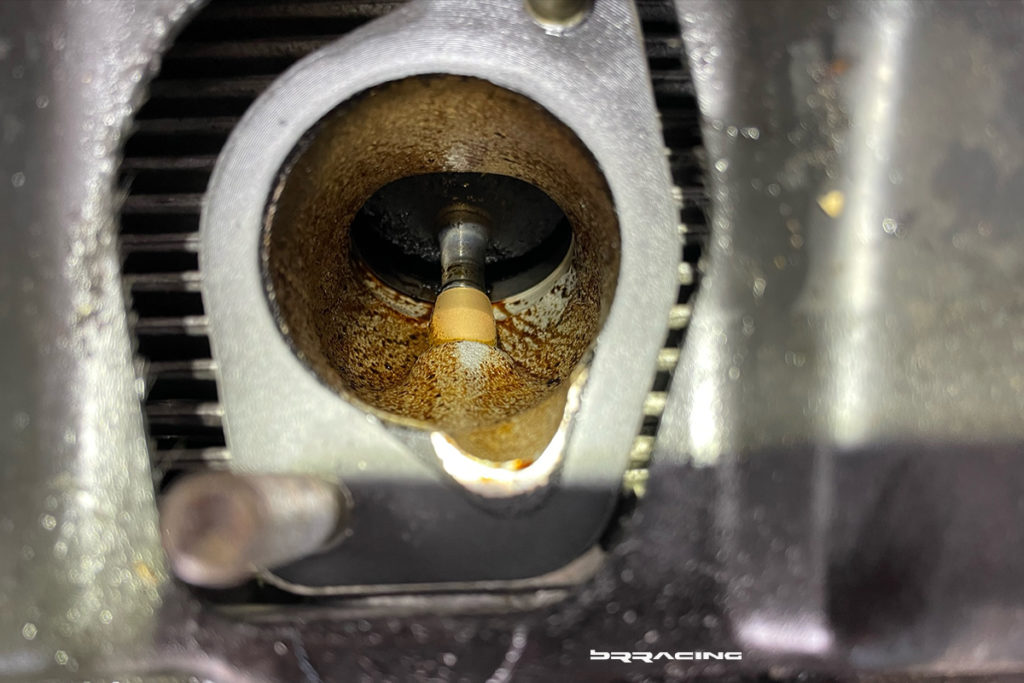
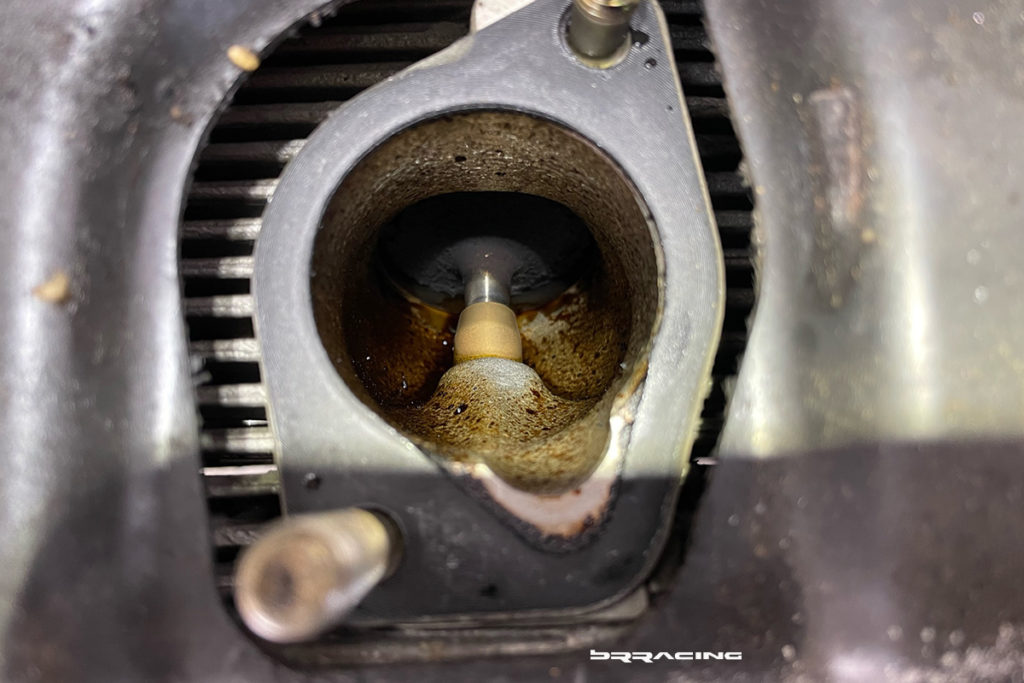
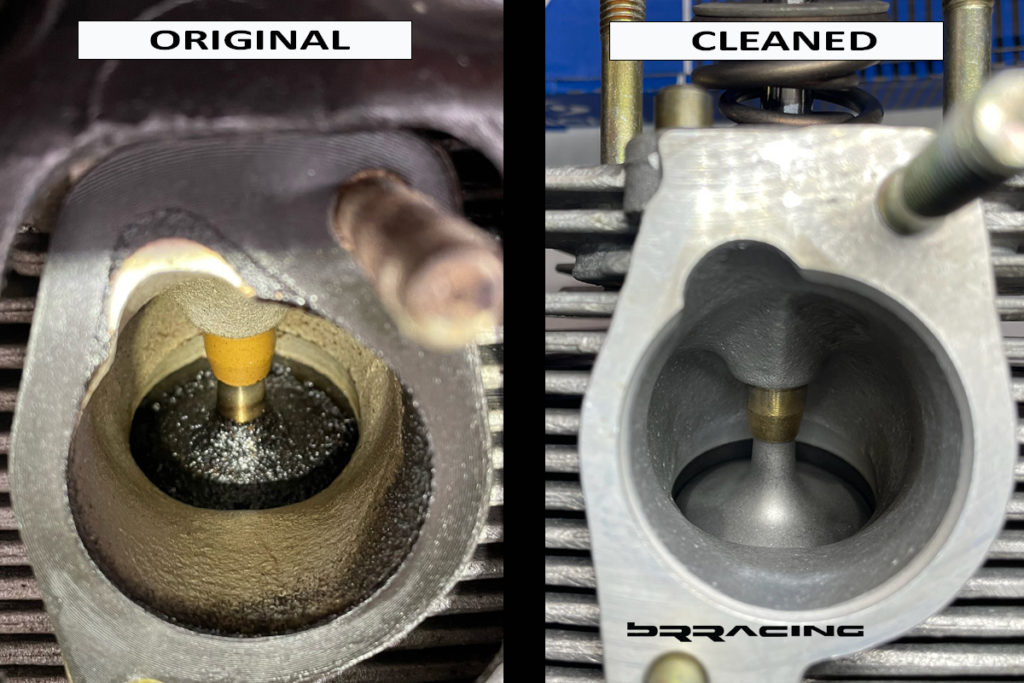
This is an air cooled engine…this indeed is the smoking gun evidence (if this were a water cooled Porsche engine from the era of 2006 to 2013, we might come to a different conclusion here). But, there should be no evidence of oil here in the intake passage / port. In fact, with the fuel injectors located where they are in the intake passage, the fuel should have cleaned these intake passages….we indeed have a heavy oil leak. Do the cylinders support this determination?
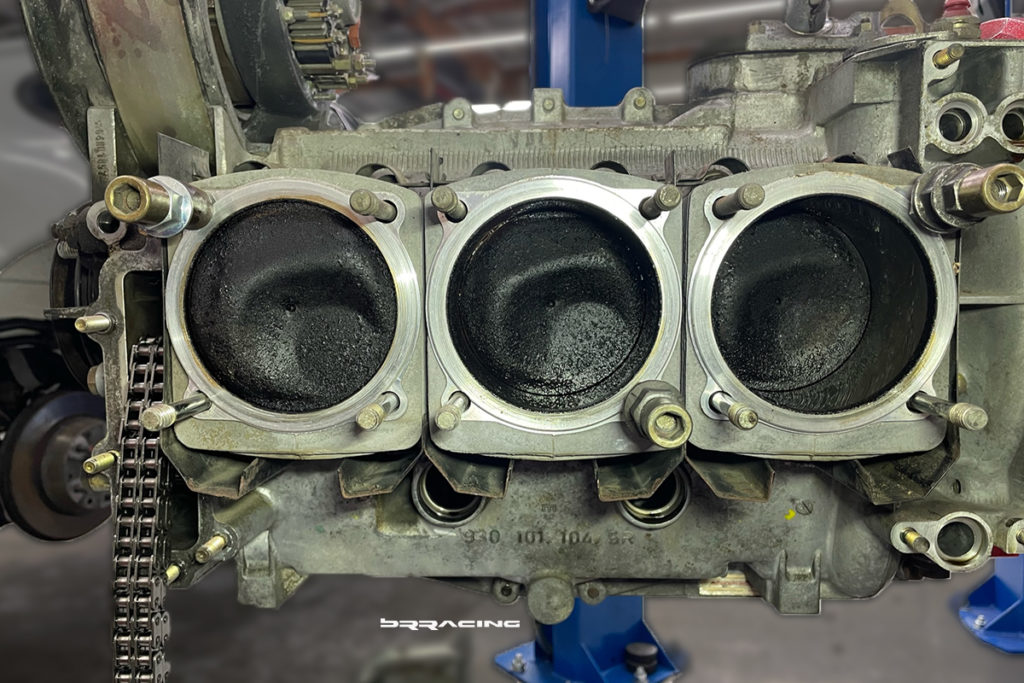
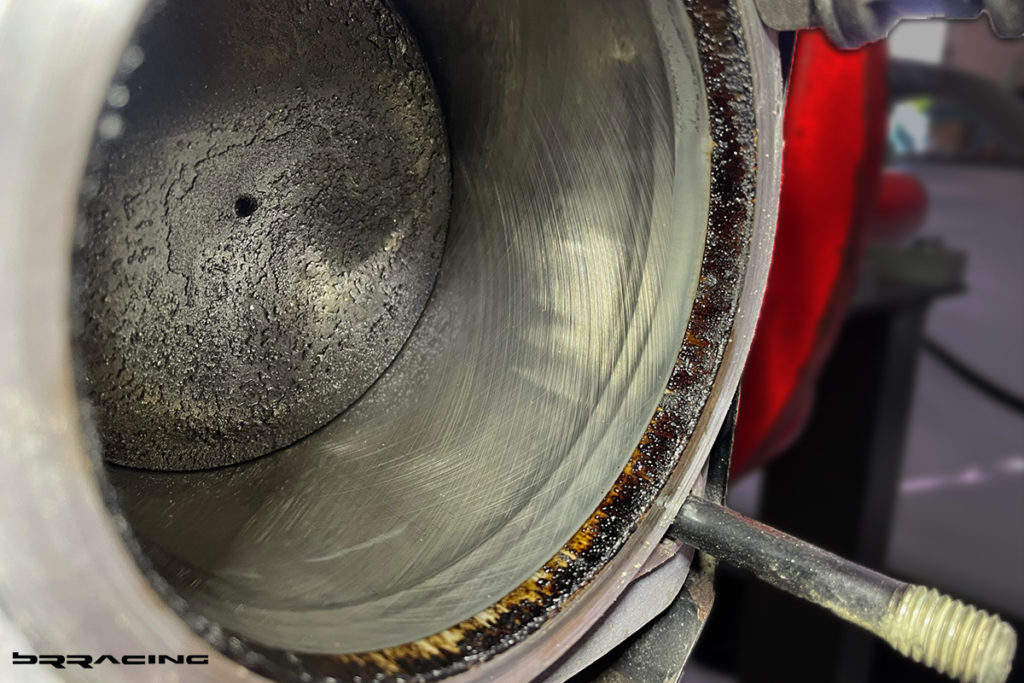
Indeed they do. Look at the contrast here…the “honing” on the cylinder walls very present (no wear), but the heavy carbon on the top of the cylinder along with what we found on the heads. The heads indeed are the root cause of the smoking engine, and the heads need to be completely rebuilt. This got us down to the core block….block, pistons, connecting rods, bearing. We didn’t expect to find anything here, given the mileage or hours on the engine, and indeed the core was great, strong, no issues.
We had very few of the head bolts, cylinder studs resist us, and they all came out (unlike some of the other engines we have done). All the hardware will get replaced with new, upgraded versions. Let’s get to the heads, and get them rebuilt.
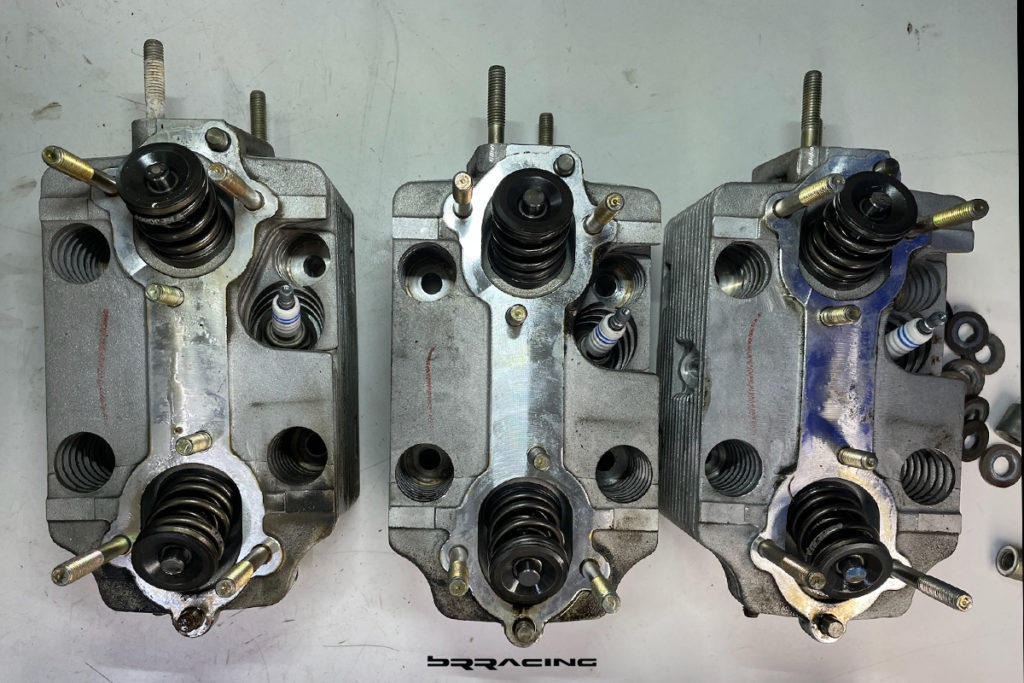
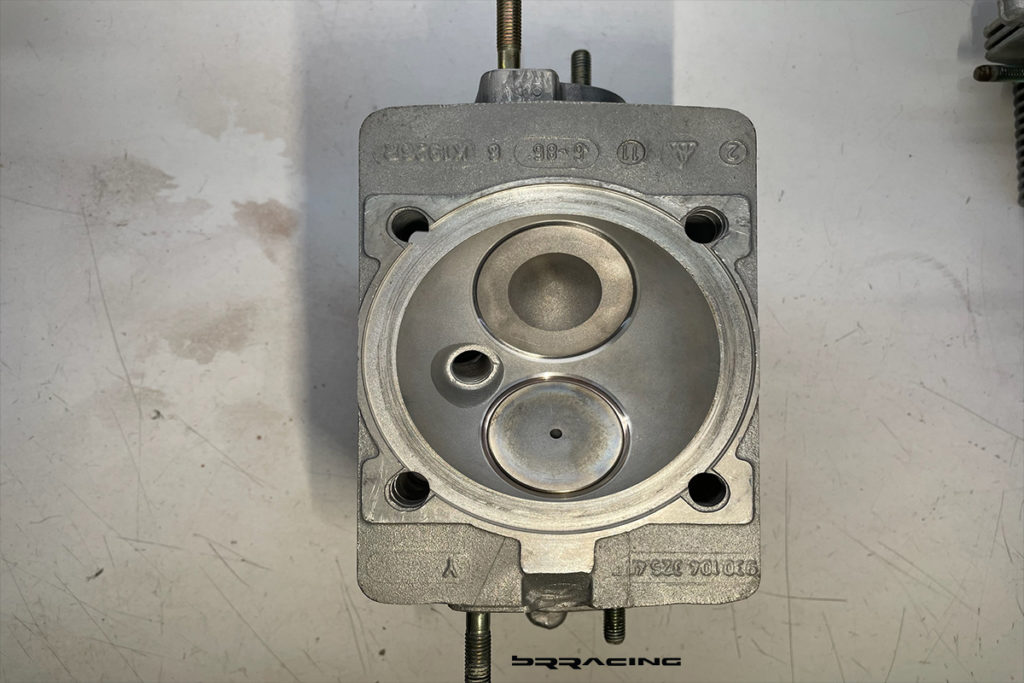
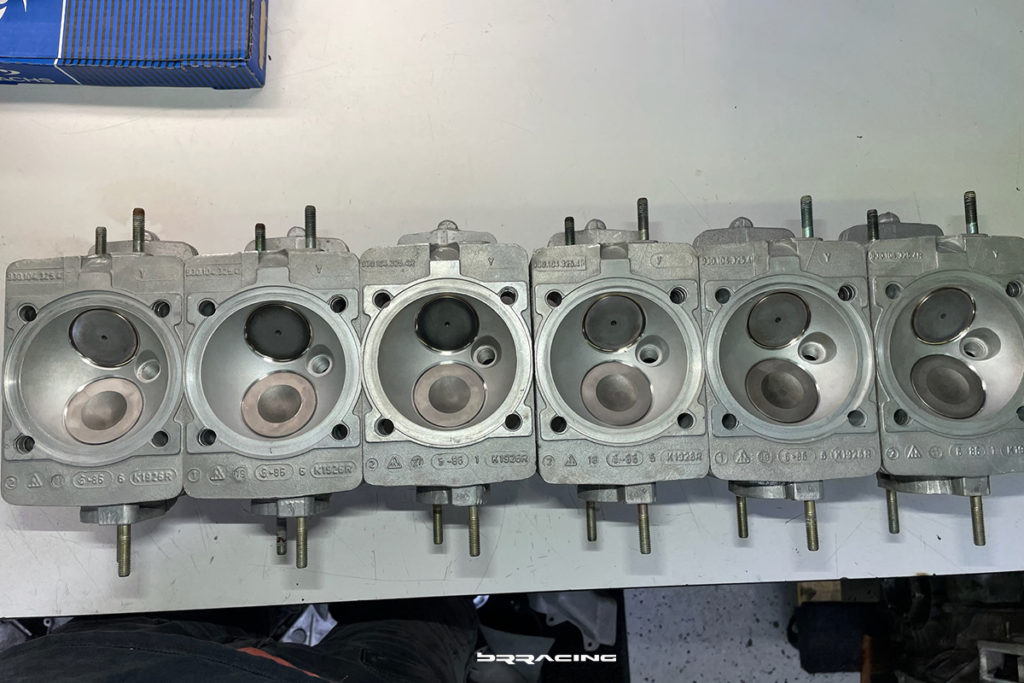
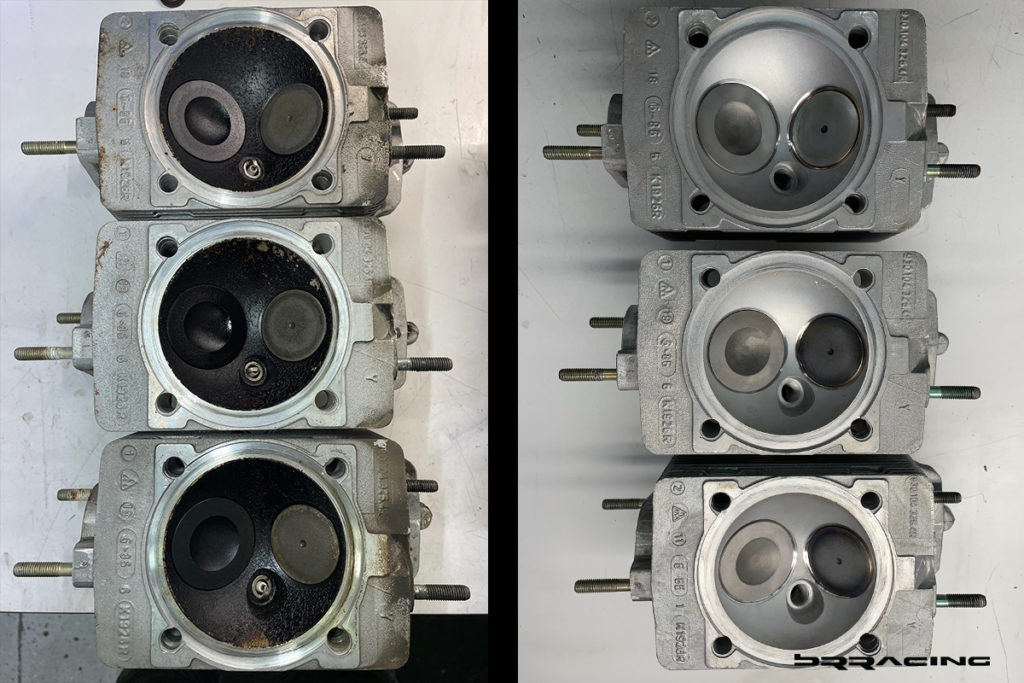
They look great…just like new, maybe a little better. Here is the old versus the rebuilt heads.
Such a change. There are also some tricks that can be applied when rebuilding heads, to not only repair them, but make them better in many ways. Valve guides enlarged, improved valve stem seals, triple cut on the valves themselves, matching valve seat cuts.
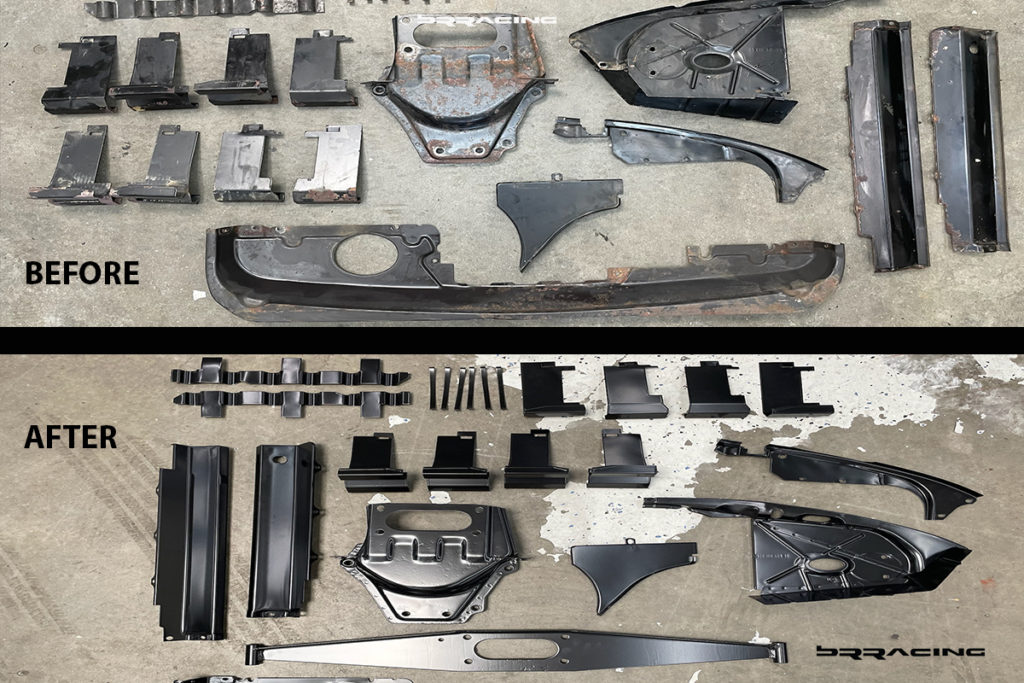
Now, with the cylinders ready to go, along with the rebuilt heads, we need to repair / fix the surrounding pieces. Remember the highly corroded heat guides? One of the newer tools that we have to help in that area is the soda blaster. We took all the corroded parts, “soda blasted” them to remove all the old paint and corrosion, then cleaned and “dipped” them. That prepared them for our final analysis to determine if they were able to be reused or needed to be replaced. Good news for our customers, was the corrosion was all surface, not deep. So, we had all the pieces powder coated…to make like or slightly better even than new.
We can now start the full reassembly of the engine. We will detail some of the other parts that also got ressurected as part of the process.
What a transformation. With the cam carriers installed, all the parts in the head / camshaft area can be re-installed, and readied for the timing to be performed.
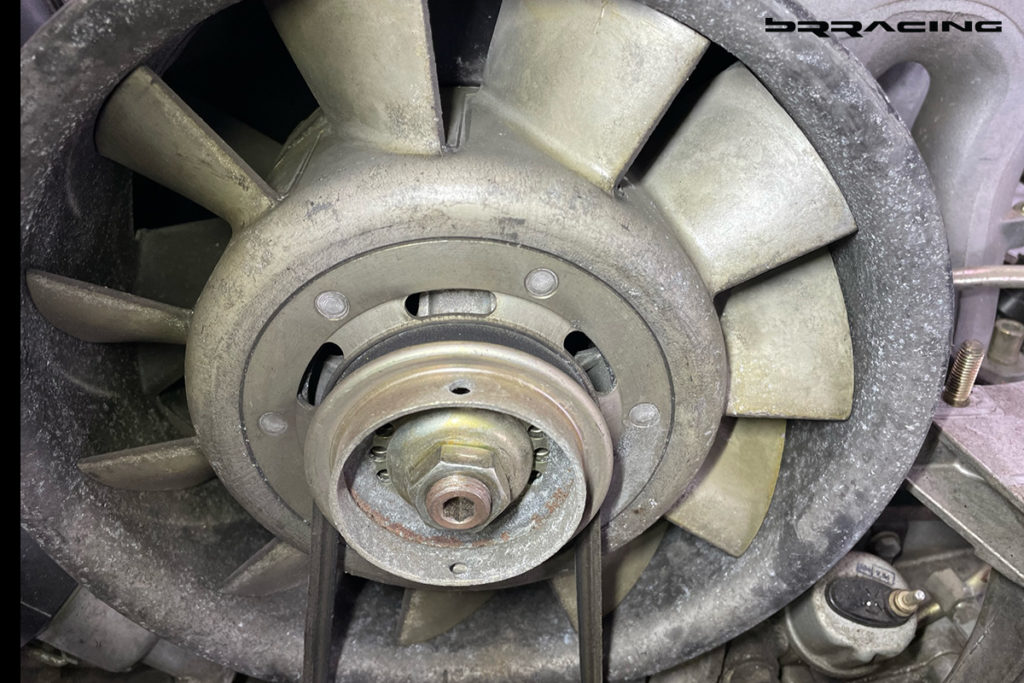
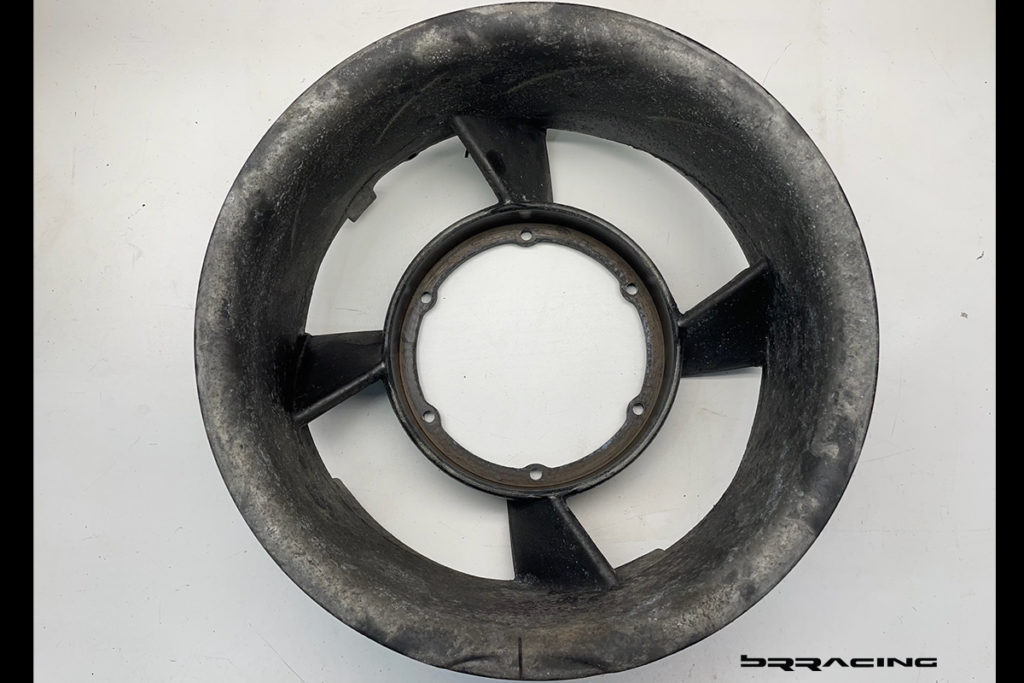
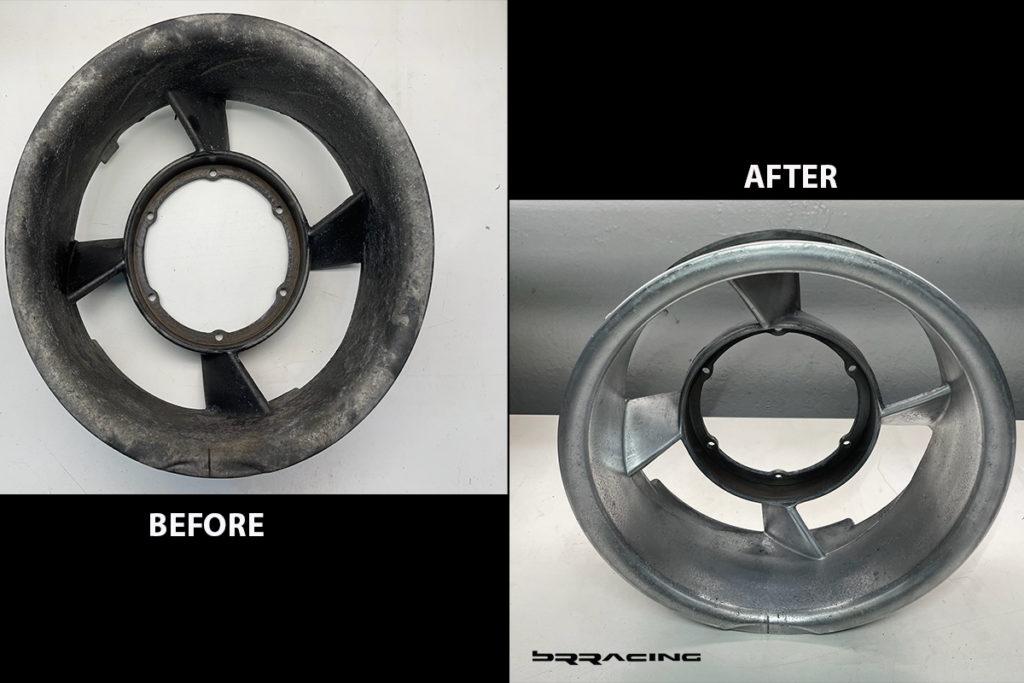
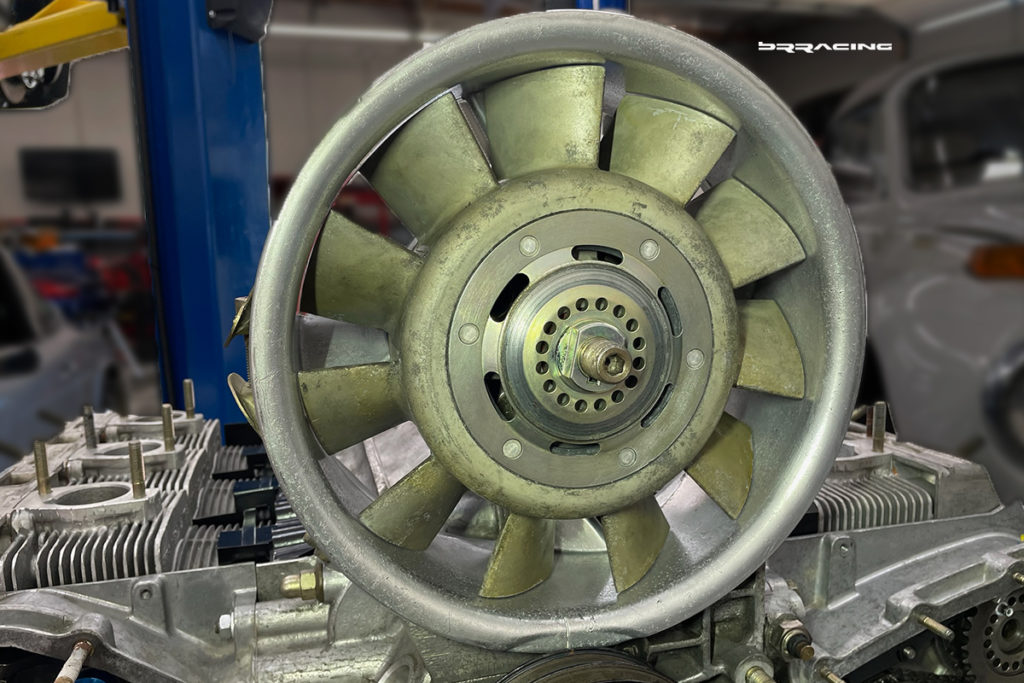
Remember the fan / fan shroud. Let’s use it to show how the parts can be resurrected.
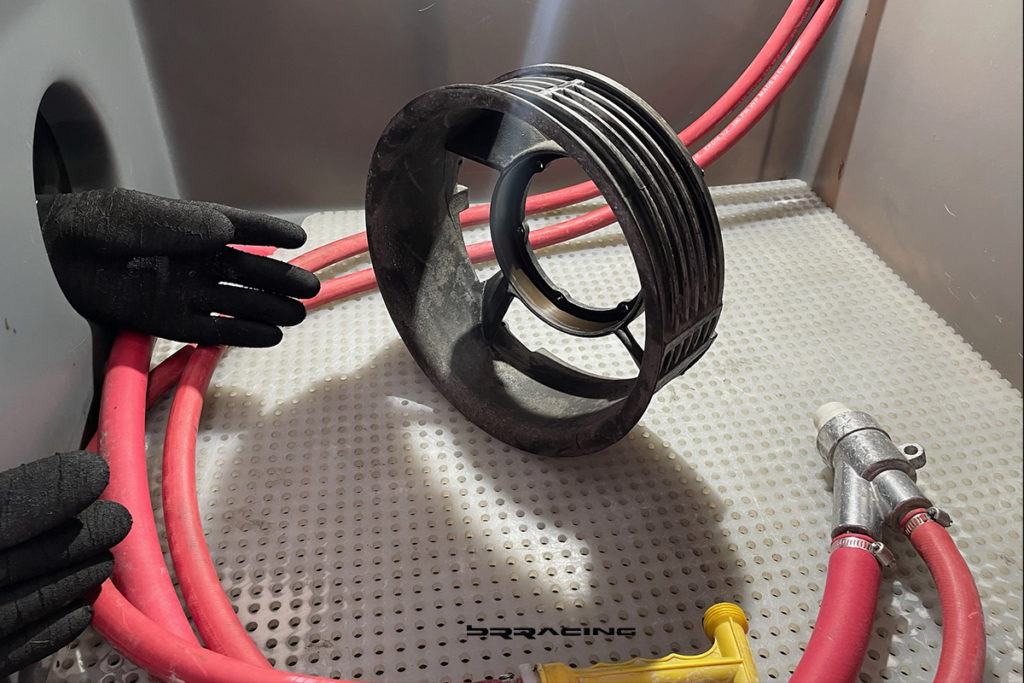
Can this be brought back to life? This is where the vapor blaster can be used.
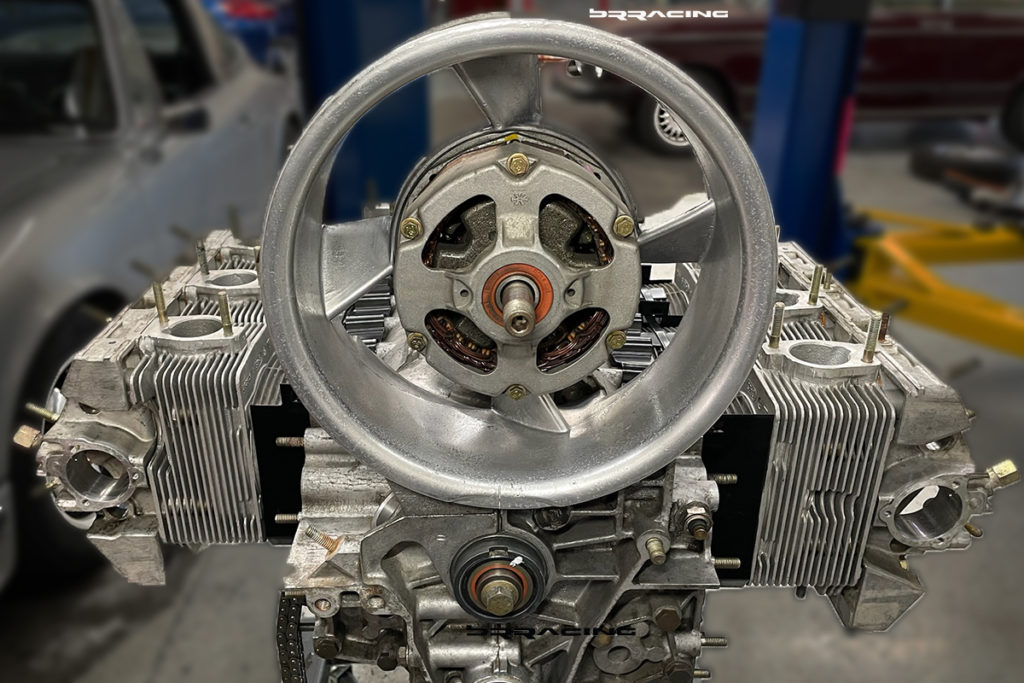
And this is the result. Stunning what things like dry ice, soda blasting, vapor blasting can do these days. So blessed to have these tools in our arsenal.
If the objective of this customers project were fully “show car” level, we would next have painted this to match the color of the car, along with the fan hood. But, that was not the objective, and controlling the costs is a far greater concern. Let’s continue with putting the pieces back together.
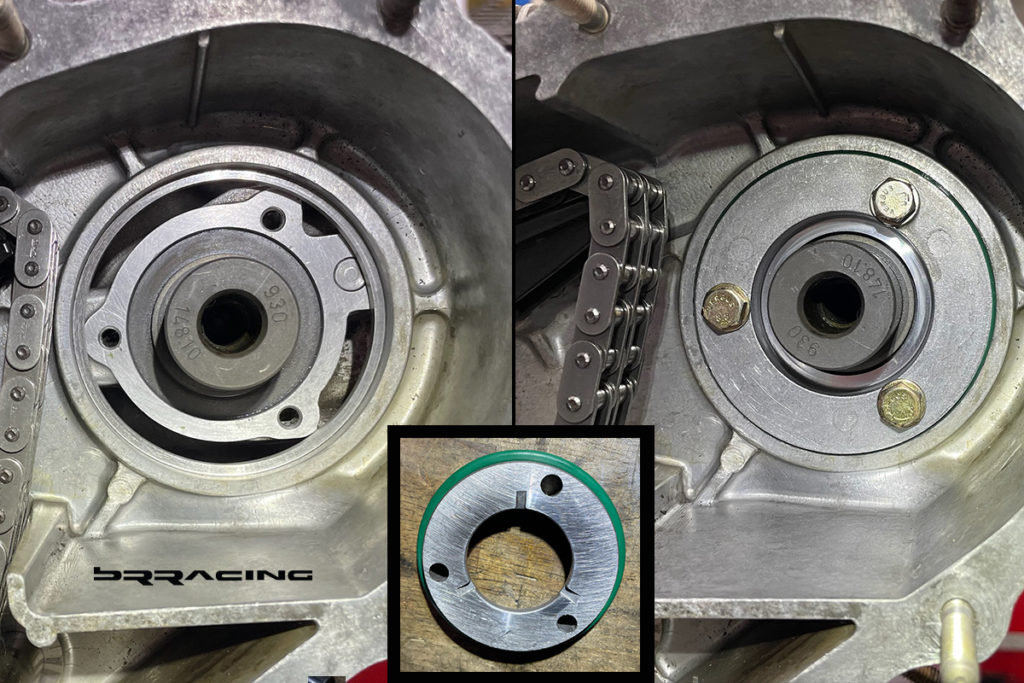
Along with the assembly, is the replacing of all seals, gaskets. Example below, the camshaft seal to the timing gear.
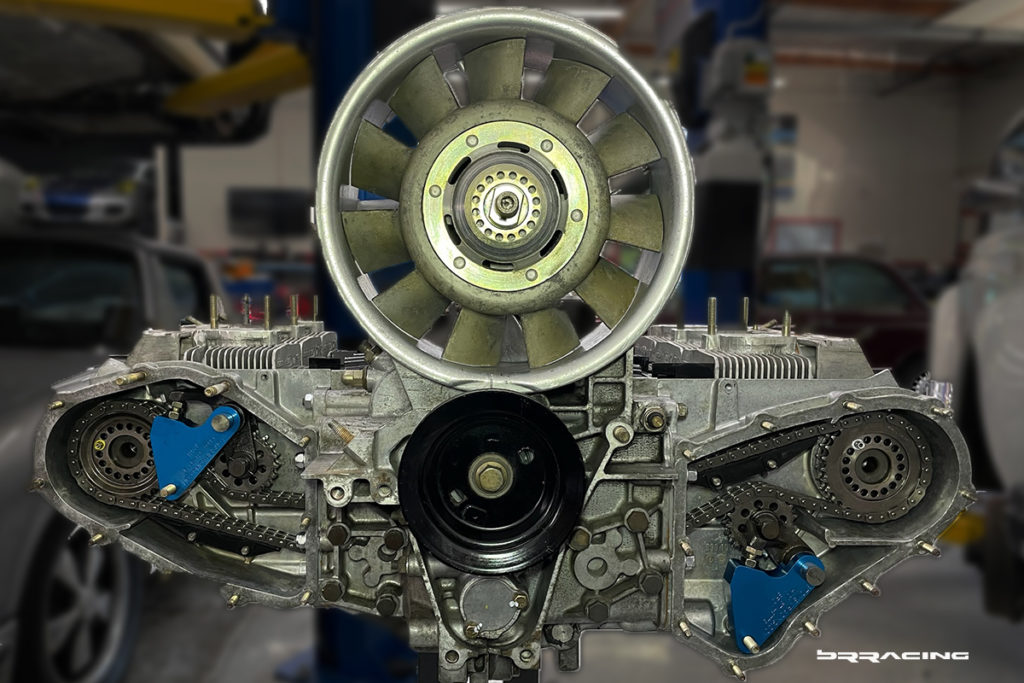
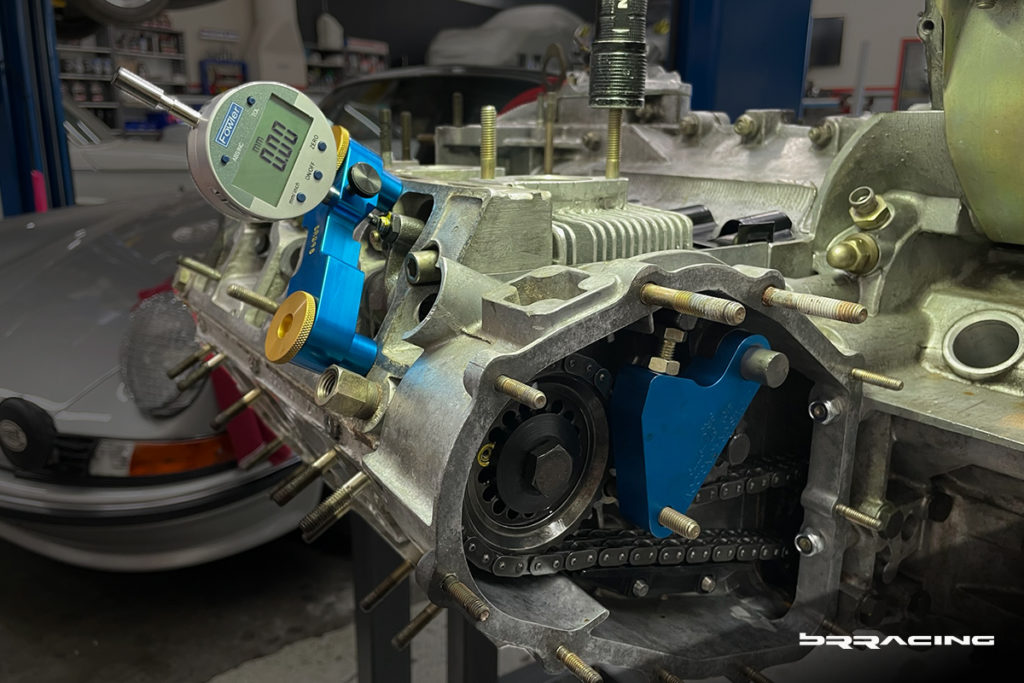
Now the camshaft timing gears can be installed, and timing set.
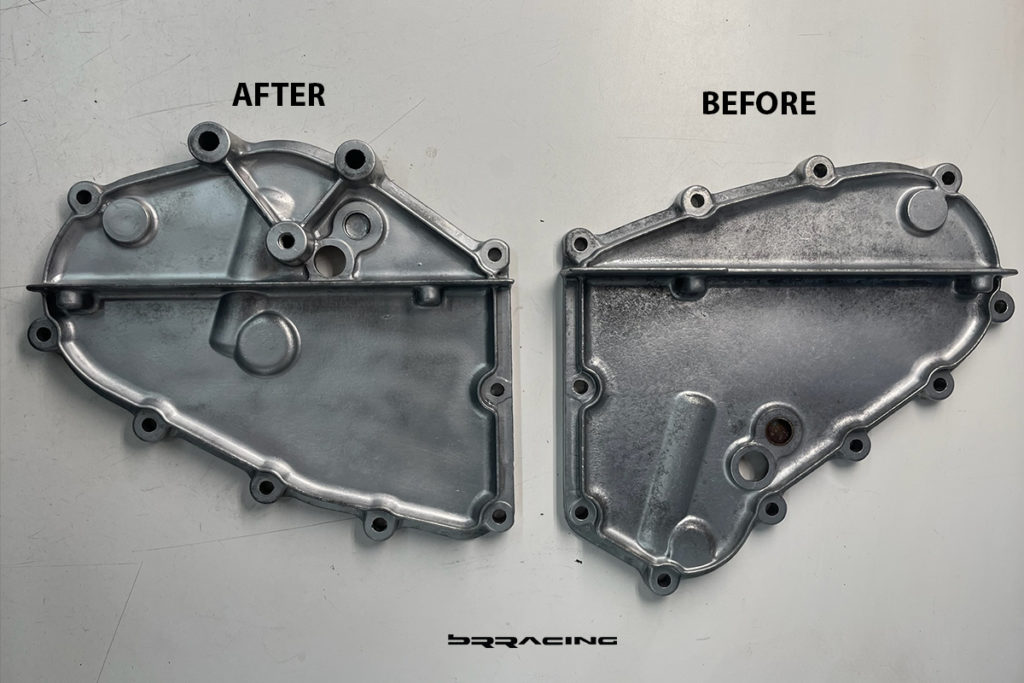
Once timing has been set, we can install the timing case covers. These were another set of pieces where we could restore the parts from the corrosion that had set in.
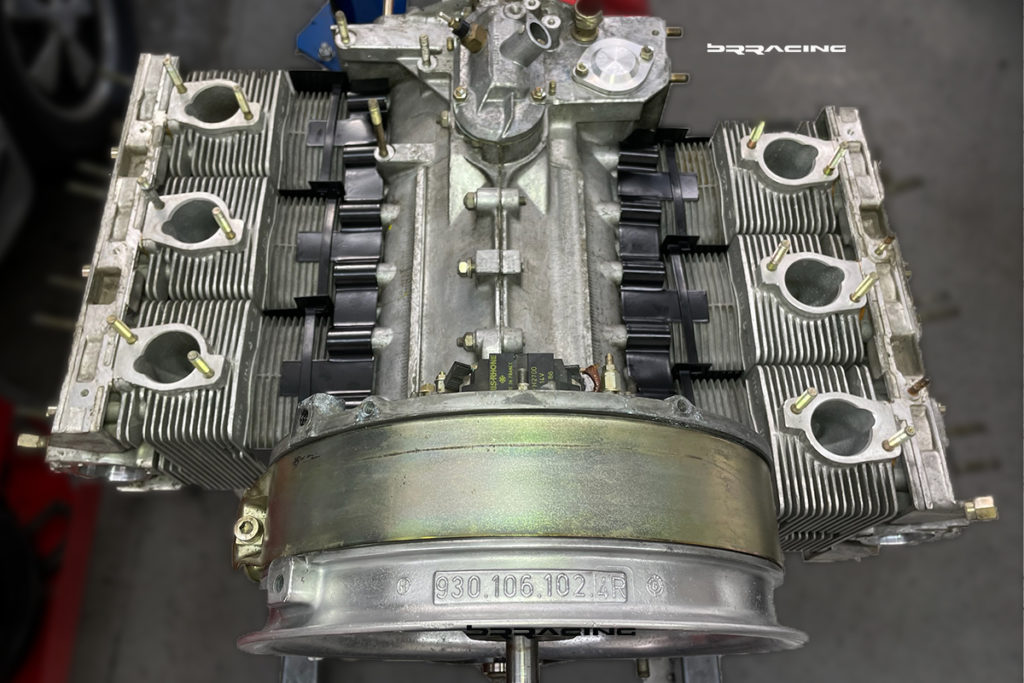
Now the assembly starts to come together in a hurry…
The underside also starts to come along
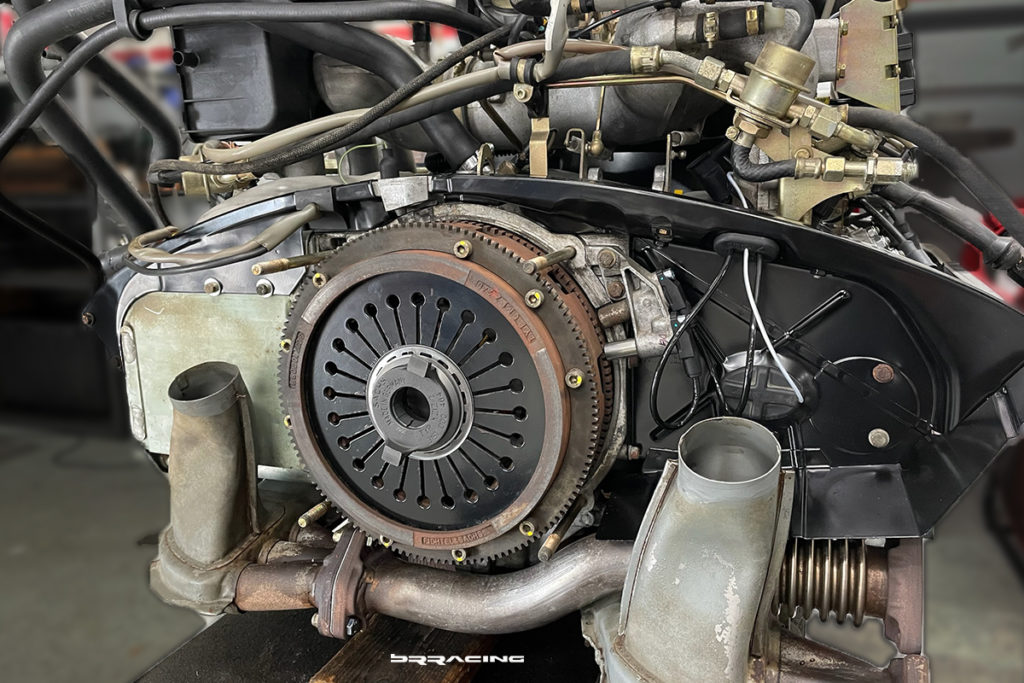
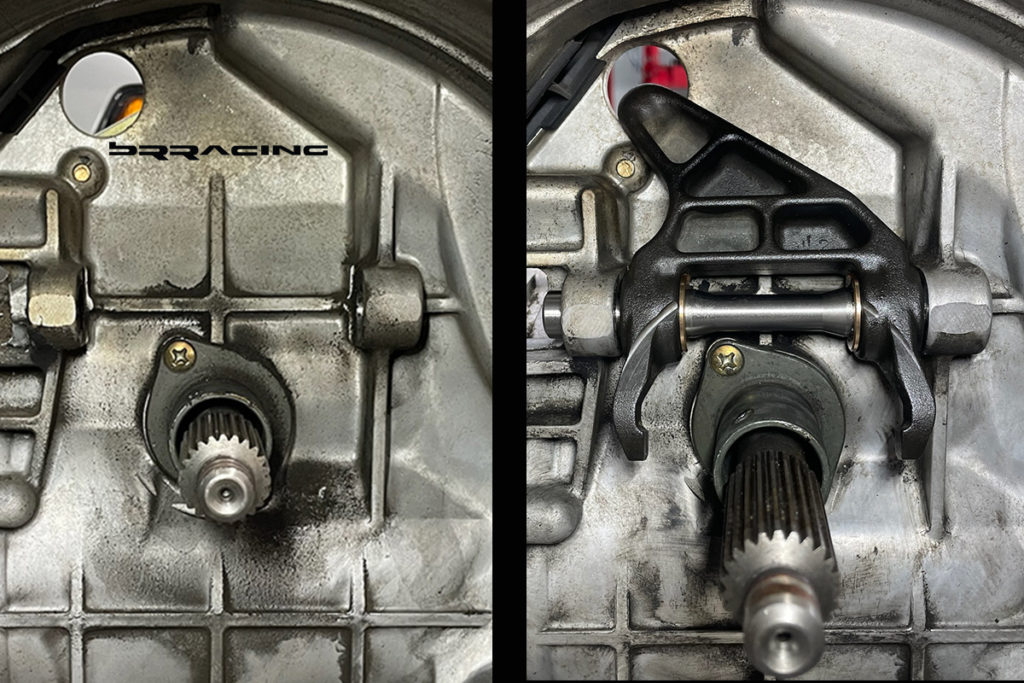
With the engine mainly assembled, the attention can turn to the transmission, flywheel, clutch. The clutch / flywheel were not worn hardly at all (another major cost savings)…but the clutch hydraulic actuation needed to be addressed.
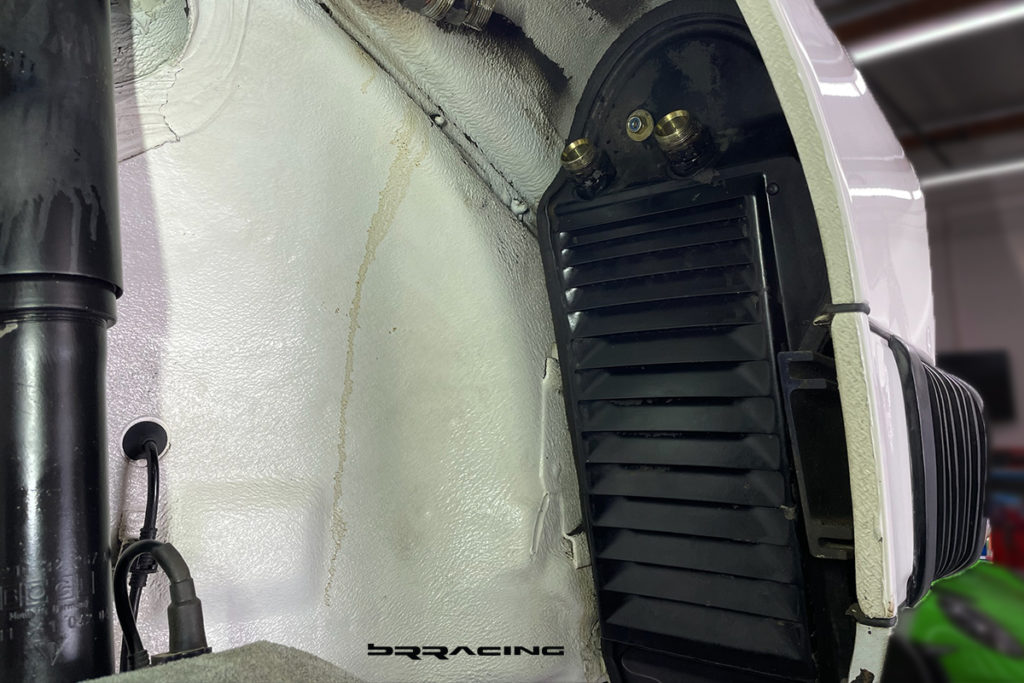
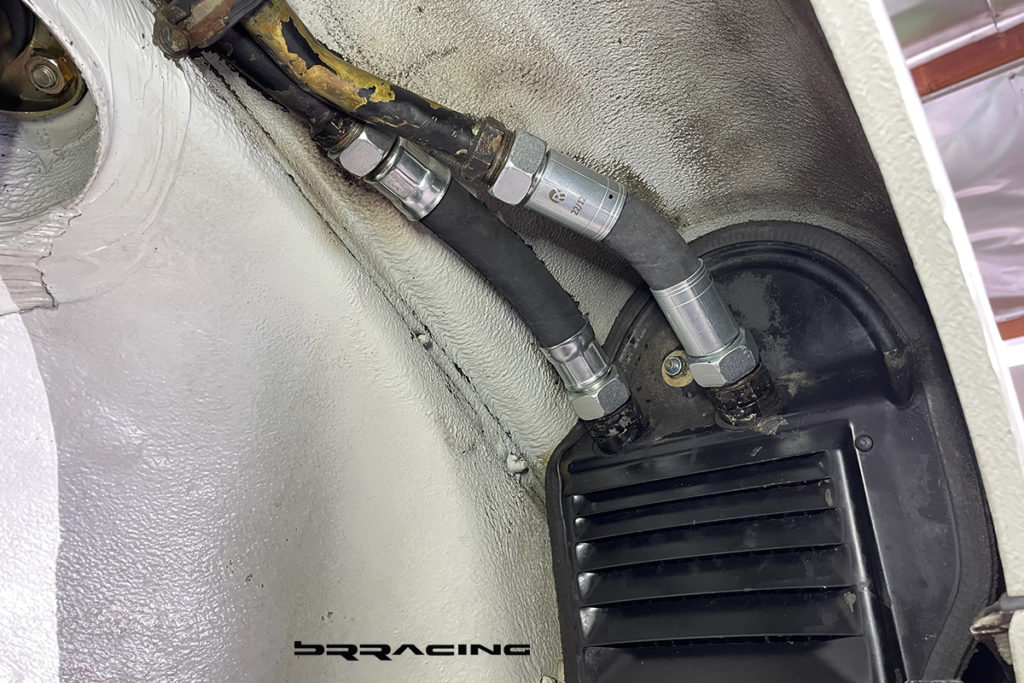
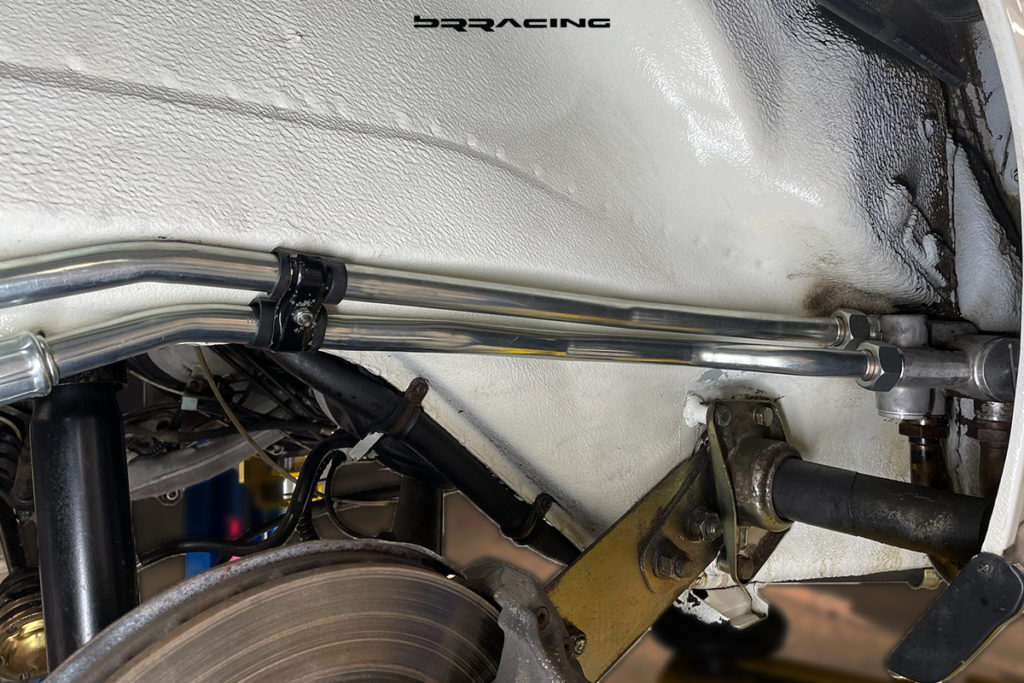
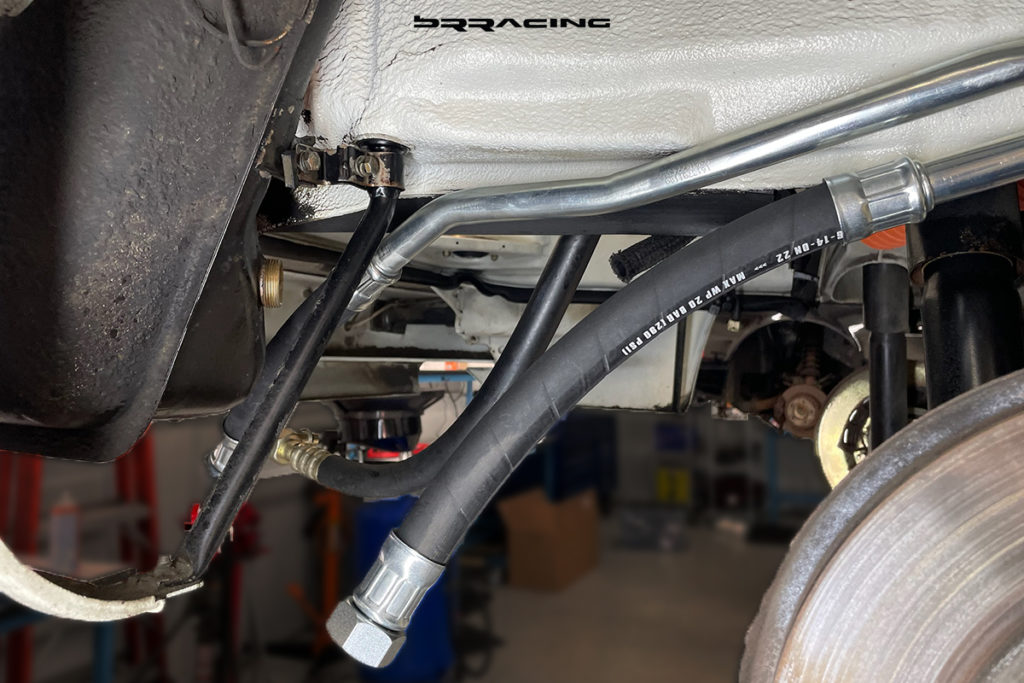
With the engine and clutch / transmission ready, our attention turns to the oil lines on the car. They were some of the most damaged from the corrosion. These had internal damage, not just external, so needed to be replaced, along with the oil coolers.
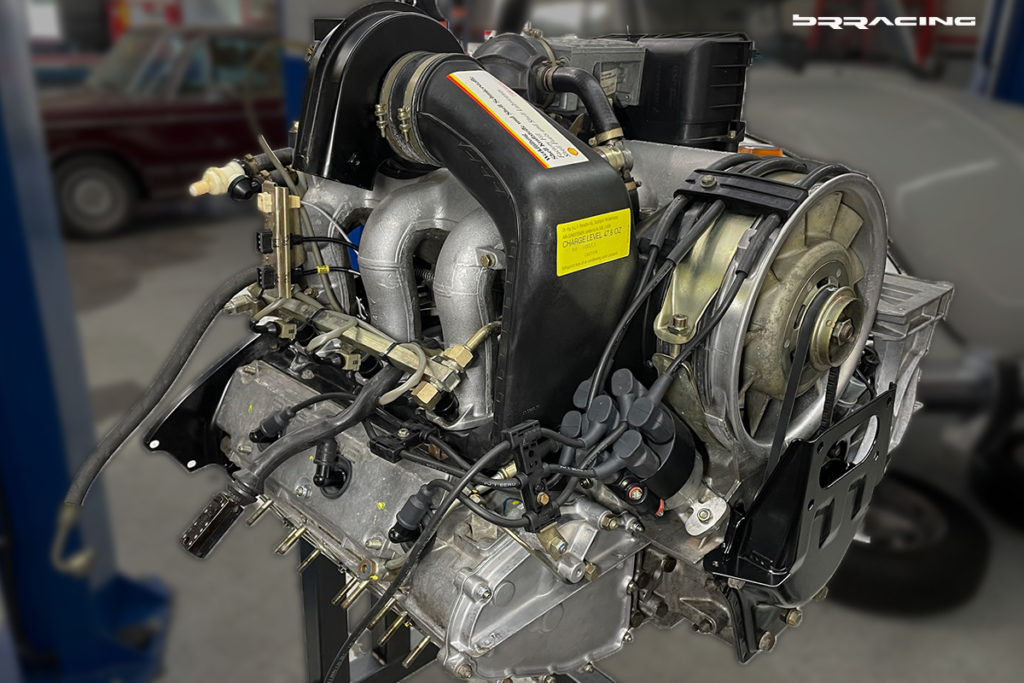
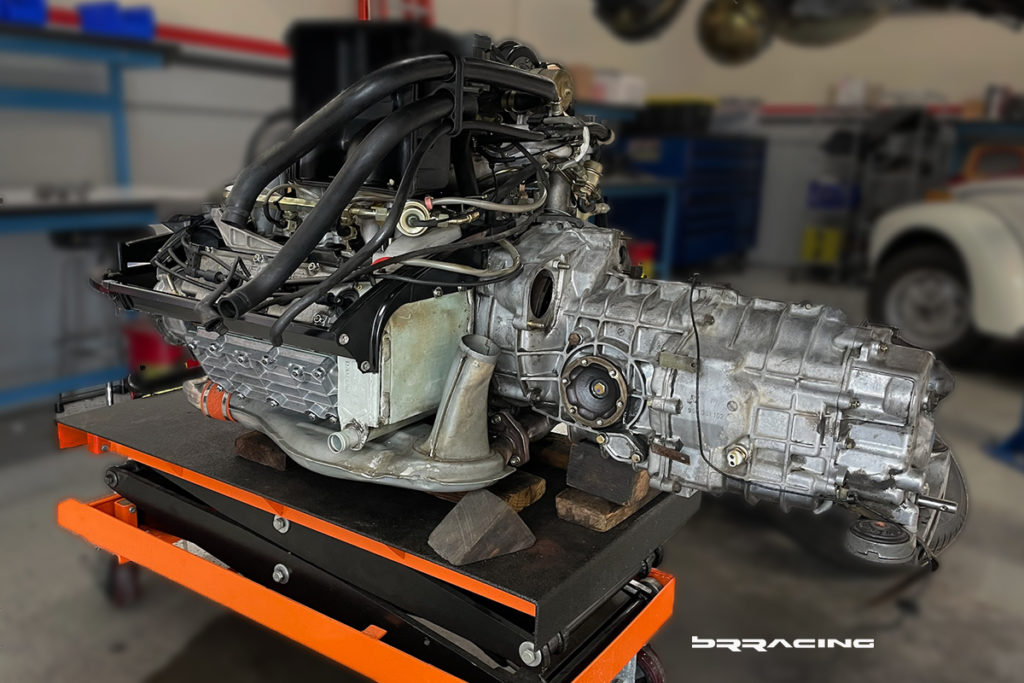
Now we’re ready for the the completely assembled engine and transmission to go back in the car.
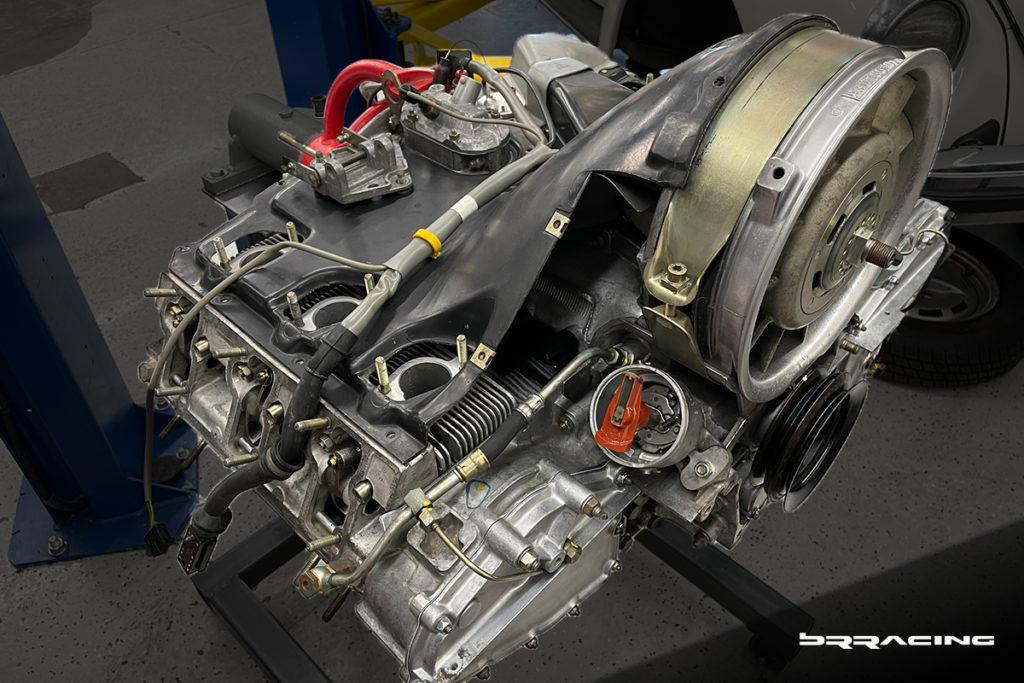
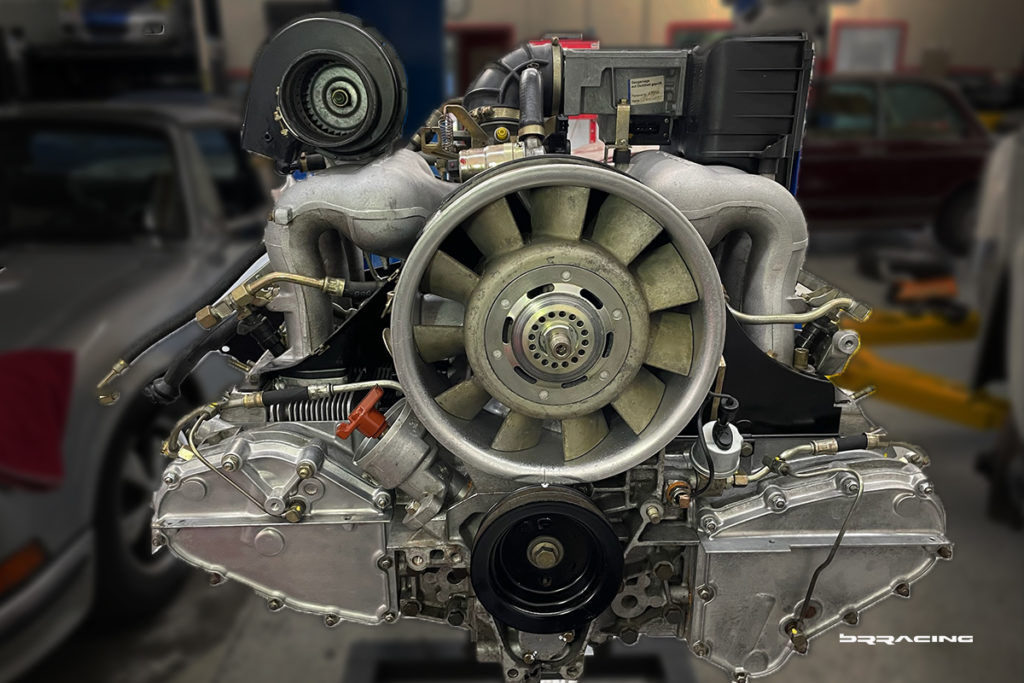
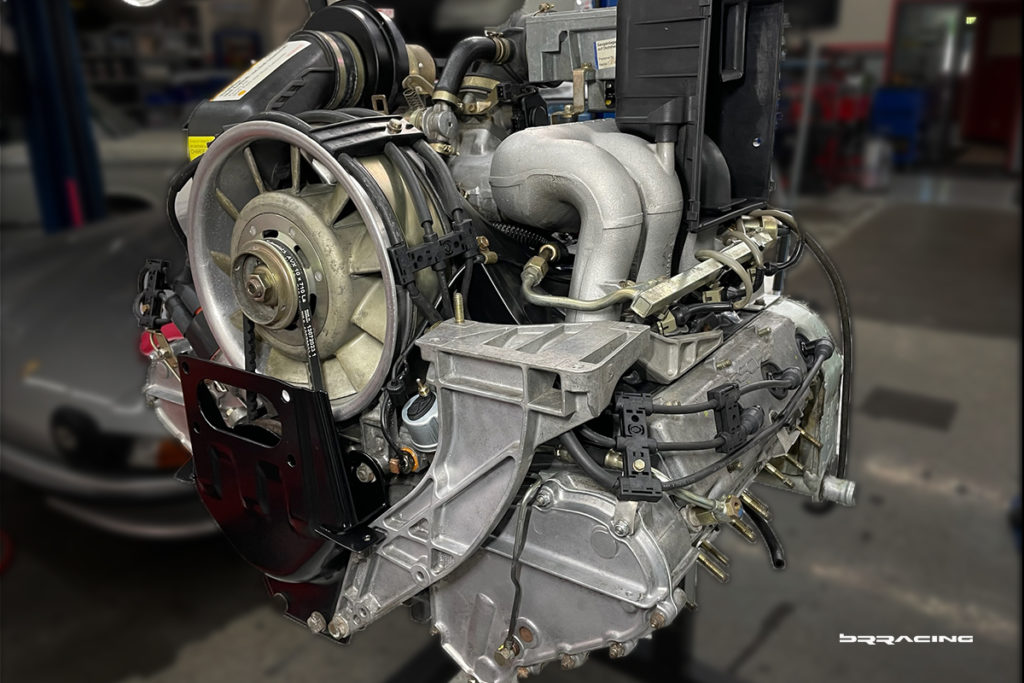
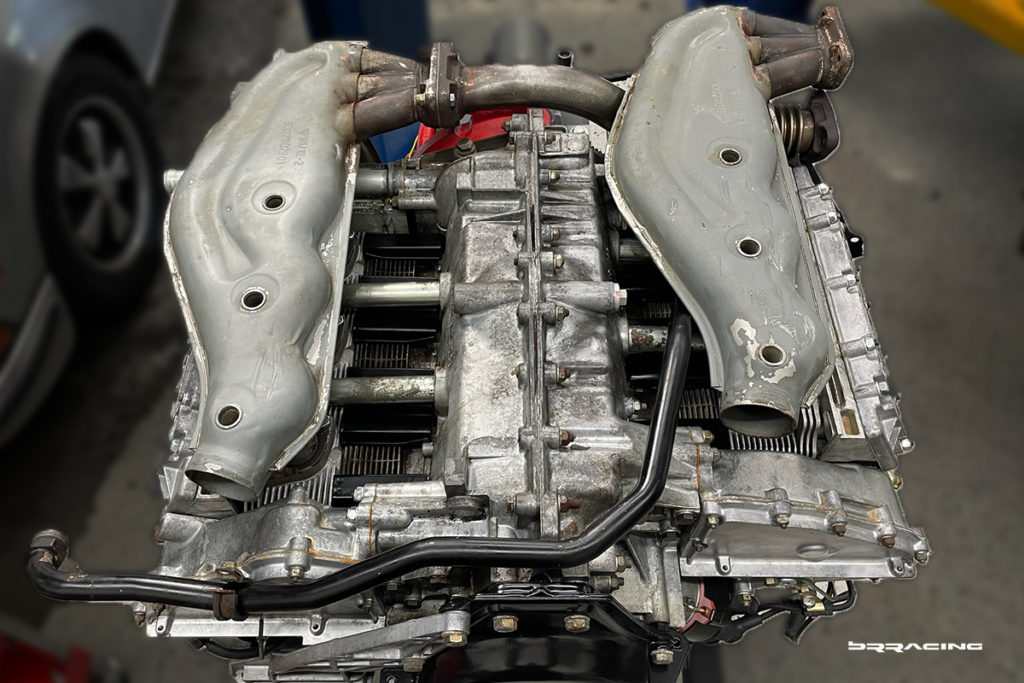
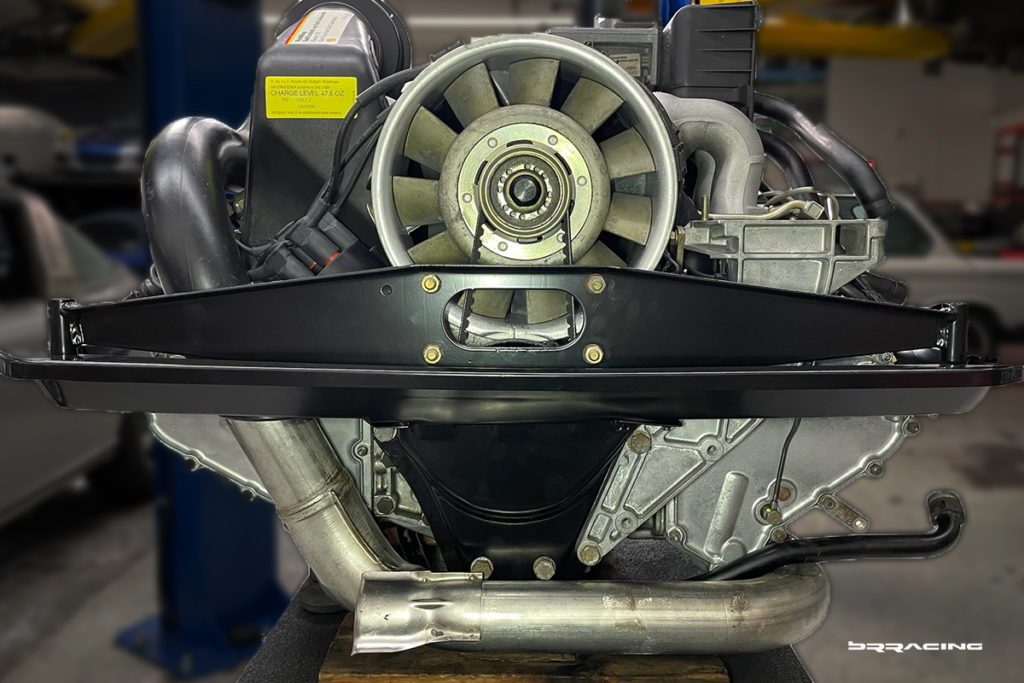
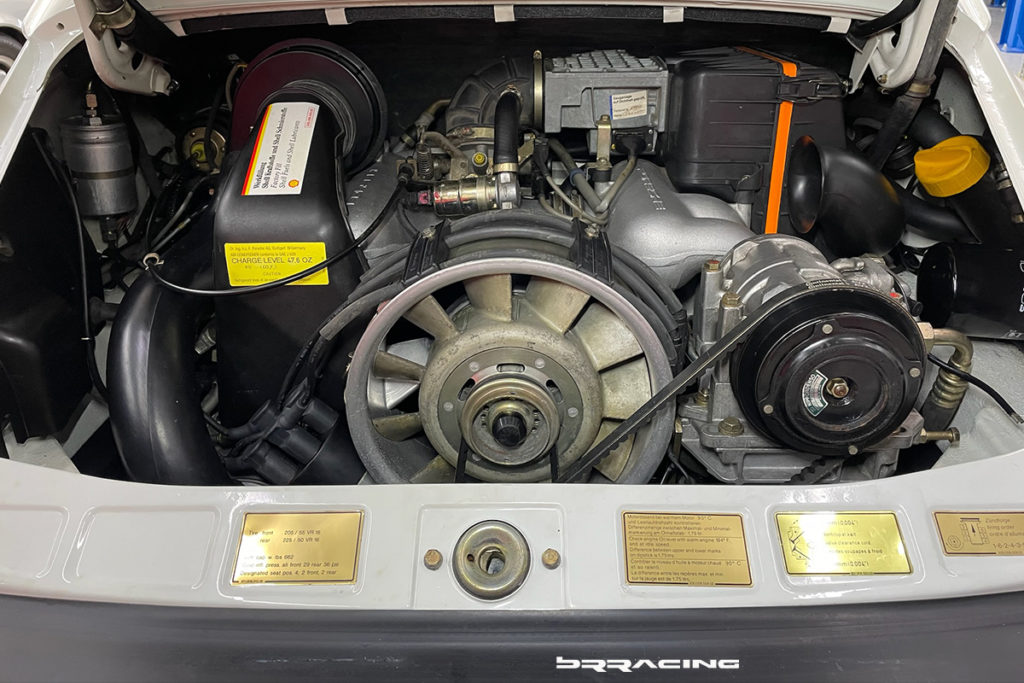
Look at how clean, pretty, nearly new the whole assembly looks. What a transformation, but not just a transformation, a complete rebuild with solving the major internal oil leak issue.
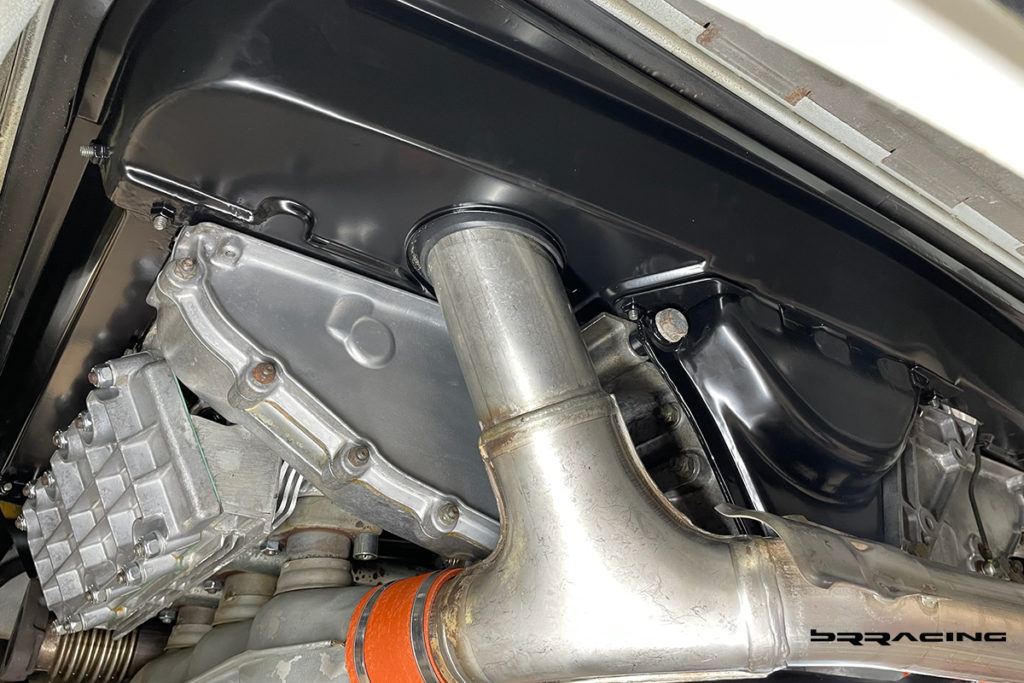
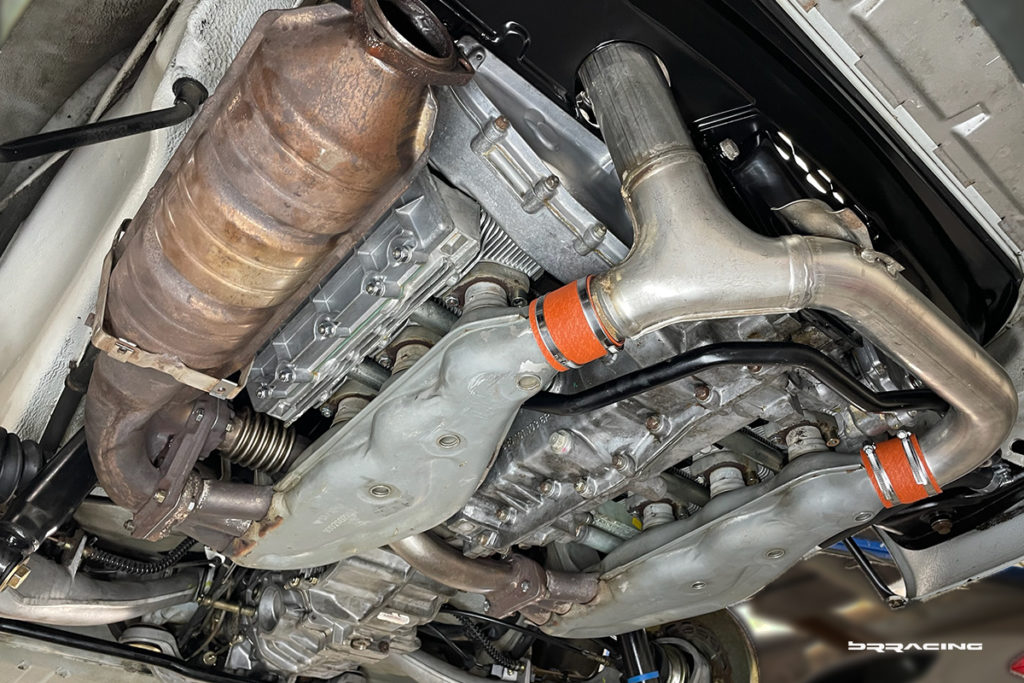
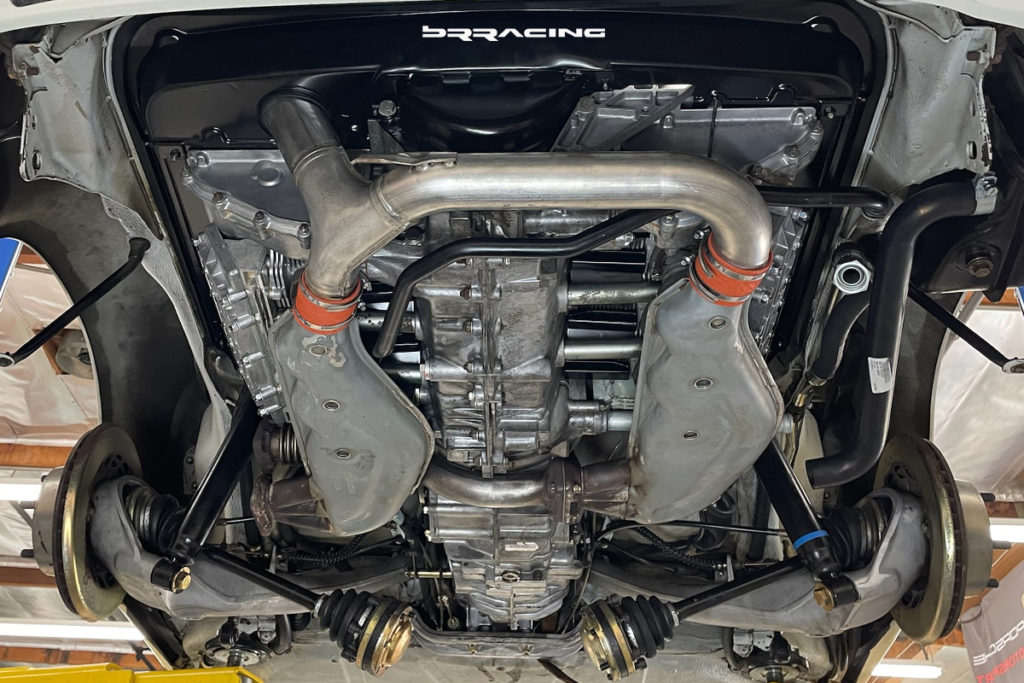
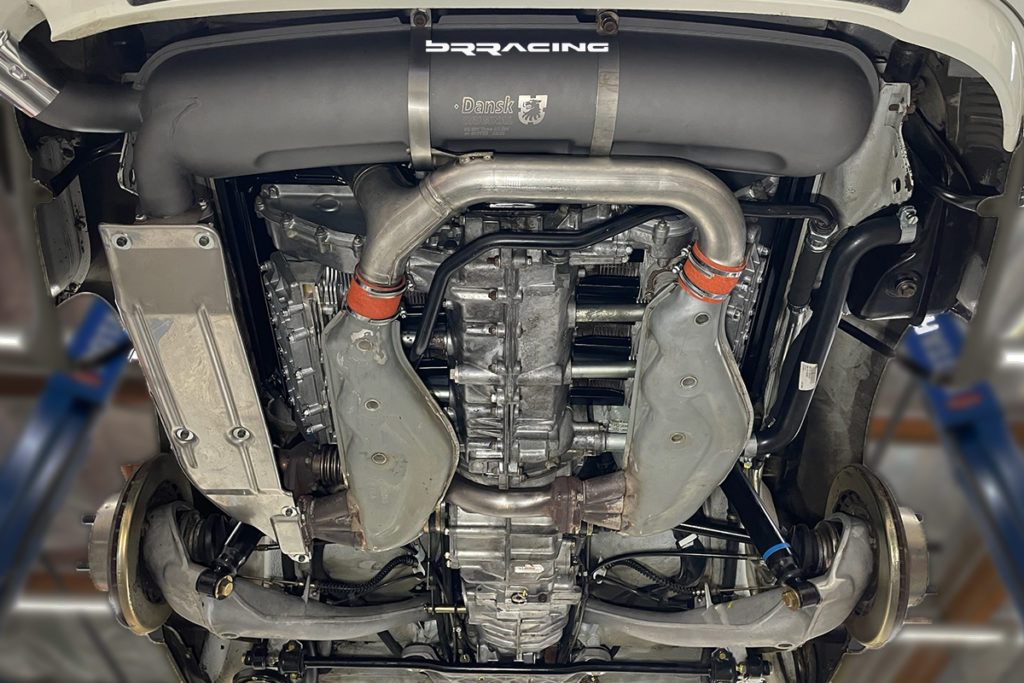
Next up…the underside and the exhaust system. The exhaust system also had the worst corrosion, and internal damage, so all those parts needed to be replaced. Thank goodness that you can still get these parts.
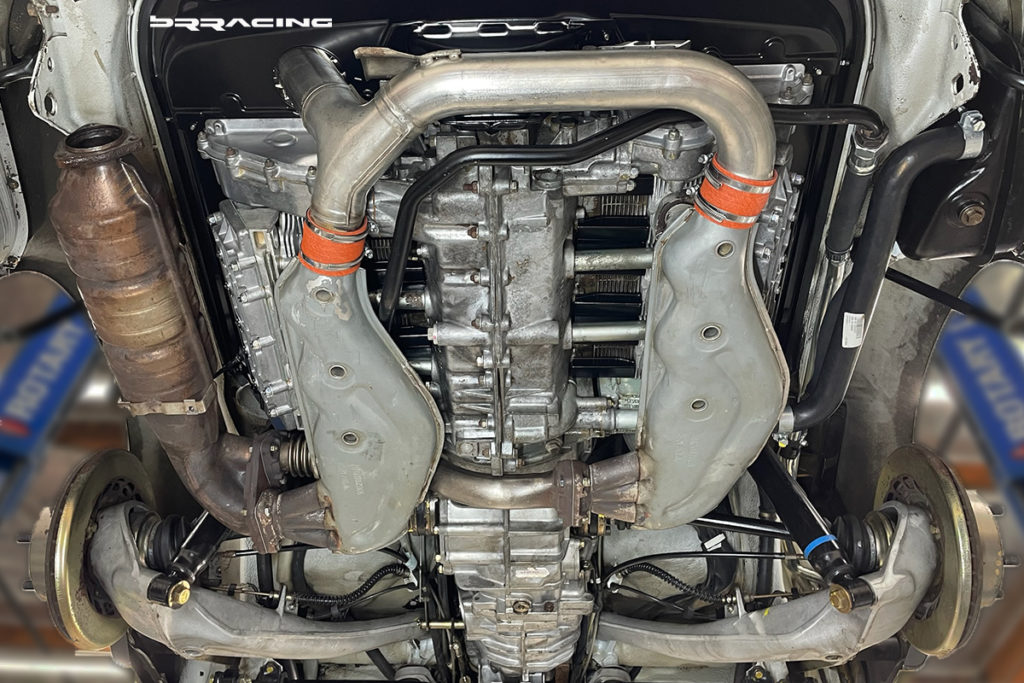
Catalytic convertors installed next.
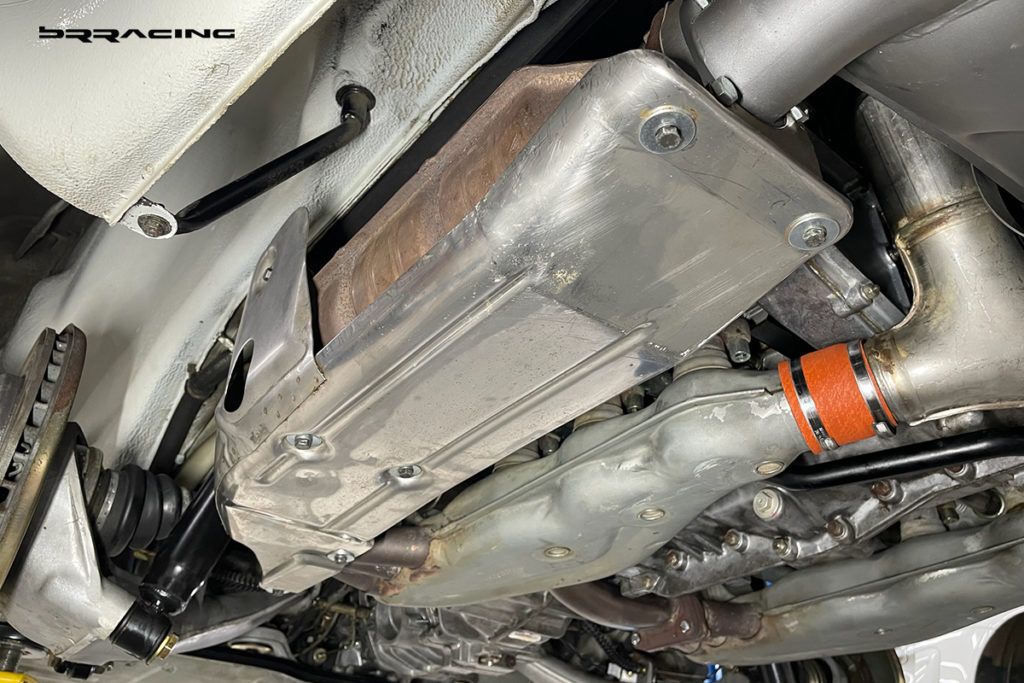
Exhaust heat shields.
Finally, the complete rear muffler system.
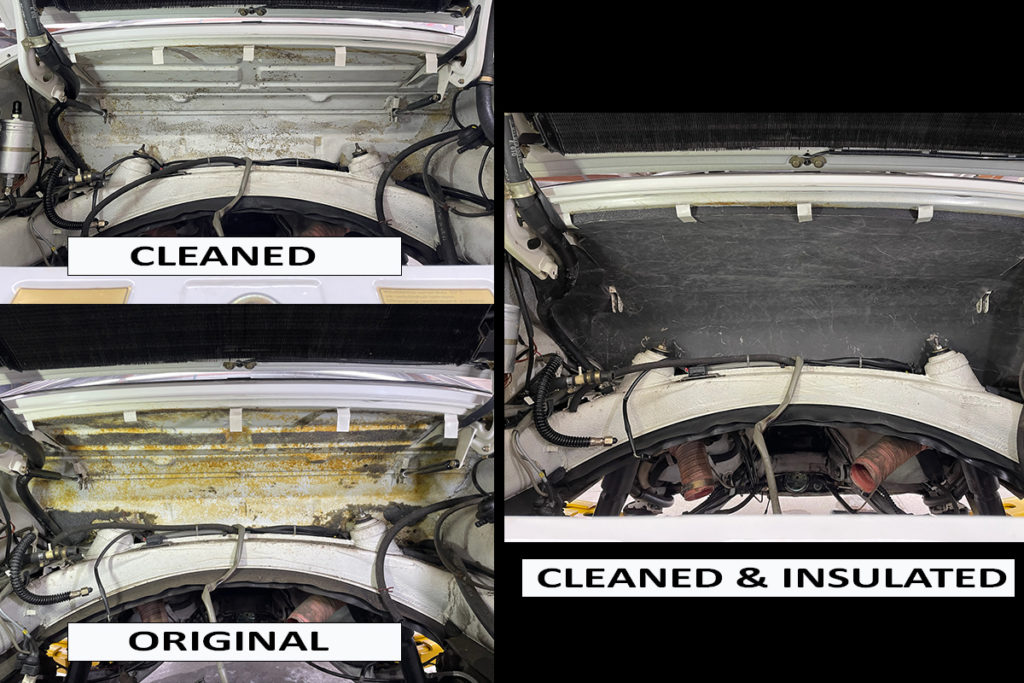
Now, it wasn’t just the engine itself, but also the surrounding area in the engine compartment. We had cleaned and removed all the prior rodent damage, but the engine bay itself needed attention.
And, finally, the engine is in.
And…this is not just an engine project, but a complete car project. The “vapor” blasting of the suspension elements (control arms, sway bars, torsion bars, steering rack, tie rods, shocks) all brought them back to life, and shockingly, the bushings had not dried out and cracked, but were fine. The brake rotors needed to be resurfaced, the brake calipers vapor blasted, and new brake pads and hardware (we also did a test of the brake calipers, to ensure they would hold high pressure, and have no leaks).
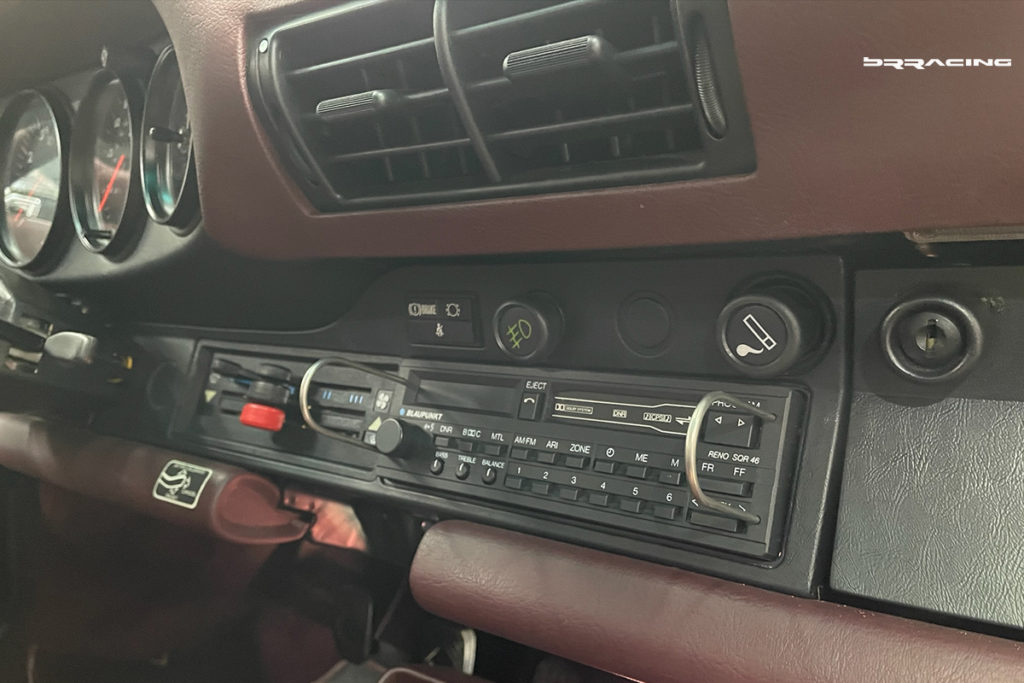
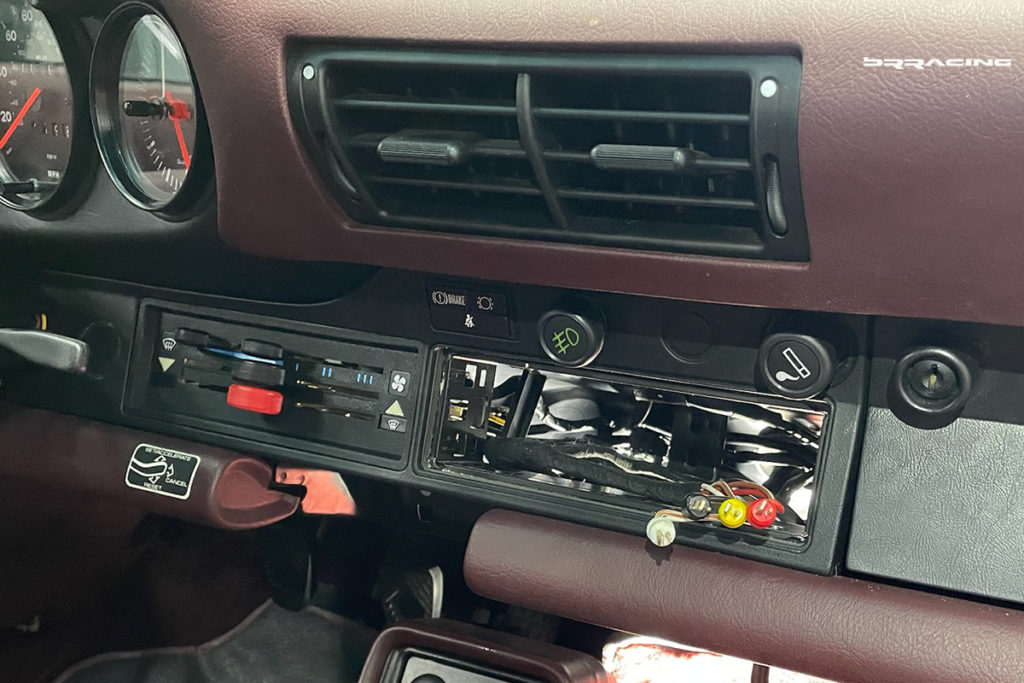
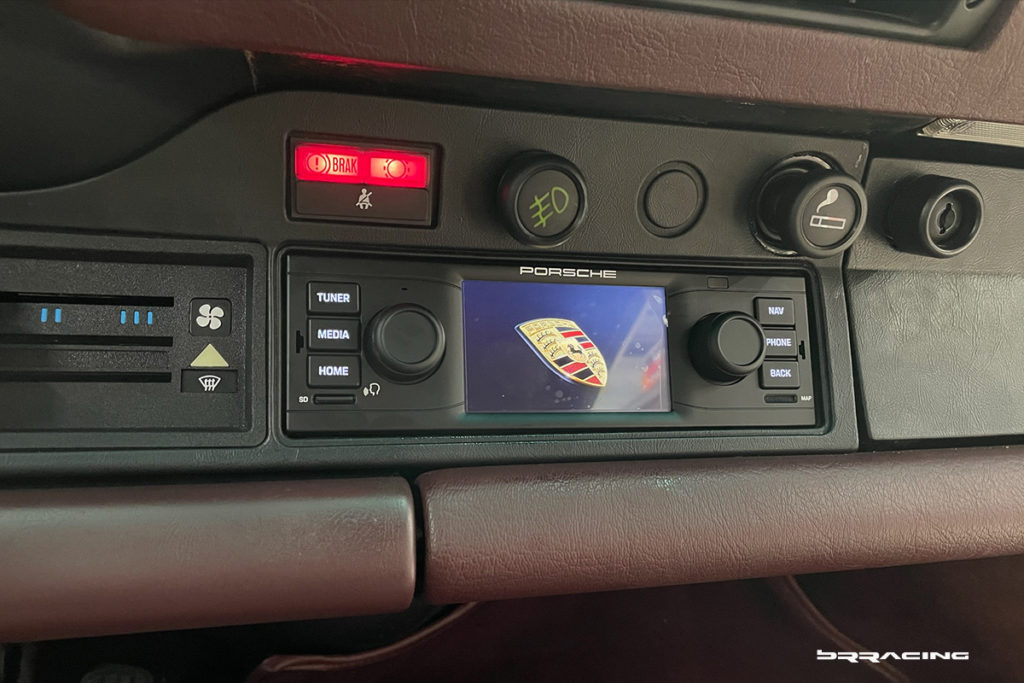
To finalize this complete recovery, the customer wanted a Porsche specific new stereo, period correct.
A little bit of wiring to be addressed, and speakers…but then you get…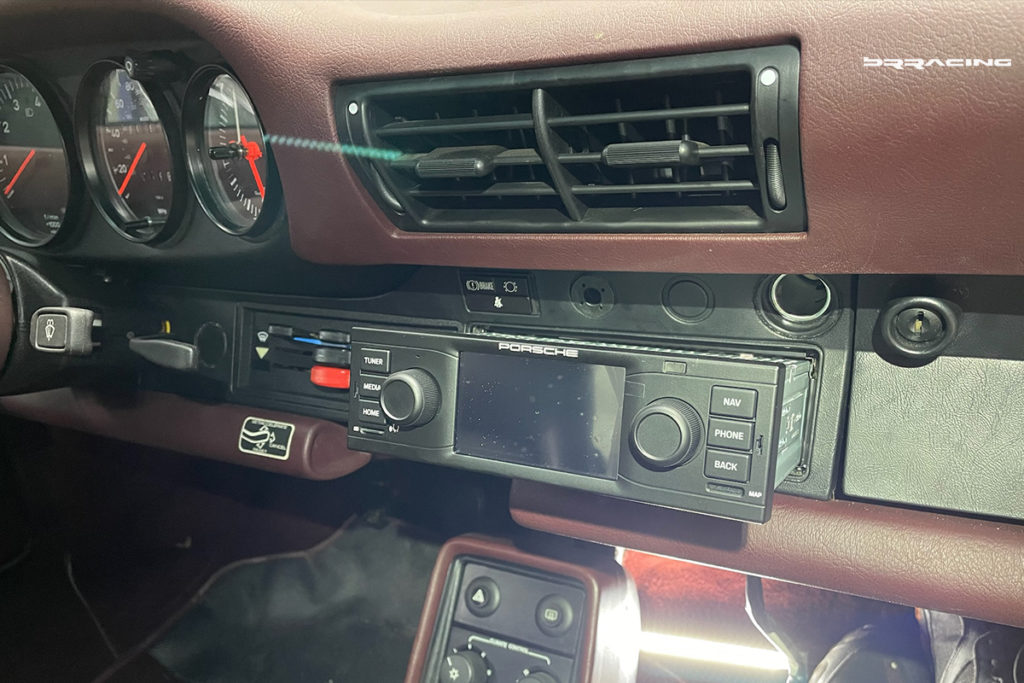
Now…we have a COMPLETE recovery and refresh. We tested the engine, everything runs, started right up, ran amazing, timing was spot on, no smoking…and drives great. Combined w the amazing interior, this is indeed a complete project.
WHAT A JOY!!
