BMW E30 325i Restoration
As the BRracing program / locations / staff grow, so do the opportunities presented to us by our customers. One of the great additions to our staff has been Frank C, who joined us from Canepa, where he was responsible for Canepa’s Porsche and Ferrari restoration projects. This addition has allowed us therefore to expand the type of projects that we can tackle, along with the growth of our facilities and location in Campbell.
A customer presented us with the normal challenge….they had a strong love for one of their cars, and would like to have it restored to near new condition. There are many approaches to “restorations”, and this was not a “ground up” type approach, which is normally an approach applied when the vehicle is either a true collector car, or has not been cared for and needs lots of help.
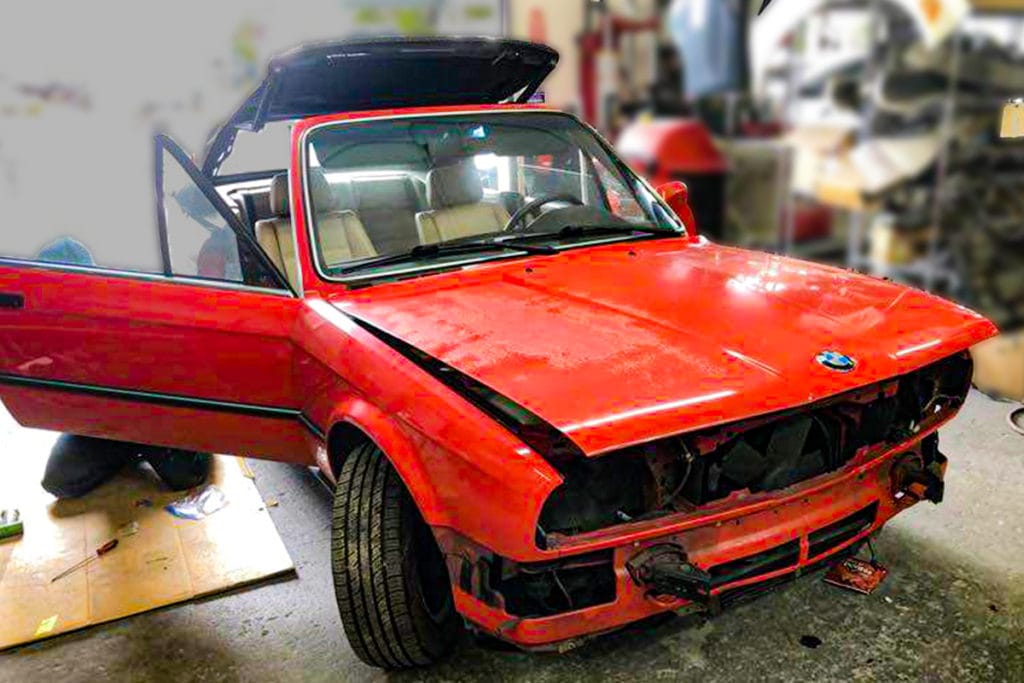
That was not the case here. This car had been loved and taken care of well by the owners, and they wanted to have many more years of enjoying the car. The paint was showing its age, and the clear coat was starting to peel and crack on all the upper surfaces. The convertible top needed work, and the fabric was just starting to come apart. The interior was faded, starting to come apart, and crack. The carpet had no color left, was stained, and was torn in several locations. The engine was in need of some updating. The wheels were chipped, damaged, and just looking old.
The hard part, when reviewing a list like that noted above for this BMW, is knowing what it will take to make this happen. Is this a $1000 project, $10,000 project, $25,000 project, or more? Will we find hidden damage? Will we find hidden areas of rust? There will always be surprises…and how do you set the expectation for what is about to come?
The best part is we had a committed customer, and who was excited about what this could produce. We were truly excited about producing something stunning. All the boxes were part of the scope – repair the body of all sins, repaint the body, replace the interior (seats, interior trim, carpet), replace the wheels and tires, replace the convertible top, take care of both the engine bay and the underside of the car, all suspension elements, driveline, engine / cooling system refresh.
Defining the scope, project plan, and work effort is the easier side. What is harder is sourcing all the replacement parts. BMW doesn’t make most of these parts any more. You can’t get new carpet. You can’t get new seats. You can’t get new interior coverings and trim. This is where the art in a restoration really shine. Having both the resources, suppliers, partners, staff and skills to solve and overcome all those hurdles is why some projects are seen thru from beginning to end, and many others start and then die. We knew we could develop and solve the problems as they presented themselves
Once we had the project scope defined, and we started to work the supply chain elements, the next step was to peel the onion, and peel back what we had to see if we found any hidden issues.
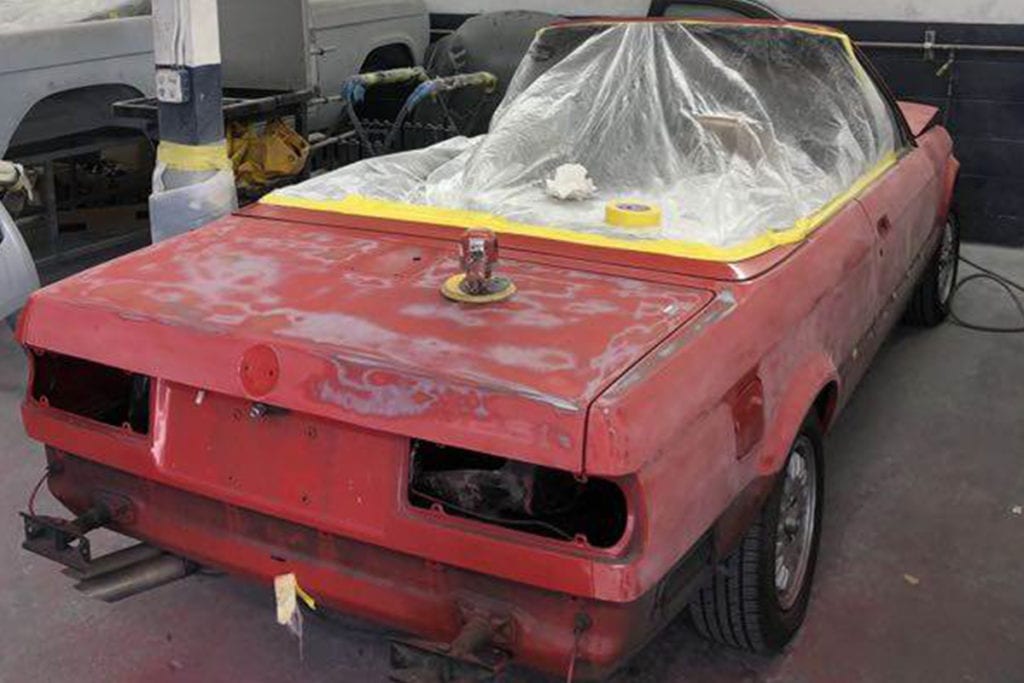
First then, was to remove all exterior trim, and prep the body for repairs and paint. Here the first set of decisions needed to be made, and assessments recorded. What shape really is the body in? Can the exterior trim be saved? If so, can it be restored? If not, can we get replacements? Amazing when you have to remove them all, how many pieces of trim there really are.
Next, do we have areas of the body that have been previously repaired? Is the metal in good shape? Are the body seams straight? Any surprises here?
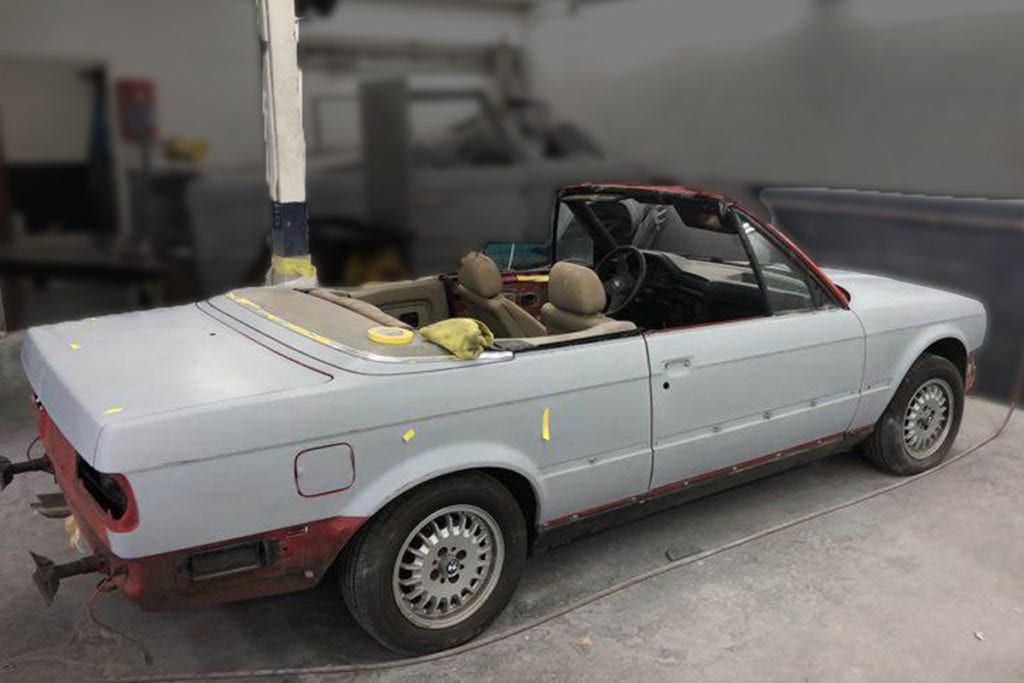
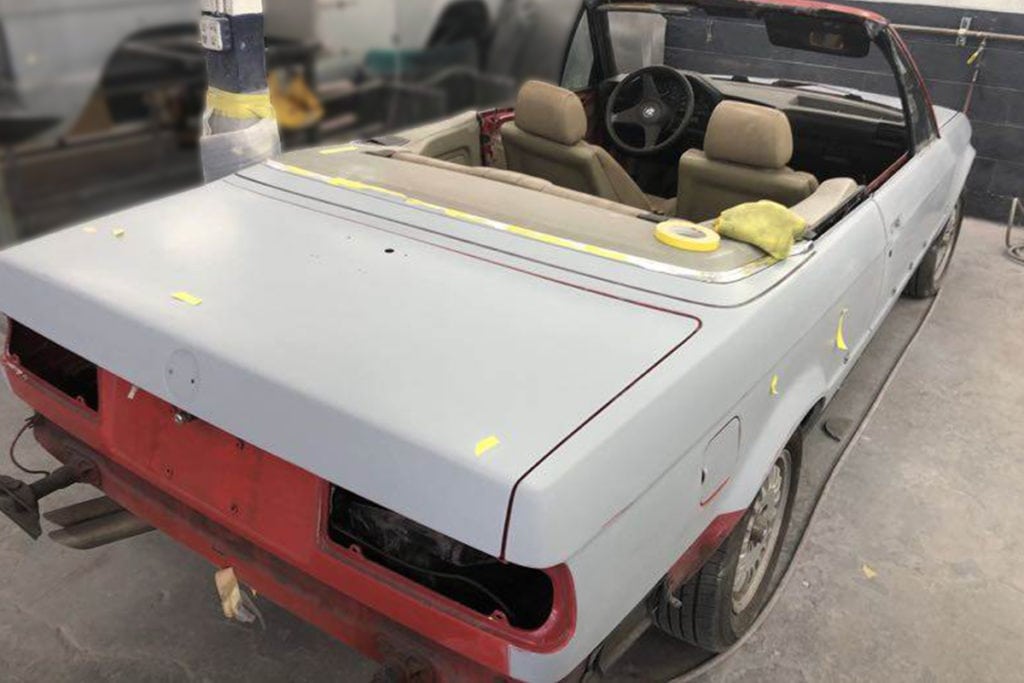
Now, on to step 2. Making the body ready for paint. Finalizing and cleaning up any small areas of imperfection.
Doors, door jams, trunk, trunk seams, hood, hood seams. The exterior is ready to go. Since this is NOT a full body off, or full restoration, the scope did not include repainting of the interior body, the engine bay, and the trunk interior. Since those had not been exposed to sun and weather, they were in good shape, good enough that they still looked like they matched the new exterior paint.
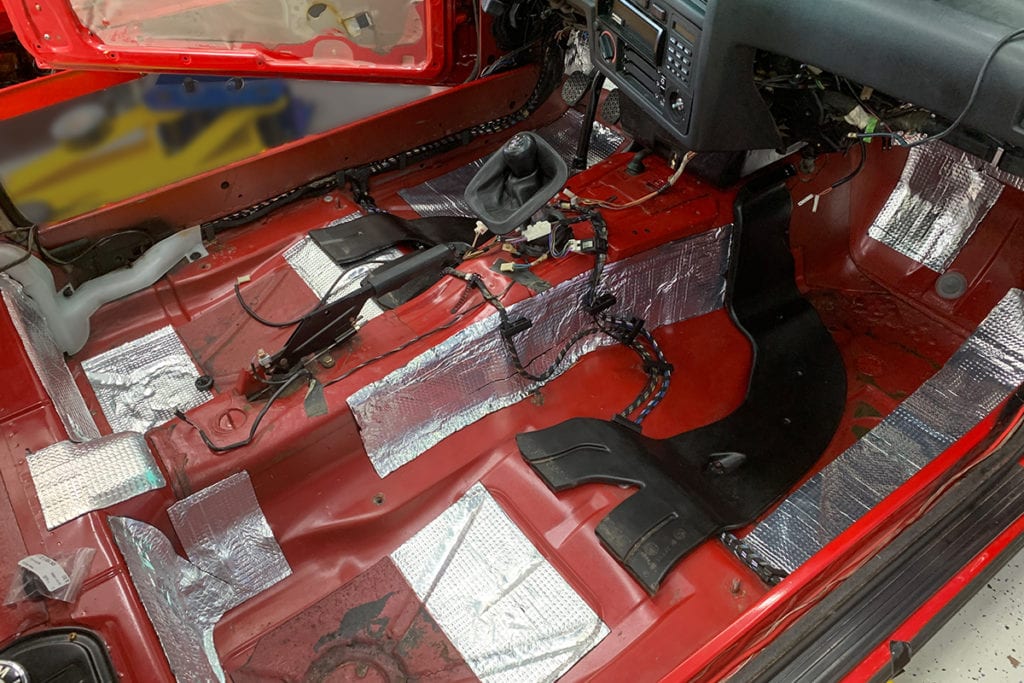
Now, to peel the layers of skin on the interior. Off comes the convertible top, all interior panels, the seats, the carpets, center console, and more. Another round of inspection, assessment, determination of what needs to be kept, used, thrown out and replaced, or repaired.
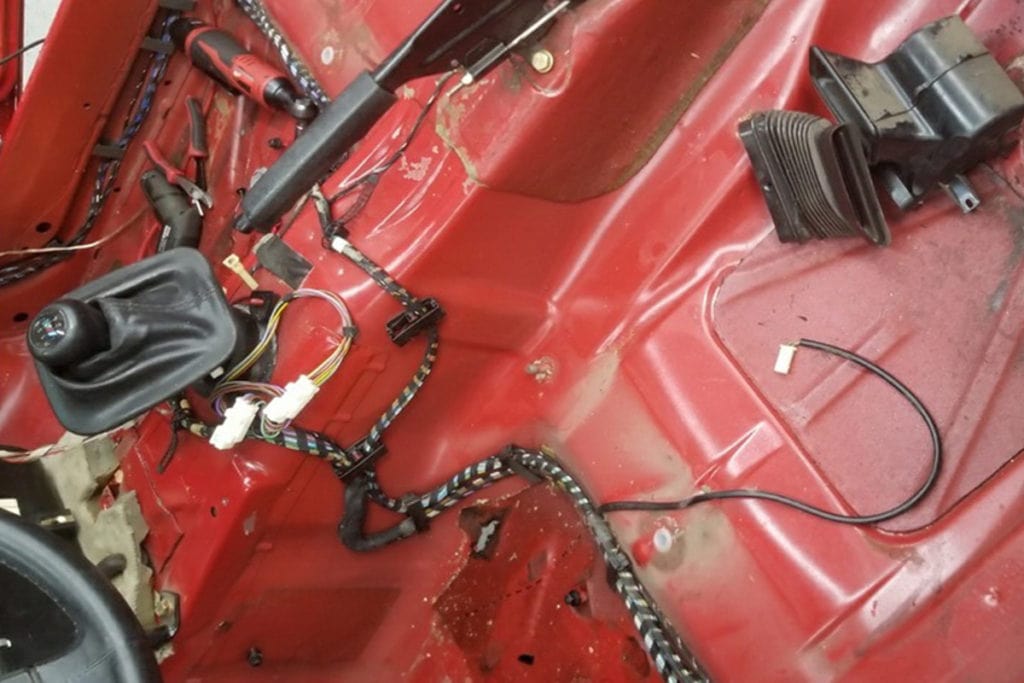
Good news again on this project. No interior damage, or serious rust. No hidden areas of water intrusion. While this all sounds straight forward, removing carpet and interior sound deadening material that has been in place for over 30 years is nothing fun. But, another step in the project.
Wiring, ground planes, connectors, ducts….everything is catalogued and assessed. The interior then needs to be scrubbed, cleaned, and prepped for the start of putting it back together. All the right pieces in the right places. Determining where the sound deadening material needs to be placed.
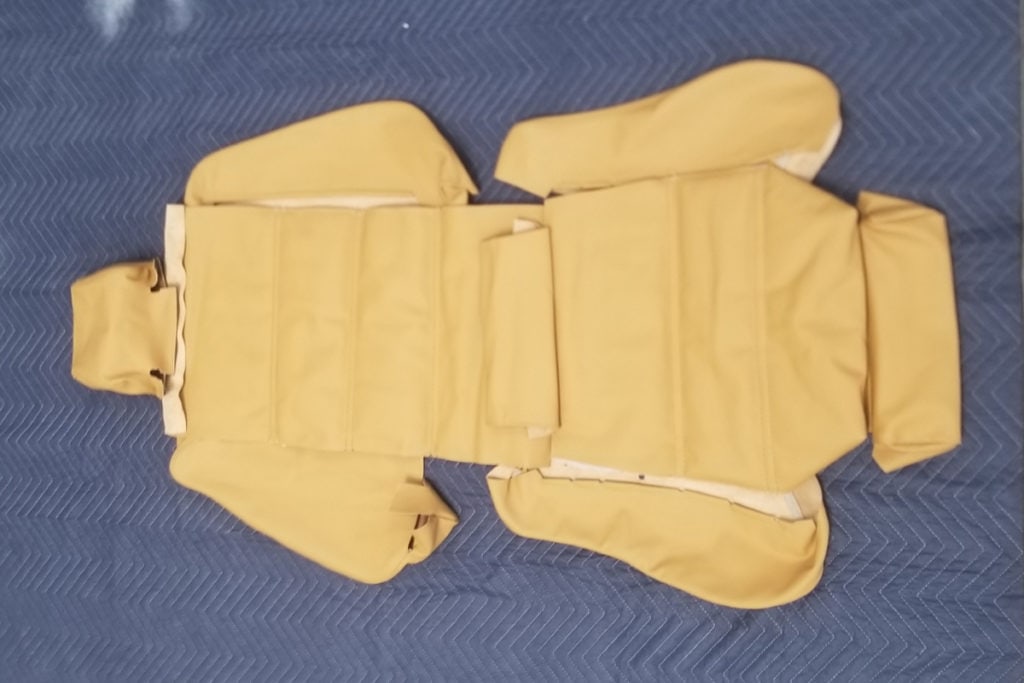
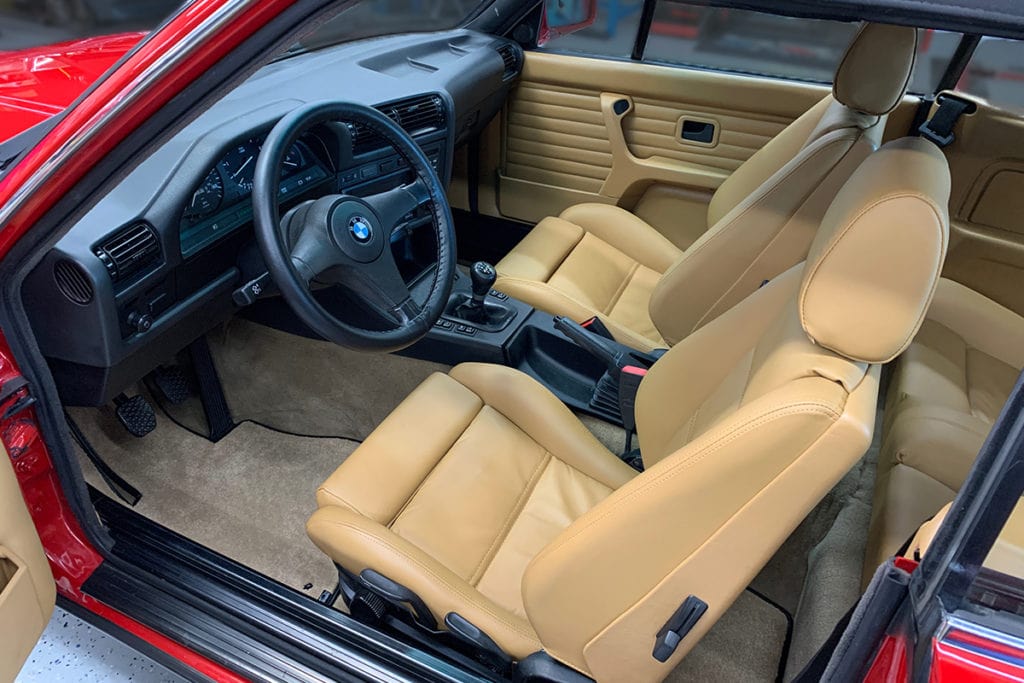
One of the hurdles faced related to the seats. We made the decision early on that we wanted to have all the seats redone….but what did that mean? You can’t get new seats. We developed one proposal to re-upholster all the seats. But that would have put the cost of the project way beyond the project budget. So, another approach needed to be implemented. The alternative approach was to get new skins, and do the re-upholster ourselves. We were able to find the supplier to get new skins to allow us to stay on target and on plan.
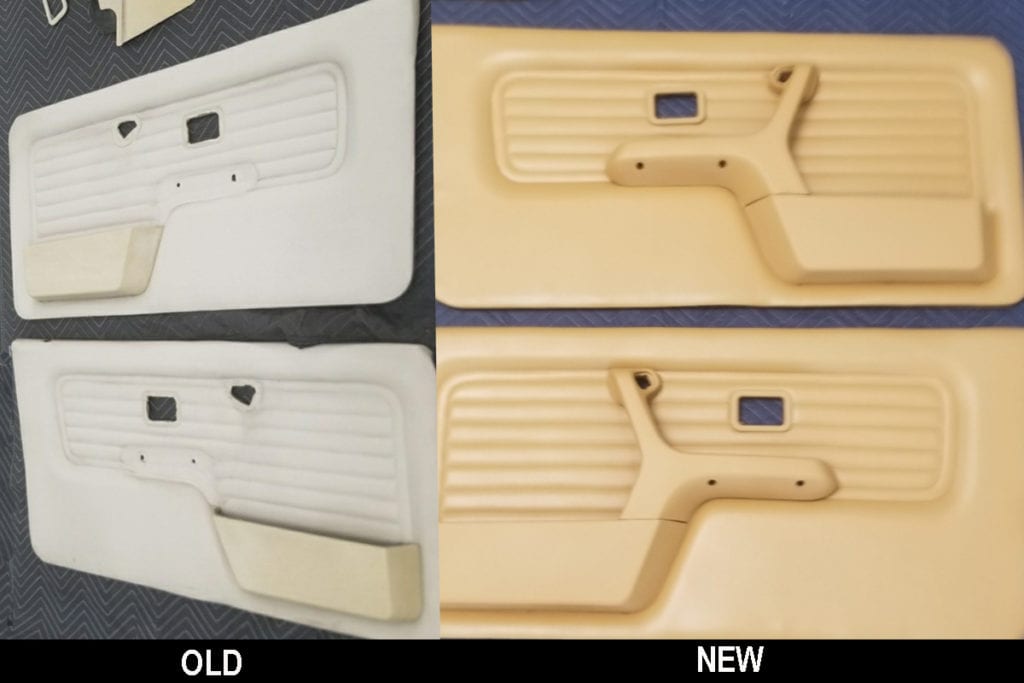
Making the decision on the approach for the seats also impacted the decision on the other interior panels. The old panels were damaged, in some cases broken, and completely faded in color. Doing the seats would create a complete mismatch in color, and this project was to restore the car to like new condition. Therefore, we repaired the panels, and then had them repainted and color matched. Here you can see the dramatic difference between the old and the new.
The result for the interior? Quite the change…exactly like it looked when it came off the showroom floor so many years ago.
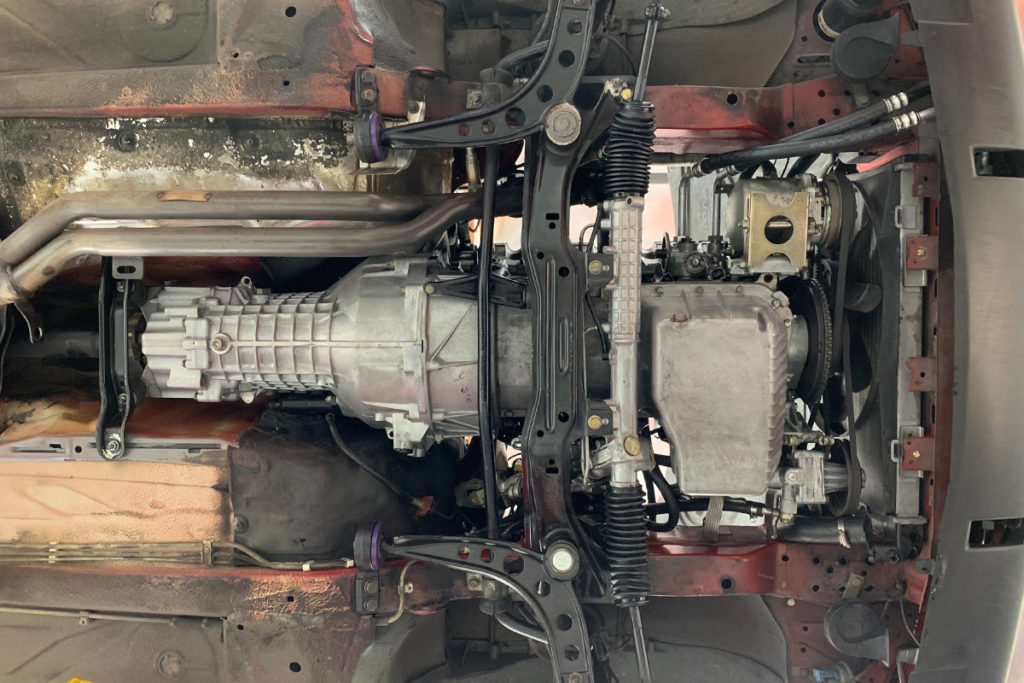
When customers don’t have a bottomless budget, then it becomes critical for the shop to be able to inspect and assess what really needs to be done, and what does NOT need to be done. The same approach was applied to every area of the car. An example where these tradeoffs were made is on the underside of the car, the suspension and the drivetrain.
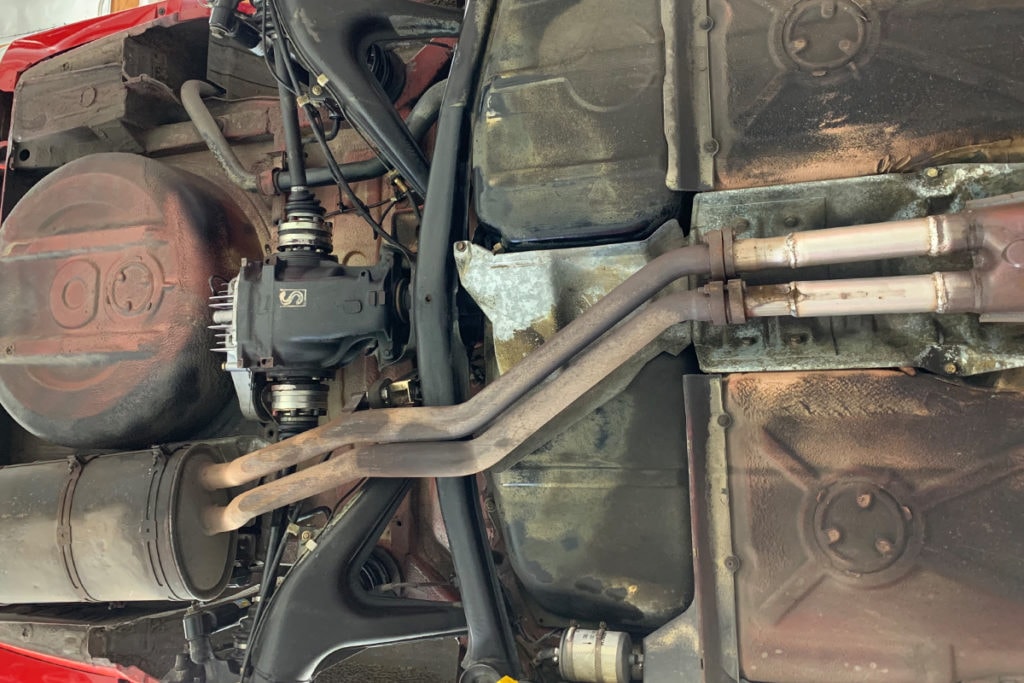
Starting at the rear, the differential was removed, cleaned, inspected, assessed, with the determination that only seals, bushings, and fluids were needed.
The subframe came out. Cleaned, inspected for any damage, cracks, how straight it was, and then freshly cleaned and painted.
All rear suspension, subframe bushings replaced. Exhaust hangers replaced….but the exhaust system left as is (it was doing the job it was meant to do, and no cracks or issues were found). Rear axles replaced. Some fuel elements replaced.
The same approach was applied to the underside, but at the front. Driveshaft flex disc replaced, complete underside steam cleaned, new front lower control arms, ball joints, bushings (upgraded to polyurethane versions), steering tie rods, power steering hoses replaced (supply, return, high pressure), cooler lines replaced, engine mounts replaced, front underbody panels replaced (these often have taken a huge beating)
The opportunity was also taken through the whole project to deliver any service / standard maintenance that was due.
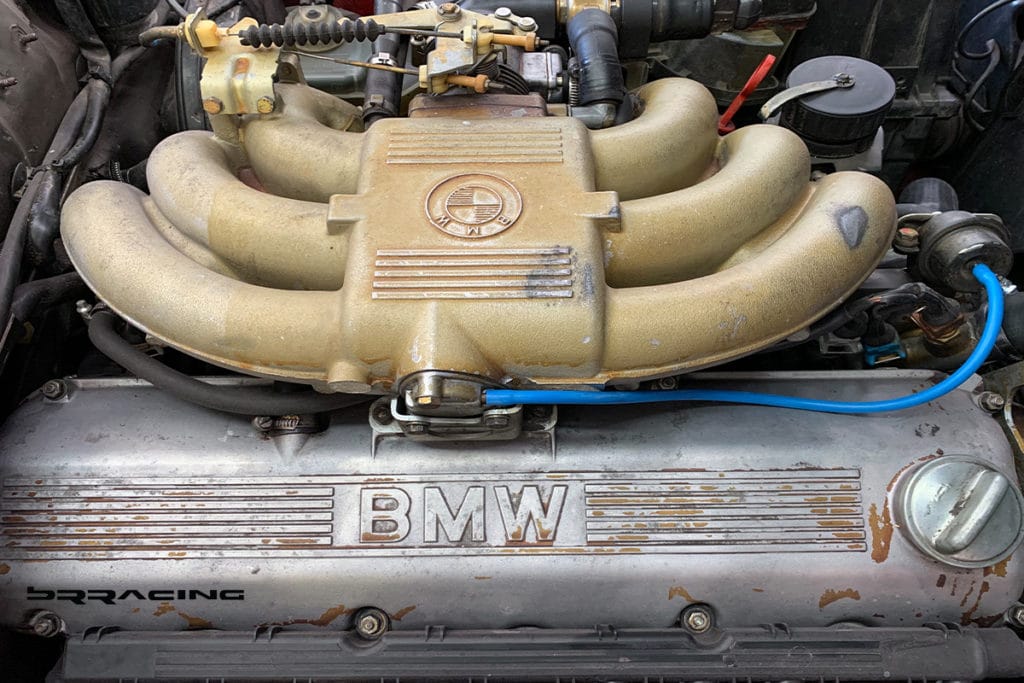
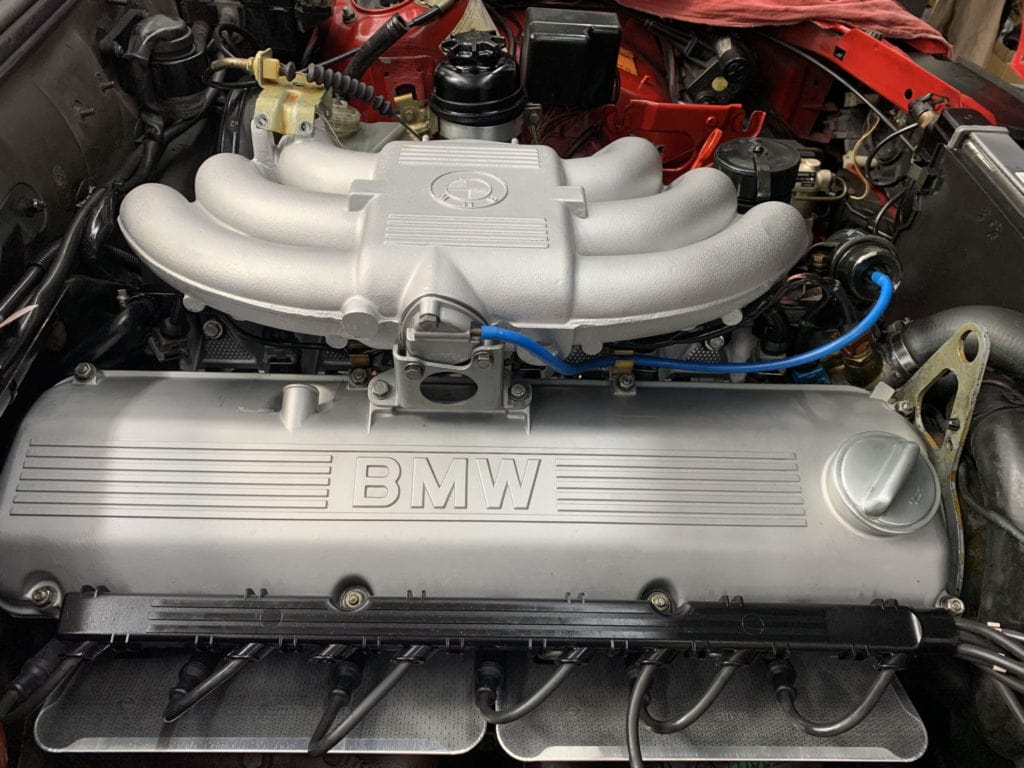
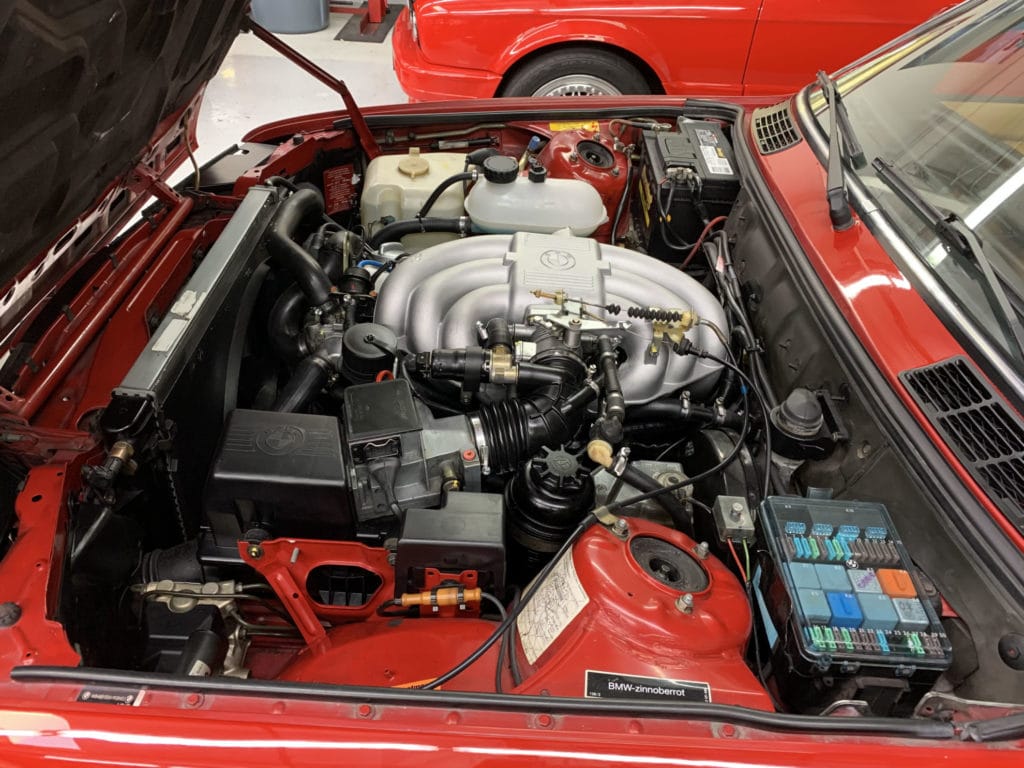
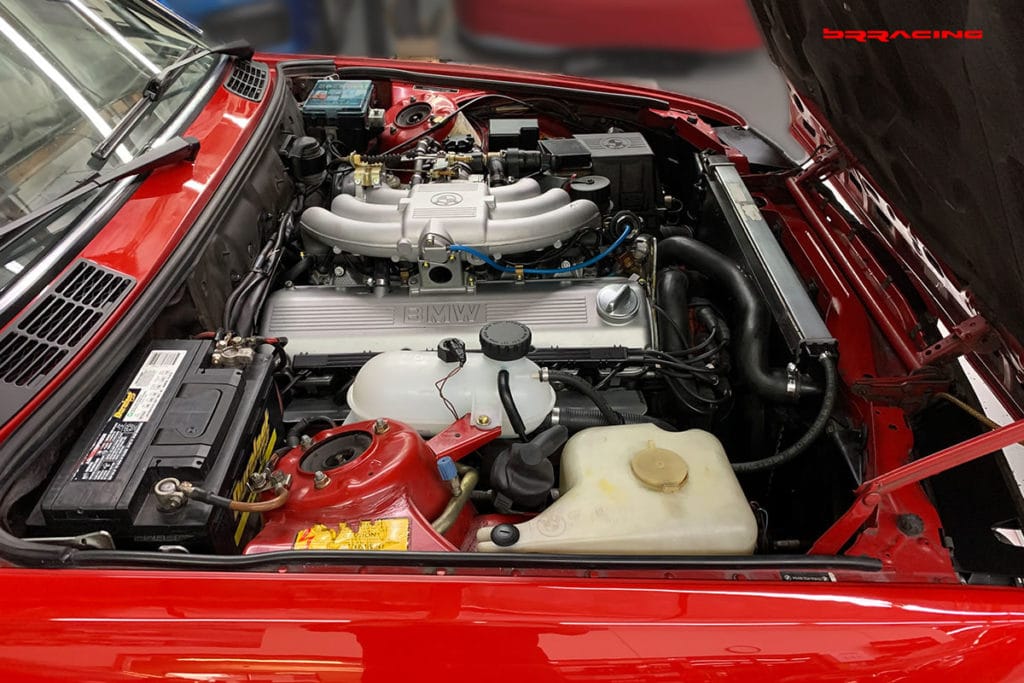
The engine looked old…felt old. The cooling system got a complete refresh, coolant expansion tank, hoses, belts, tensioners, gaskets all replaced. The engine covers were taken off (part of gasket replacement anyway), and repainted as well….quite a transformation.
Here is the engine “before” state:
Here is the AFTER state:
Once we had the exterior done, the drivetrain done, the suspension done, the engine, the interior done…all that was left was the new convertible top. New top, fully serviced and lubed, then aligned and tested.
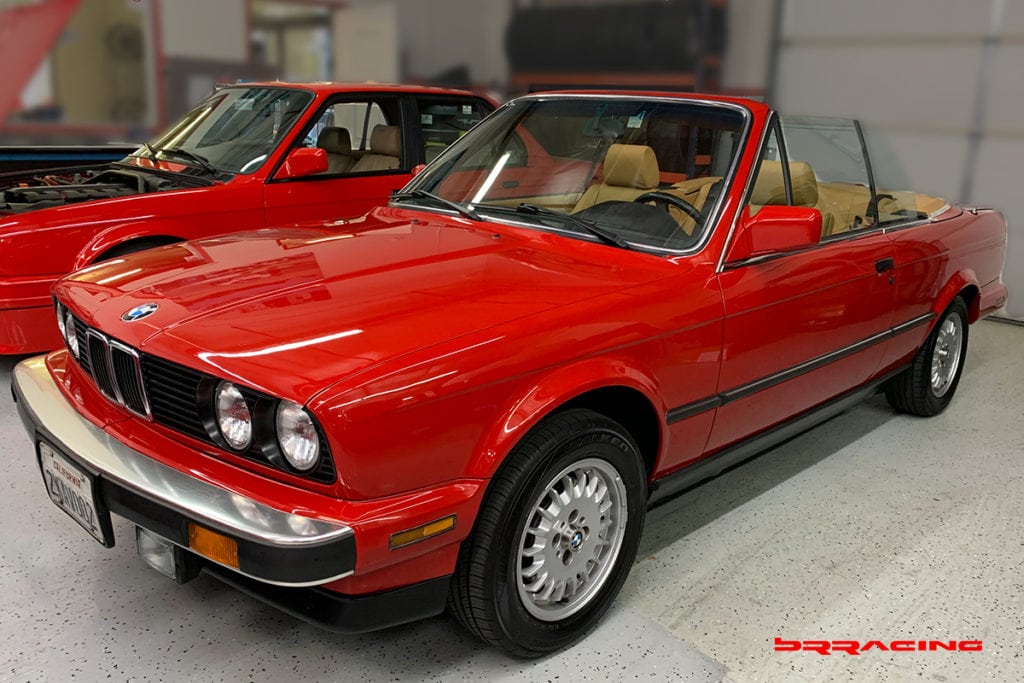
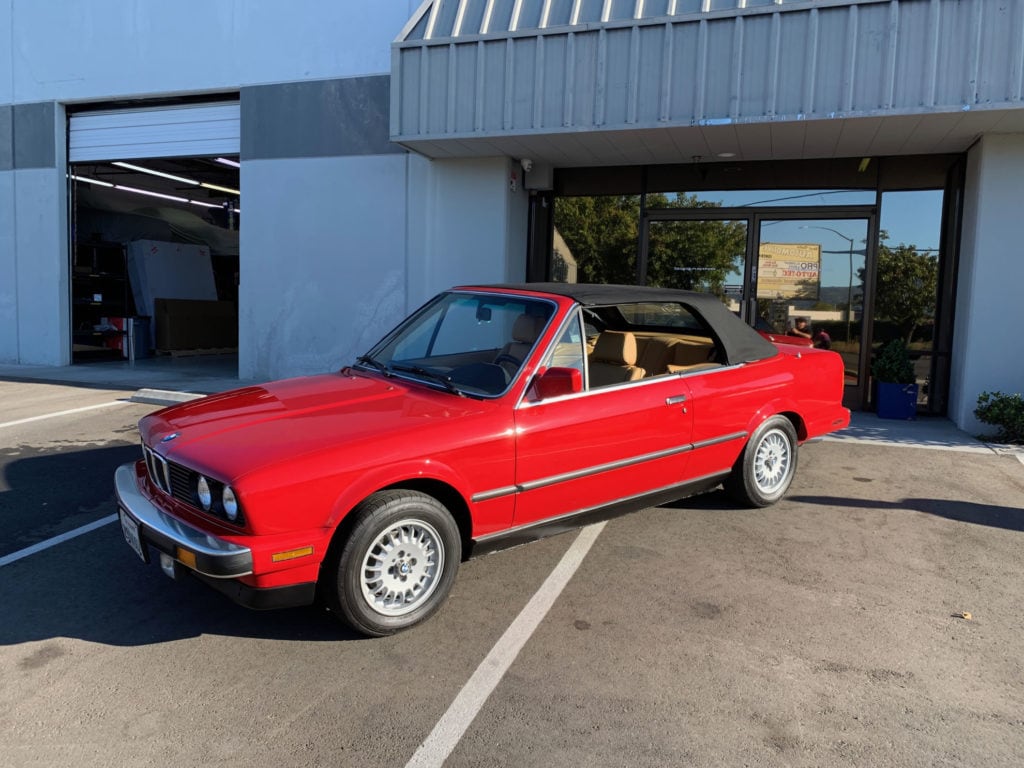
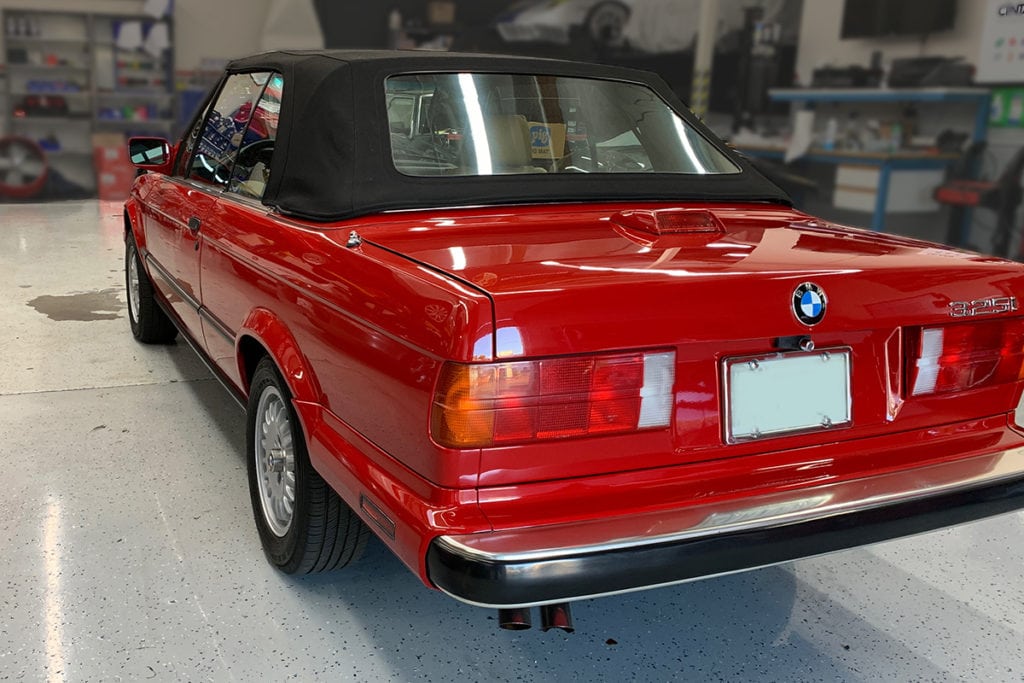
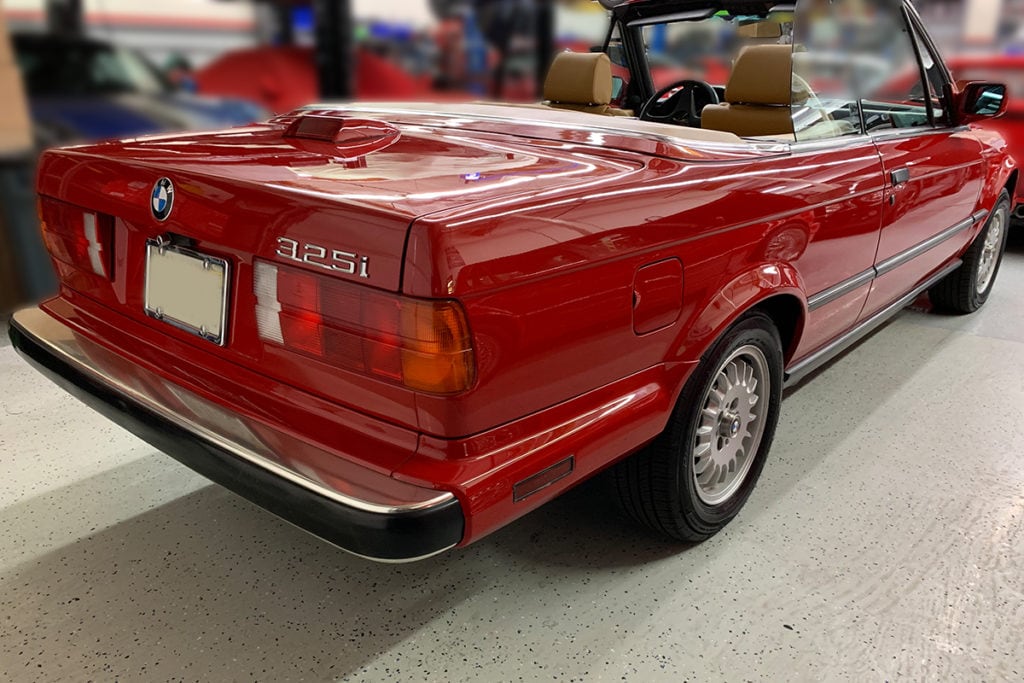
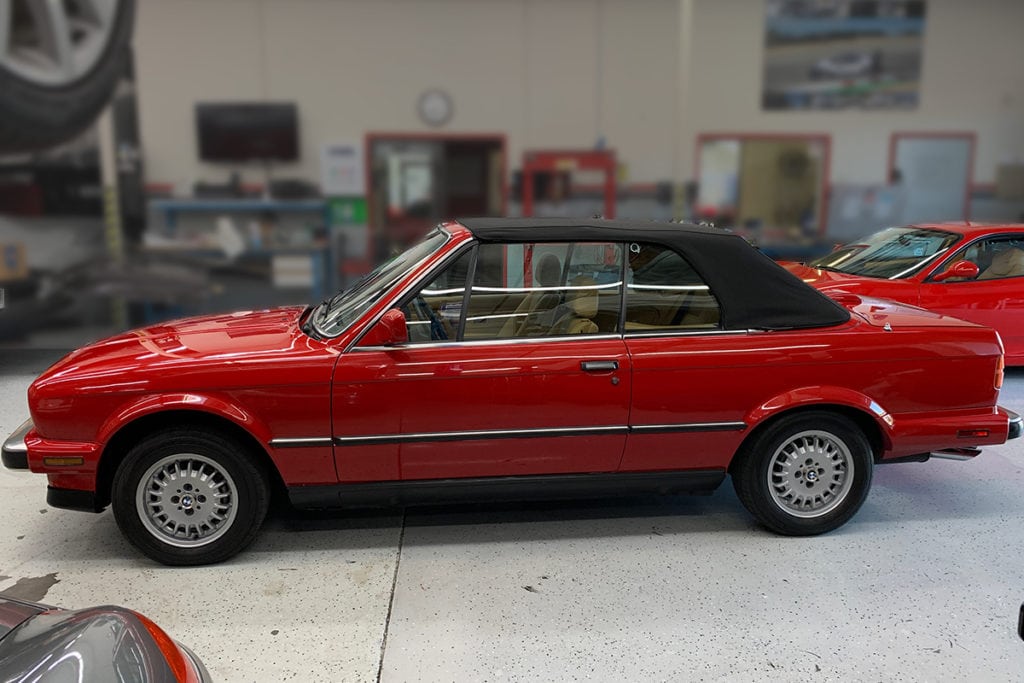
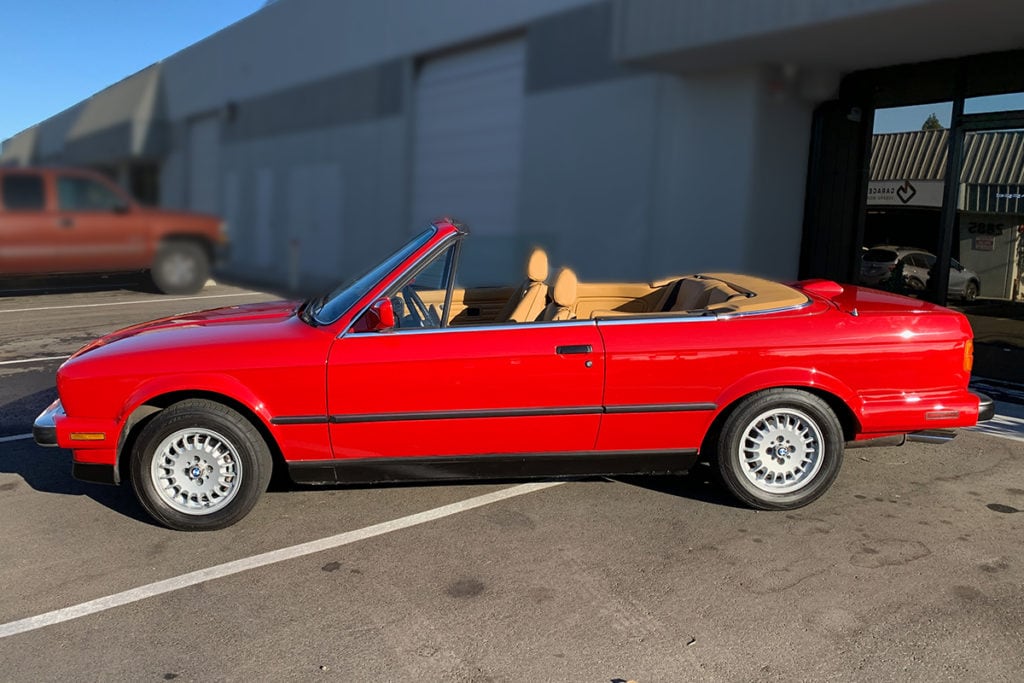
Here is the full completed result….
There it is….almost like we went back in time, and drove it off the showroom floor.
BRracing – bringing JOY to life
